ENGLISH

3 Note:A check valve is recommended to prevent water backflow when the pump is switched off.

All screw fittings need to be sealed with thread sealing tape; leakage places cause the priming of air and reduce or prevent the priming of water.

The suction line should have at least 1" (25 mm) inner diameter; it must be non-buckling and vacuum-proof.

Keep suction line as short as practi- cal, since with increasing length the pump capacity is reduced.

The suction line should raise towards the pump to prevent air locks.

A sufficient water supply must be ensured, the foot valve at the end of the suction line must be submerged in water at all times.

5.3Discharge hose connec- tion

3 Note:Possibly further accessories may be required for connection (see "Availa- ble Accessories").

A Caution!

The discharge (or pressure) line needs to be installed in such manner that it does not exert mecha- nical force or distortion to the pump.

All screw fittings should be sealed with thread sealing tape to prevent leakage.

All parts of the pressure line must be resistant to internal pressure.

All parts of the pressure line must be installed in a workmanlike manner.

ADanger!

Improper installation and use of parts not resistant to internal pres- sure can cause the pressure line to break during operation. Risk of perso- nal injury by liquid spurting from the line under high pressure!

5.4Mains connection

BDanger! Risk of electric shock!

Do not operate the equipment in wet environment and only under the following conditions:

Connect only to an earthed outlet that is properly installed, earthed and tested.

Mains voltage and fuse protection must correspond to those stated in the "Technical Specications".

When operated at pools, garden ponds and similar locations, the equipment must be protected by a residual current operated device (RCD, 30 mA) (DIN VDE 0100 -702, -738 or equivalent applicable local regulations).

We recommend the use of RCD's as a general precaution for per- sonal protection.

When operated outdoors the elec- trical connections must be splash-proof; they must not be placed in water.

Use only extension cables of suf- ficient lead cross section (see

"Technical Specifications"). Unroll cable reels fully.

5.5Filling the pump and priming

A Caution!After installation, loss of water or priming of air the pump needs to be filled with water. Starting the pump without water causes damage!

3 Note:The suction line does not need to be filled, the pump is self-priming. How- ever, depending on length and diameter of the suction line it may take some time until pressure has built up.

1.Remove the water filler plug, com- plete with gasket.

2.Slowly pour in clear water, until the pump is filled.

3.To reduce the time needed for prim- ing you can also fill the suction line.

4.Replace the water filler plug, com- plete with gasket.

5.Open pressure line (open tap or spray nozzle) for any air to escape during priming.

6.Start equipment (see "Operation").

7.Switch equipment OFF when water runs out steadily.

6.Operation

Pump and suction line must be con- nected and filled (see "Prior to Opera- tion").

A Caution!

Pump must not run dry. Ensure there is always sufficient pumping medium (water) available.

If the motor does not start, no pres- sure is built up or similar effects are evident, switch the equipment OFF

– and try to remove the fault (see "Trouble Shooting").

If the pump should be blocked by a foreign object or the motor overheat,

the motor protection will switch the motor off.

6.1Commissioning

3 Note:This pumps runs as long as the ON/OFF switch is switched ON.

1.Plug power cable in.

2.Switch pump on with the ON/OFF switch.

3.Open pressure line (open tap or spray nozzle).

4.Check to see that the water comes out!

A Caution!

With a closed pressure line do not let pump run for more then 10 minutes, otherwise there could be damage by the water overheating in the pump.

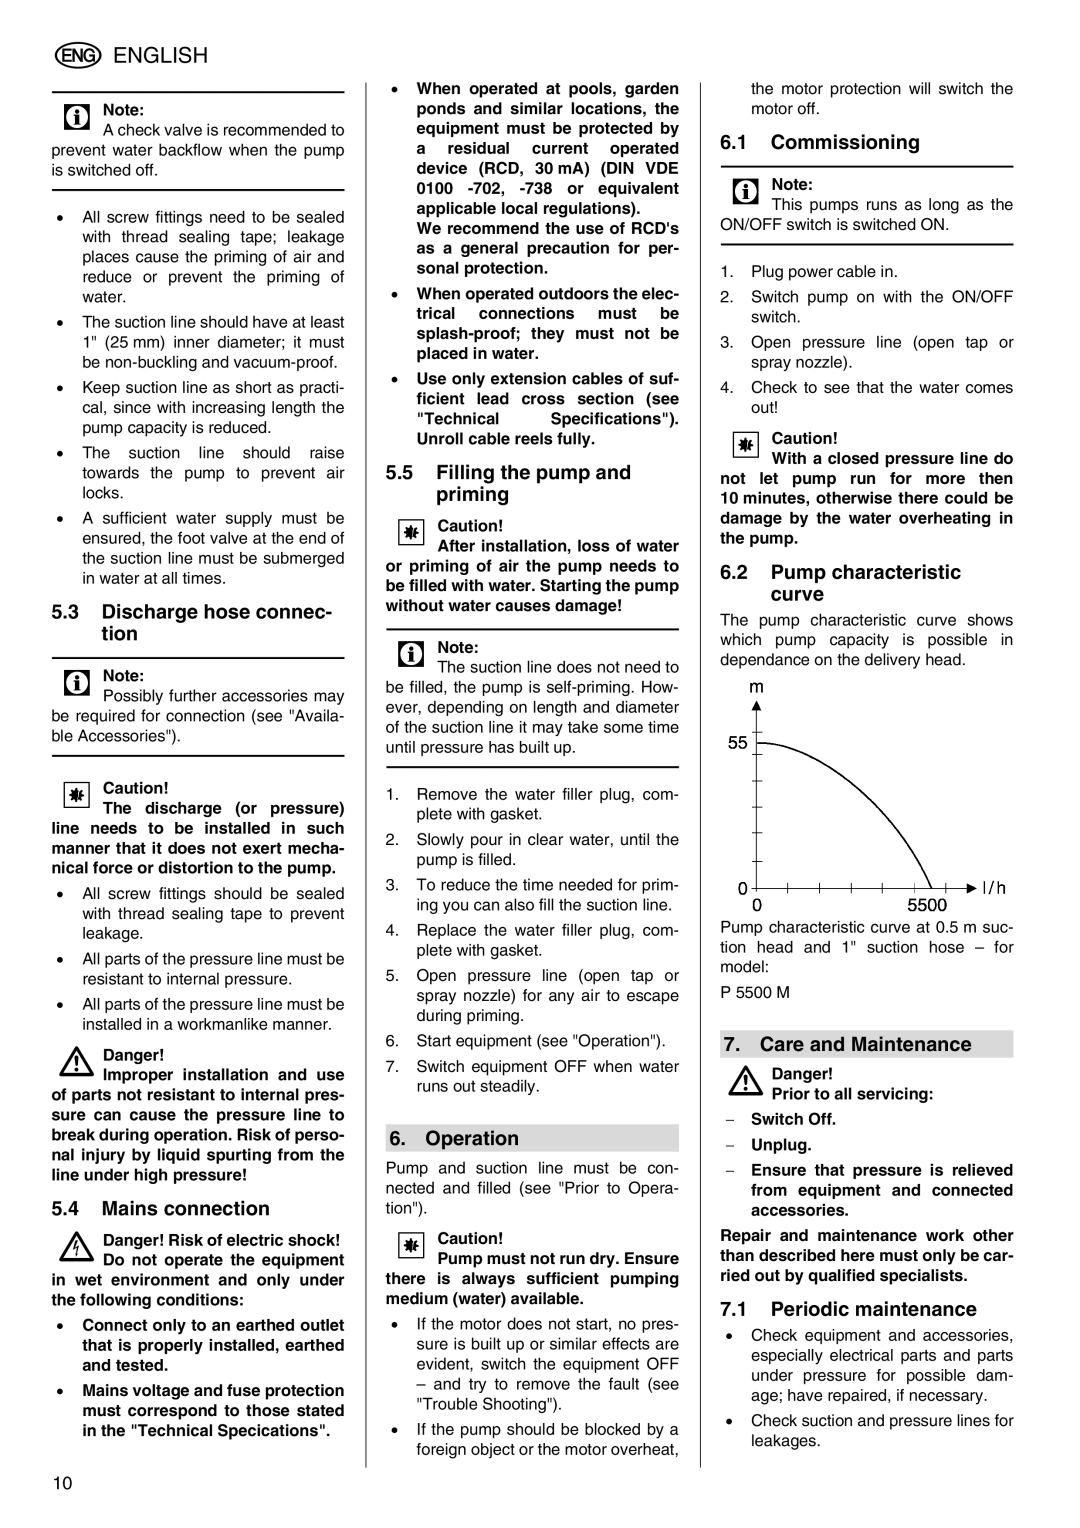
6.2Pump characteristic curve

The pump characteristic curve shows which pump capacity is possible in dependance on the delivery head.

Pump characteristic curve at 0.5 m suc- tion head and 1" suction hose – for model:

P 5500 M

7. Care and Maintenance

ADanger!Prior to all servicing:

Switch Off.

Unplug.

Ensure that pressure is relieved from equipment and connected accessories.

Repair and maintenance work other than described here must only be car- ried out by qualified specialists.

7.1Periodic maintenance

Check equipment and accessories, especially electrical parts and parts under pressure for possible dam- age; have repaired, if necessary.

Check suction and pressure lines for leakages.

10

Page 10
Image 10
Elektra Beckum P 5500 M manual Discharge hose connec- tion, Mains connection, Filling the pump and priming, Operation

P 5500 M specifications

The Elektra Beckum P 5500 M is a robust and versatile professional wood planer that has gained popularity among carpenters and woodworkers for its exceptional performance and reliability. Known for its high quality and precision, the P 5500 M is designed to meet the demanding needs of both professional users and serious hobbyists.

One of the standout features of the Elektra Beckum P 5500 M is its powerful motor. Equipped with a 2300-watt motor, this planer can easily handle a variety of wood types, delivering impressive cutting speeds and efficiency. The high torque output ensures that the machine can tackle thicker and denser materials without compromising on performance.

The P 5500 M features a cutting width of 500 mm, allowing users to process wider boards in a single pass. This significantly reduces the time and effort required for planing larger surfaces. The adjustable cutting depth, which can be finely tuned up to 3 mm, gives users precise control over the finish of the wood, allowing for smooth surfaces and consistent results.

Another notable aspect of the P 5500 M is its solid build quality. Constructed with a robust frame, it provides excellent stability during operation, minimizing vibration and ensuring accuracy. The heavy-duty design not only contributes to durability but also allows for prolonged use without the risk of wear and tear.

The planer is equipped with advanced technologies that enhance its usability. The spiral cutter head is a prime example, which provides a superior finish compared to traditional straight blades. This heads configuration minimizes tear-out while producing a smoother surface, making it ideal for high-quality woodworking projects. Moreover, the easy replacement of blades ensures that maintenance is straightforward and efficient, keeping downtime to a minimum.

Safety features are also a priority with the Elektra Beckum P 5500 M. The model includes a safety switch that prevents accidental start-ups, providing an added layer of security for users. Additionally, the transparent safety cover allows for easy monitoring of the cutting process while ensuring the operator’s safety.

In conclusion, the Elektra Beckum P 5500 M is a top-tier wood planer that combines power, precision, and durability. With its advanced features and reliable performance, it stands out as an essential tool for any serious woodworker or carpenter looking to achieve professional-quality finishes. Whether handling large projects or intricate detailing, the P 5500 M meets and exceeds expectations, making it a valuable addition to any workshop.