Basic Operation
Sound Adjustment
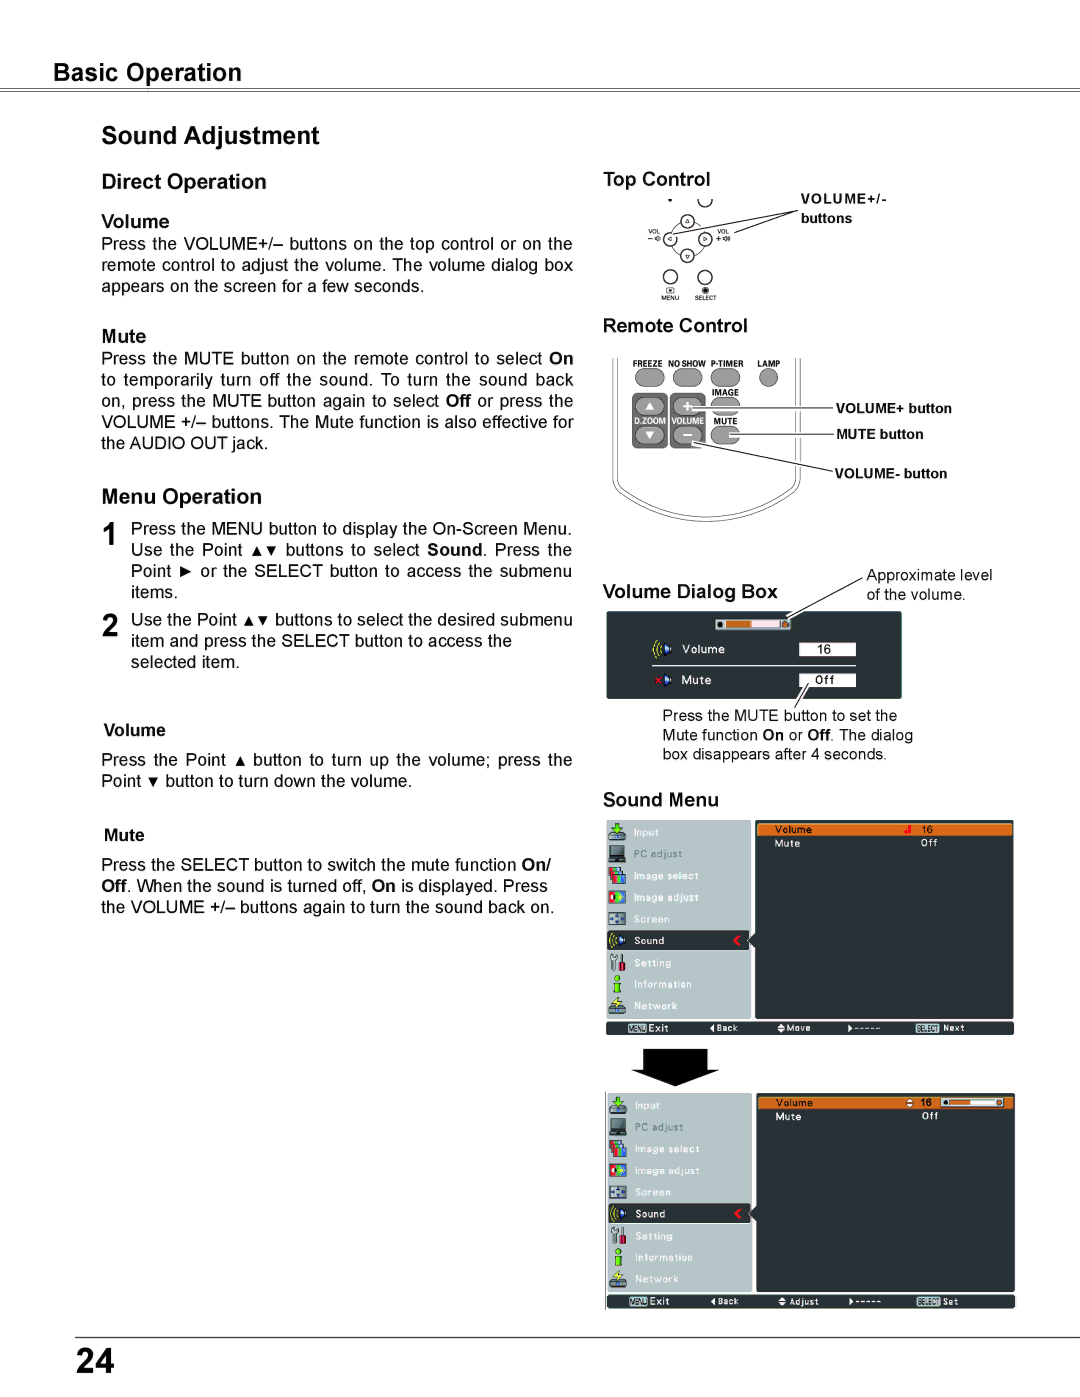
Direct Operation | Top Control |
Volume
Press the VOLUME+/– buttons on the top control or on the remote control to adjust the volume. The volume dialog box appears on the screen for a few seconds.
VOLUME+/- ![]() buttons
buttons
Mute
Press the MUTE button on the remote control to select On to temporarily turn off the sound. To turn the sound back on, press the MUTE button again to select Off or press the VOLUME +/– buttons. The Mute function is also effective for the AUDIO OUT jack.
Menu Operation
1 Press the MENU button to display the
2 Use the Point ▲▼ buttons to select the desired submenu item and press the SELECT button to access the selected item.
Volume
Press the Point ▲ button to turn up the volume; press the Point ▼ button to turn down the volume.
Mute
Press the SELECT button to switch the mute function On/ Off. When the sound is turned off, On is displayed. Press the VOLUME +/– buttons again to turn the sound back on.
Remote Control
VOLUME+ button
MUTE button
![]() VOLUME- button
VOLUME- button
Volume Dialog Box |
| Approximate level |
| of the volume. | |
|
|
|
| 16 |
|
Press the MUTE button to set the Mute function On or Off. The dialog box disappears after 4 seconds.
Sound Menu
24