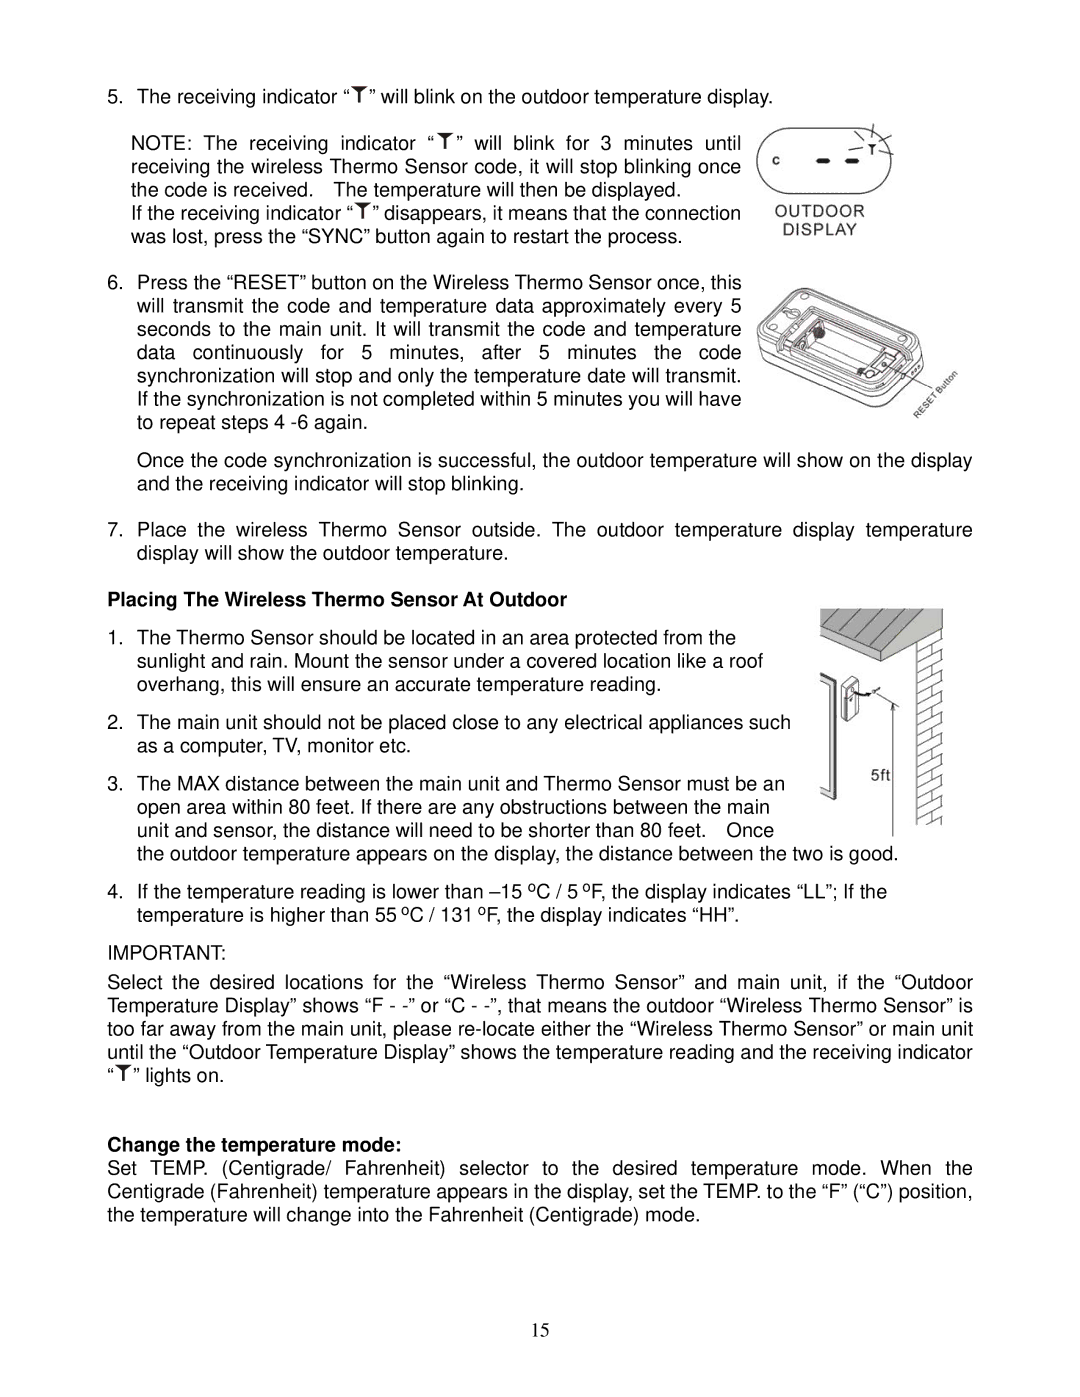
5. The receiving indicator “![]() ” will blink on the outdoor temperature display.
” will blink on the outdoor temperature display.
NOTE: The receiving indicator “ ![]() ” will blink for 3 minutes until receiving the wireless Thermo Sensor code, it will stop blinking once the code is received. The temperature will then be displayed.
” will blink for 3 minutes until receiving the wireless Thermo Sensor code, it will stop blinking once the code is received. The temperature will then be displayed.
If the receiving indicator “![]() ” disappears, it means that the connection was lost, press the “SYNC” button again to restart the process.
” disappears, it means that the connection was lost, press the “SYNC” button again to restart the process.
6.Press the “RESET” button on the Wireless Thermo Sensor once, this will transmit the code and temperature data approximately every 5 seconds to the main unit. It will transmit the code and temperature data continuously for 5 minutes, after 5 minutes the code synchronization will stop and only the temperature date will transmit. If the synchronization is not completed within 5 minutes you will have to repeat steps 4
Once the code synchronization is successful, the outdoor temperature will show on the display and the receiving indicator will stop blinking.
7.Place the wireless Thermo Sensor outside. The outdoor temperature display temperature display will show the outdoor temperature.
Placing The Wireless Thermo Sensor At Outdoor
1.The Thermo Sensor should be located in an area protected from the sunlight and rain. Mount the sensor under a covered location like a roof overhang, this will ensure an accurate temperature reading.
2.The main unit should not be placed close to any electrical appliances such as a computer, TV, monitor etc.
3.The MAX distance between the main unit and Thermo Sensor must be an open area within 80 feet. If there are any obstructions between the main unit and sensor, the distance will need to be shorter than 80 feet. Once
the outdoor temperature appears on the display, the distance between the two is good.
4.If the temperature reading is lower than
IMPORTANT:
Select the desired locations for the “Wireless Thermo Sensor” and main unit, if the “Outdoor Temperature Display” shows “F - ![]() ” lights on.
” lights on.
Change the temperature mode:
Set TEMP. (Centigrade/ Fahrenheit) selector to the desired temperature mode. When the Centigrade (Fahrenheit) temperature appears in the display, set the TEMP. to the “F” (“C”) position, the temperature will change into the Fahrenheit (Centigrade) mode.
15
