SMV300 O/M.QXD 6/21/01 7:46 AM Page 2
PREPARATION FOR USE
Unpacking and Setup
•Carefully remove the unit from the display carton and remove all packing material from the unit itself.
•Remove any descriptive labels that may be found on either the front or top cabinet of the unit. Do not remove any labels located on either the back or bottom cabinet of the unit.
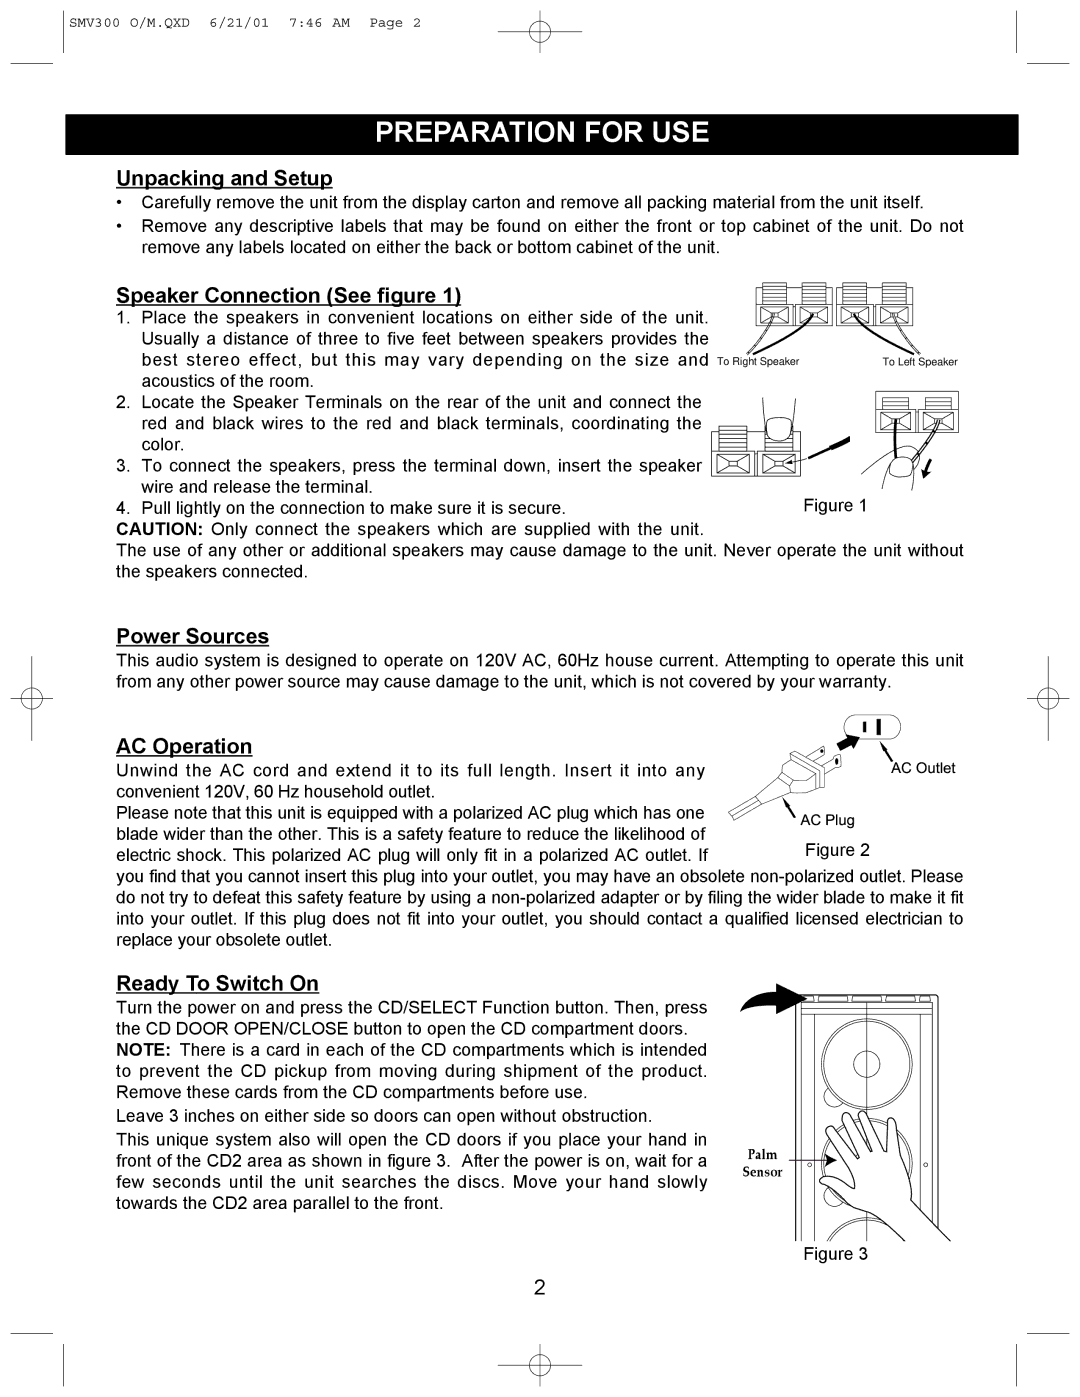
Speaker Connection (See figure 1)
1.Place the speakers in convenient locations on either side of the unit. Usually a distance of three to five feet between speakers provides the
best stereo effect, but this may vary depending on the size and acoustics of the room.
2. Locate the Speaker Terminals on the rear of the unit and connect the red and black wires to the red and black terminals, coordinating the
color.
3. To connect the speakers, press the terminal down, insert the speaker wire and release the terminal.
4. Pull lightly on the connection to make sure it is secure.
CAUTION: Only connect the speakers which are supplied with the unit.
The use of any other or additional speakers may cause damage to the unit. Never operate the unit without the speakers connected.
This audio system is designed to operate on 120V AC, 60Hz house current. Attempting to operate this unit from any other power source may cause damage to the unit, which is not covered by your warranty.
|
|
| ACOutlet | |
AC Operation | ACPlug | |||
Unwind the AC cord and extend it to its full length. Insert it into any | ||||
| ||||
convenient 120V, 60 Hz household outlet. |
| |||
Please note that this unit is equipped with a polarized AC plug which has one |
| |||
blade wider than the other. This is a safety feature to reduce the likelihood of |
| |||
electric shock. This polarized AC plug will only fit in a polarized AC outlet. If | Figure 2 |
| ||
|
|
| ||
you find that you cannot insert this plug into your outlet, you may have an obsolete
Ready To Switch On
Turn the power on and press the CD/SELECT Function button. Then, press the CD DOOR OPEN/CLOSE button to open the CD compartment doors. NOTE: There is a card in each of the CD compartments which is intended to prevent the CD pickup from moving during shipment of the product. Remove these cards from the CD compartments before use.
Leave 3 inches on either side so doors can open without obstruction.
This unique system also will open the CD doors if you place your hand in front of the CD2 area as shown in figure 3. After the power is on, wait for a few seconds until the unit searches the discs. Move your hand slowly towards the CD2 area parallel to the front.
Palm
Sensor
Figure 3
2
