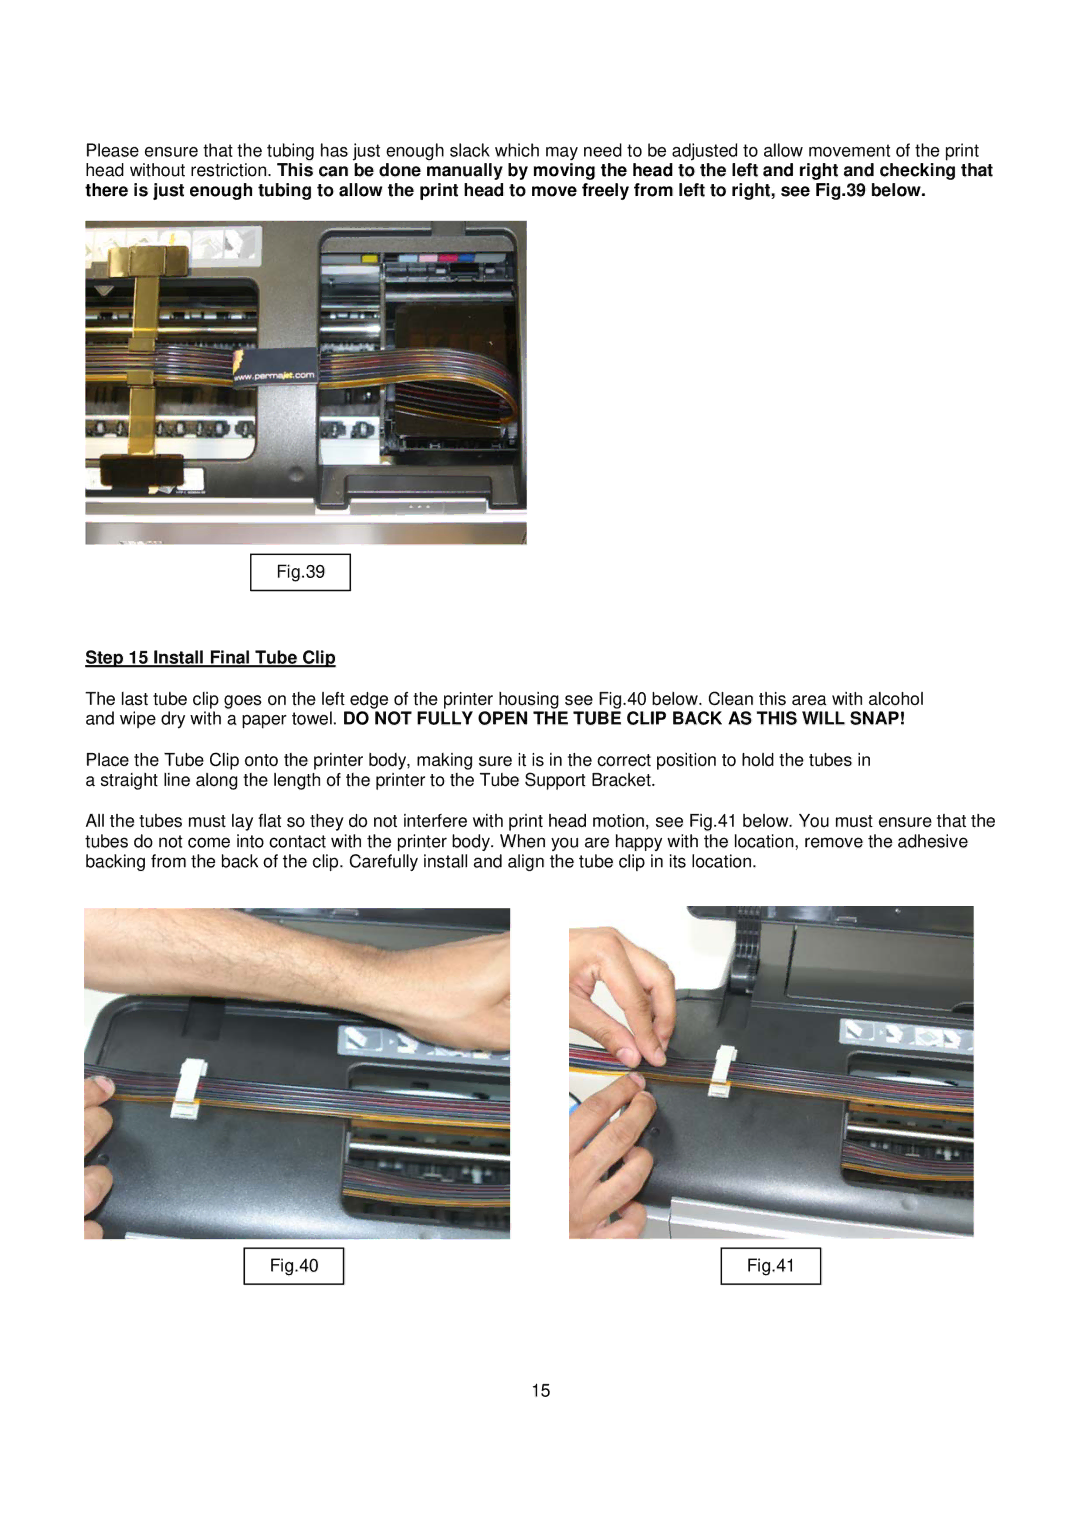
Please ensure that the tubing has just enough slack which may need to be adjusted to allow movement of the print head without restriction. This can be done manually by moving the head to the left and right and checking that there is just enough tubing to allow the print head to move freely from left to right, see Fig.39 below.
Fig.39
Step 15 Install Final Tube Clip
The last tube clip goes on the left edge of the printer housing see Fig.40 below. Clean this area with alcohol and wipe dry with a paper towel. DO NOT FULLY OPEN THE TUBE CLIP BACK AS THIS WILL SNAP!
Place the Tube Clip onto the printer body, making sure it is in the correct position to hold the tubes in a straight line along the length of the printer to the Tube Support Bracket.
All the tubes must lay flat so they do not interfere with print head motion, see Fig.41 below. You must ensure that the tubes do not come into contact with the printer body. When you are happy with the location, remove the adhesive backing from the back of the clip. Carefully install and align the tube clip in its location.
Fig.40
Fig.41
15