ED11910 specifications
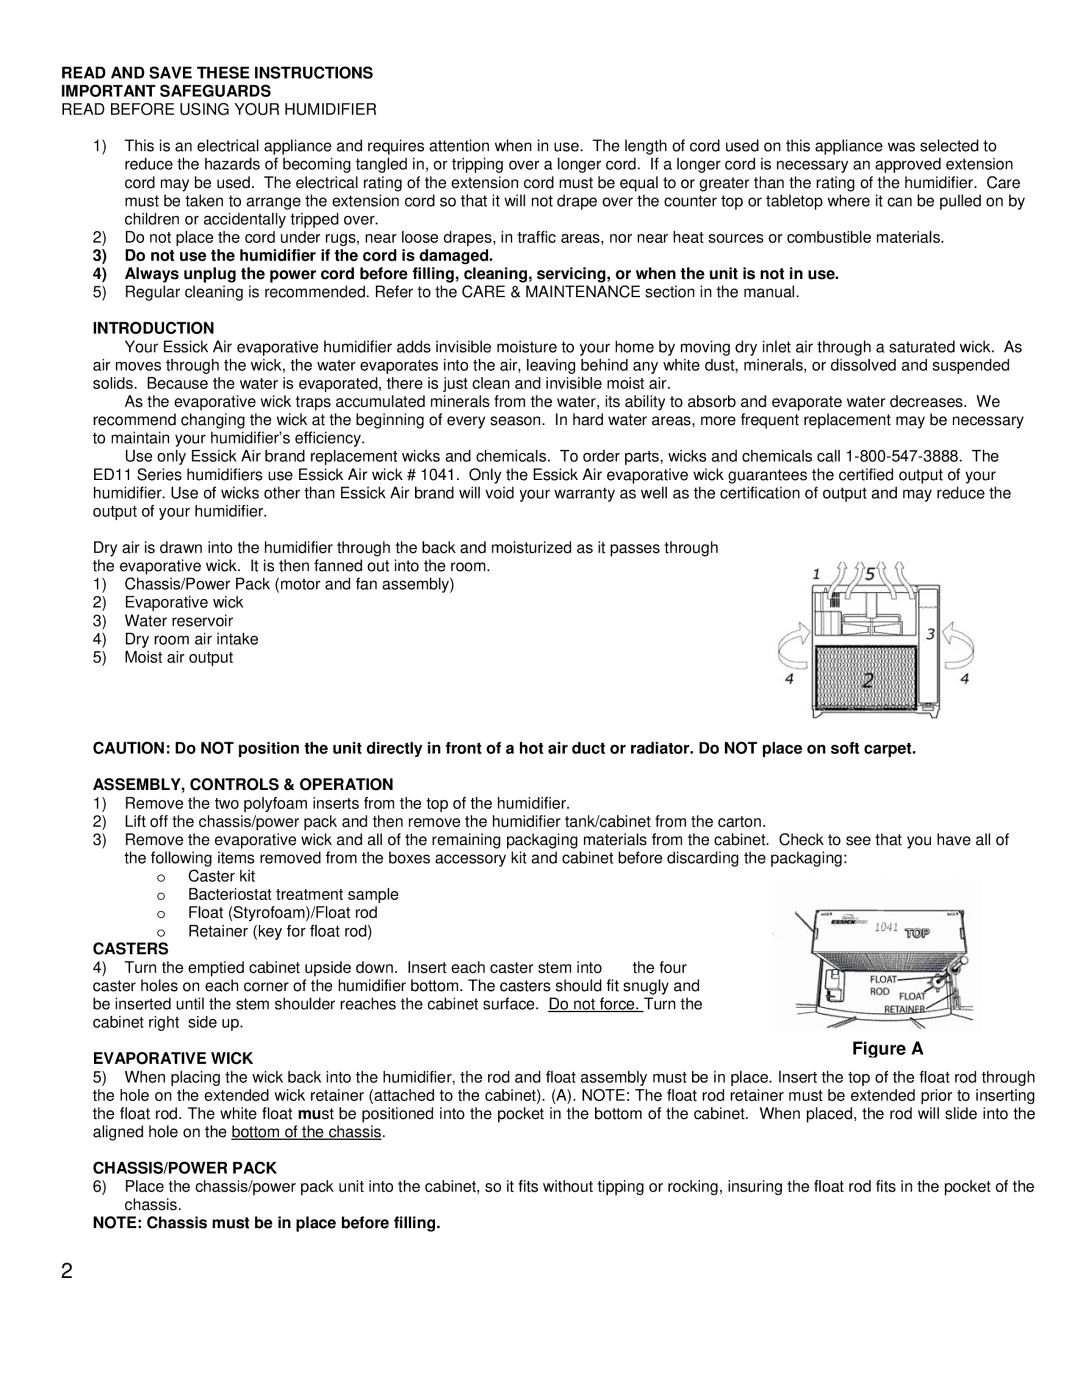
The Essick Air ED11910 evaporative humidifier is designed to enhance indoor air quality by adding moisture to dry environments, making it an ideal choice for homes particularly in arid climates. This model stands out for its combination of efficiency, user-friendly design, and advanced technology, making it a popular option among consumers seeking relief from dry air.One of the standout features of the Essick Air ED11910 is its large water capacity, which allows for extended operation without frequent refills. With a tank capacity of 3.5 gallons, this humidifier can run continuously for up to 70 hours on a single fill, ensuring that your indoor air remains comfortable for days. This is especially beneficial for those who suffer from respiratory problems or dry skin due to lack of humidity.
The unit employs an advanced evaporative cooling system, which not only increases humidity levels but also cools the air as it evaporates. This process is energy-efficient, reducing electricity consumption compared to traditional humidifiers. The ED11910 utilizes a unique wick system that draws water from the tank and provides an even distribution of moisture throughout the room. The wick is also designed for easy replacement, which prolongs the unit’s lifespan and ensures optimal performance.
Noise can be a concern with many humidifiers, but the Essick Air ED11910 operates quietly. This makes it suitable for use in bedrooms or nurseries, allowing for a peaceful environment even during night-time operation. It features multiple fan settings, allowing users to adjust the level of humidity to their preference and room size effectively.
The design of the Essick Air ED11910 is both stylish and practical, featuring a sleek exterior that fits seamlessly into any home decor. The built-in hygrometer measures the room's humidity and automatically adjusts the fan speed to maintain the desired humidity level. Additionally, the unit has a filter indicator that informs users when it's time to replace the wick, ensuring the unit operates at maximum efficiency.
In summary, the Essick Air ED11910 is an excellent choice for anyone looking to improve their home’s humidity levels. With its large capacity, advanced evaporative technology, quiet operation, and user-friendly features, this humidifier offers a reliable and stylish solution for maintaining optimal indoor air quality.

