ENGLISH

!Caution: Unplug from electrical outlet before servicing.

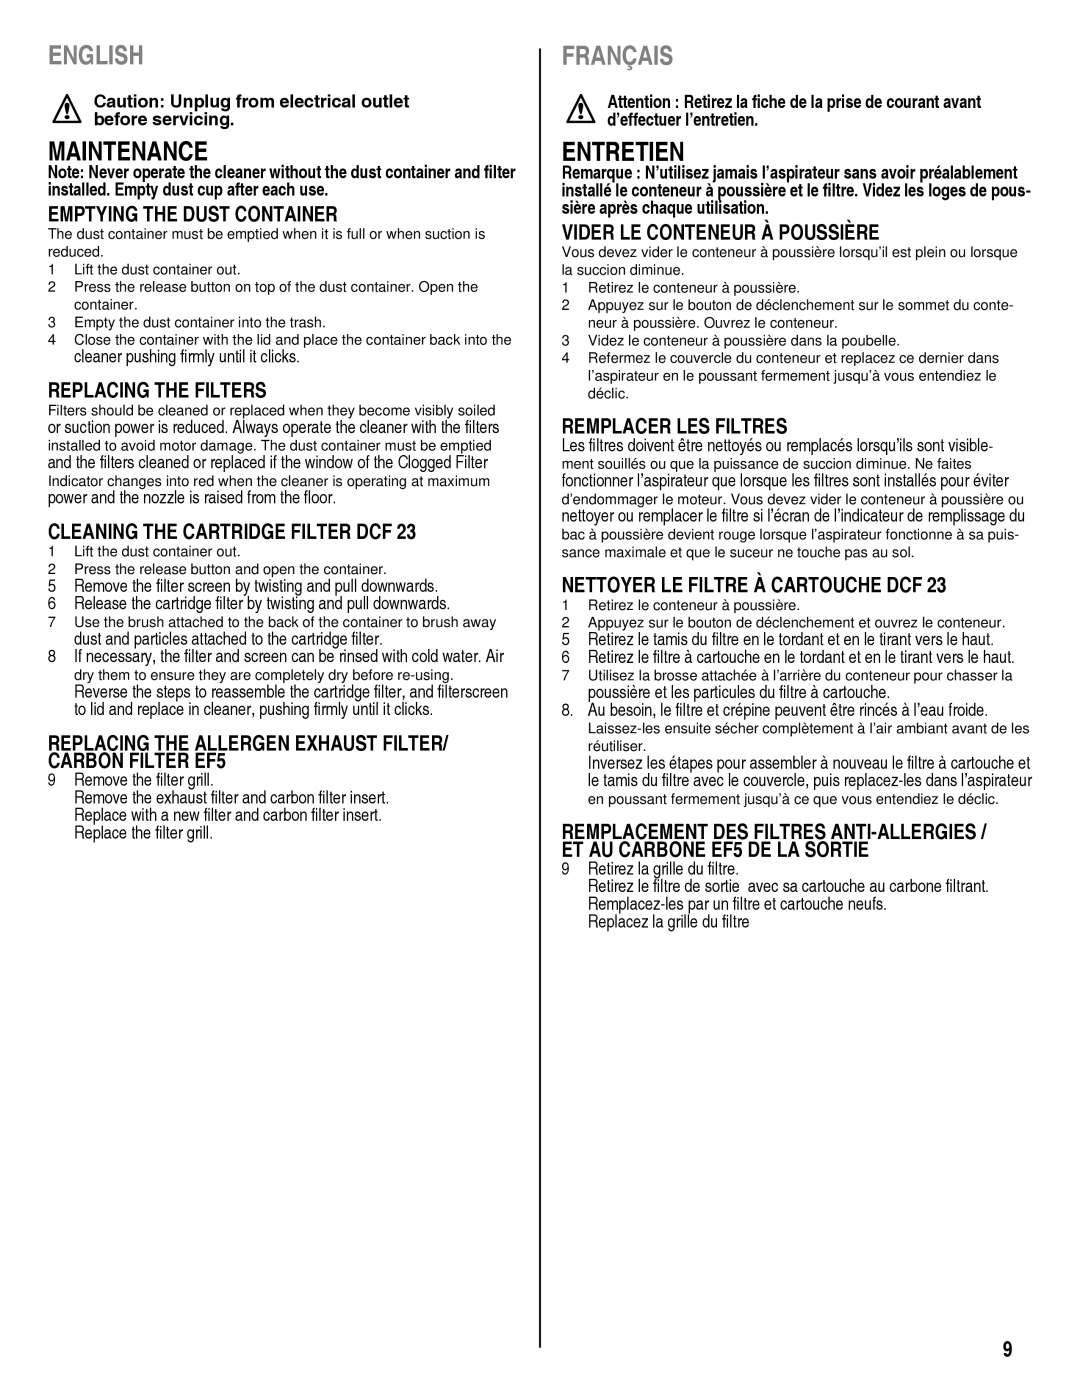
MAINTENANCE

Note: Never operate the cleaner without the dust container and filter installed. Empty dust cup after each use.

EMPTYING THE DUST CONTAINER

The dust container must be emptied when it is full or when suction is reduced.

1Lift the dust container out.

2Press the release button on top of the dust container. Open the container.

3Empty the dust container into the trash.

4Close the container with the lid and place the container back into the cleaner pushing firmly until it clicks.

REPLACING THE FILTERS

Filters should be cleaned or replaced when they become visibly soiled or suction power is reduced. Always operate the cleaner with the filters installed to avoid motor damage. The dust container must be emptied and the filters cleaned or replaced if the window of the Clogged Filter Indicator changes into red when the cleaner is operating at maximum power and the nozzle is raised from the floor.

CLEANING THE CARTRIDGE FILTER DCF 23

1Lift the dust container out.

2Press the release button and open the container.

5Remove the filter screen by twisting and pull downwards.

6 Release the cartridge filter by twisting and pull downwards.

7 Use the brush attached to the back of the container to brush away dust and particles attached to the cartridge filter.

8 If necessary, the filter and screen can be rinsed with cold water. Air dry them to ensure they are completely dry before re-using.

Reverse the steps to reassemble the cartridge filter, and filterscreen to lid and replace in cleaner, pushing firmly until it clicks.

REPLACING THE ALLERGEN EXHAUST FILTER/ CARBON FILTER EF5

9Remove the filter grill.

Remove the exhaust filter and carbon filter insert. Replace with a new filter and carbon filter insert. Replace the filter grill.

FRANÇAIS

!Attention : Retirez la fiche de la prise de courant avant d’effectuer l’entretien.

ENTRETIEN

Remarque : N’utilisez jamais l’aspirateur sans avoir préalablement installé le conteneur à poussière et le filtre. Videz les loges de pous- sière après chaque utilisation.

VIDER LE CONTENEUR À POUSSIÈRE

Vous devez vider le conteneur à poussière lorsqu’il est plein ou lorsque la succion diminue.

1Retirez le conteneur à poussière.

2Appuyez sur le bouton de déclenchement sur le sommet du conte- neur à poussière. Ouvrez le conteneur.

3Videz le conteneur à poussière dans la poubelle.

4Refermez le couvercle du conteneur et replacez ce dernier dans l’aspirateur en le poussant fermement jusqu’à vous entendiez le déclic.

REMPLACER LES FILTRES

Les filtres doivent être nettoyés ou remplacés lorsqu’ils sont visible- ment souillés ou que la puissance de succion diminue. Ne faites fonctionner l’aspirateur que lorsque les filtres sont installés pour éviter d’endommager le moteur. Vous devez vider le conteneur à poussière ou nettoyer ou remplacer le filtre si l’écran de l’indicateur de remplissage du bac à poussière devient rouge lorsque l’aspirateur fonctionne à sa puis- sance maximale et que le suceur ne touche pas au sol.

NETTOYER LE FILTRE À CARTOUCHE DCF 23

1Retirez le conteneur à poussière.

2Appuyez sur le bouton de déclenchement et ouvrez le conteneur.

5 Retirez le tamis du filtre en le tordant et en le tirant vers le haut.

6 Retirez le filtre à cartouche en le tordant et en le tirant vers le haut.

7Utilisez la brosse attachée à l’arrière du conteneur pour chasser la poussière et les particules du filtre à cartouche.

8.Au besoin, le filtre et crépine peuvent être rincés à l’eau froide.

Laissez-les ensuite sécher complètement à l’air ambiant avant de les réutiliser.

Inversez les étapes pour assembler à nouveau le filtre à cartouche et le tamis du filtre avec le couvercle, puis replacez-les dans l’aspirateur en poussant fermement jusqu’à ce que vous entendiez le déclic.

REMPLACEMENT DES FILTRES ANTI-ALLERGIES / ET AU CARBONE EF5 DE LA SORTIE

9Retirez la grille du filtre.

Retirez le filtre de sortie avec sa cartouche au carbone filtrant. Remplacez-les par un filtre et cartouche neufs.

Replacez la grille du filtre

9

Page 9
Image 9
Eureka! Tents 940 manual Maintenance, Entretien

940 specifications

Eureka! Tents has long been known for its commitment to quality and innovation in outdoor gear, and the Eureka! Tents 940 model exemplifies these values. This tent is designed for camping enthusiasts who seek comfort and durability in various environments.

One of the standout features of the Eureka! Tents 940 is its spacious interior. With enough room to accommodate multiple campers and gear, the 940 offers a generous floor space that promotes comfort during extended stays in the outdoors. The tent's peak height allows users to stand upright, making it easy to move around inside.

Another significant characteristic of the 940 is its robust weather resistance. Constructed with high-quality materials, this tent utilizes a durable rainfly that keeps the interior dry in wet conditions. Additionally, the floor is made from a waterproof material that provides excellent protection against ground moisture. The tent’s sealed seams further enhance its ability to withstand rain and wind, ensuring a safe and dry camping experience.

Eureka! Tents also prioritizes ventilation in the 940 model. The tent features large mesh panels that promote airflow while preventing condensation buildup, creating a comfortable environment inside. This thoughtful design helps regulate temperature and maintain freshness, essential for a pleasant camping experience.

In terms of setup, the Eureka! Tents 940 is engineered for ease of use. With color-coded poles and a straightforward assembly system, campers can quickly pitch their tent, even in less-than-ideal weather conditions. This convenience is particularly valuable for families or groups who want to spend less time setting up camp and more time enjoying the great outdoors.

Moreover, the tent includes multiple storage pockets and gear lofts, providing ample space to keep personal belongings organized and within reach. This feature is especially handy for families, as it helps keep the interior tidy and clutter-free.

Finally, the Eureka! Tents 940 is designed with the outdoor enthusiast in mind, featuring reflective guy lines for added visibility in low light conditions and robust zippers that withstand frequent use. With a unique combination of comfort, weather resistance, and user-friendly design, the Eureka! Tents 940 is an excellent choice for campers seeking a reliable shelter for their adventures. Whether embarking on a weekend getaway or an extended expedition, this tent is equipped to meet the demands of outdoor life, ensuring a memorable camping experience.