MDA 2V EQ, MDA 4SV EQ, MDA 4V EQ specifications
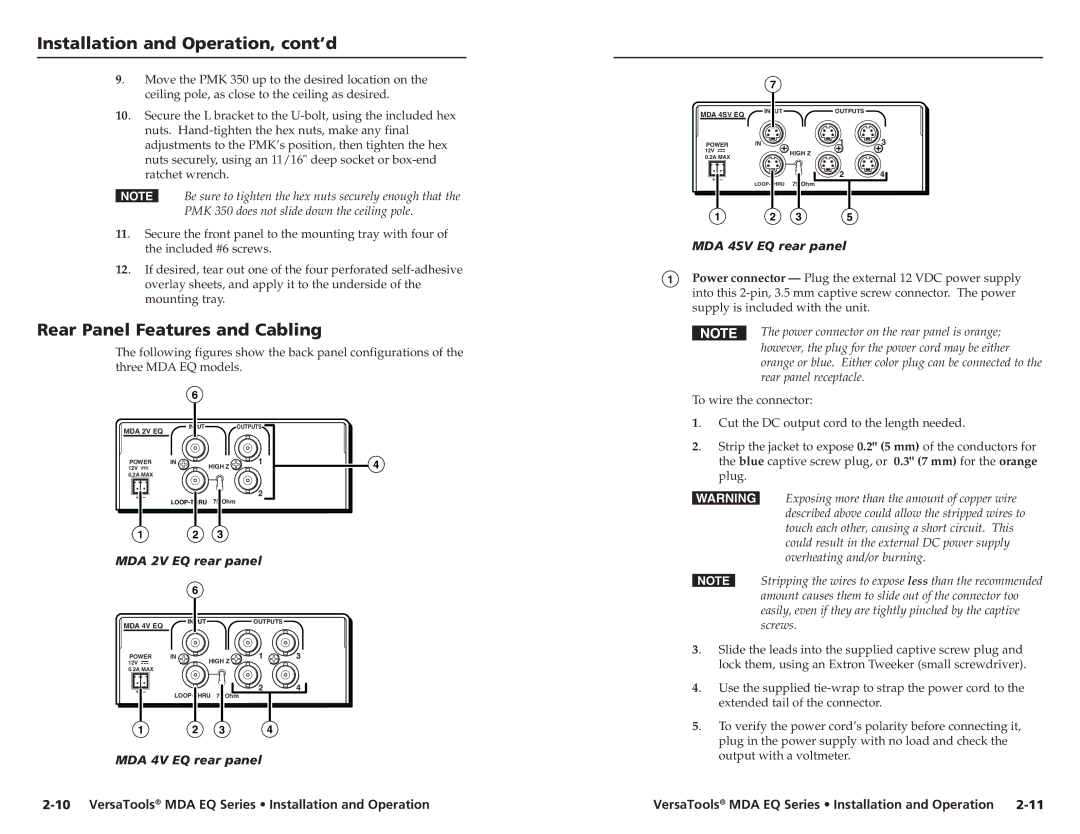
Extron Electronics is renowned for its innovative solutions in the field of professional audiovisual technology. Among its diverse lineup of products, the MDA 2V EQ, MDA 4SV EQ, and MDA 4V EQ stand out as exceptional multi-distribution amplifiers designed to enhance signal processing and distribution in various AV settings.The MDA 2V EQ is a two-channel distribution amplifier that excels in providing high-quality video and audio signal distribution. It is equipped with advanced equalization capabilities that allow users to fine-tune signal levels for optimal performance over long cable runs. The MDA 2V EQ supports a wide range of video formats, including composite, S-video, and component, ensuring compatibility with various equipment. Its compact design makes it easy to integrate into existing AV setups, while its robust construction ensures reliability in demanding environments.
The MDA 4SV EQ, on the other hand, is a four-channel distribution amplifier specifically designed for S-video signals. This model also features EQ for tailoring the output levels to match varying distances between the source and the display devices. By providing four isolated outputs, it ensures that each connected device receives a clean and undistorted signal. The MDA 4SV EQ is ideal for applications that demand high-quality S-video distribution, such as corporate presentations or educational content delivery.
Meanwhile, the MDA 4V EQ extends Extron’s commitment to versatile AV solutions with its four-channel capability focused on composite video signals. Similar to its counterparts, this model includes built-in EQ, enabling precise signal adjustments. Its ability to drive multiple outputs without compromising signal integrity makes it a perfect choice for situations requiring extensive video distribution.
All three models incorporate Extron’s proprietary technologies, ensuring minimal signal degradation and enhanced performance. They feature user-friendly troubleshooting tools such as LED indicators for signal presence and power status. Additionally, these amplifiers are designed with thermal protection to avoid overheating during extended use.
In summary, the Extron MDA 2V EQ, MDA 4SV EQ, and MDA 4V EQ offer a range of features tailored for optimal video and audio distribution in professional settings. Their advanced signal management technologies, robust performance, and user-friendly design make them invaluable tools for AV professionals looking to achieve high-quality signal distribution in diverse applications.

