Operation
Front Panel Operation
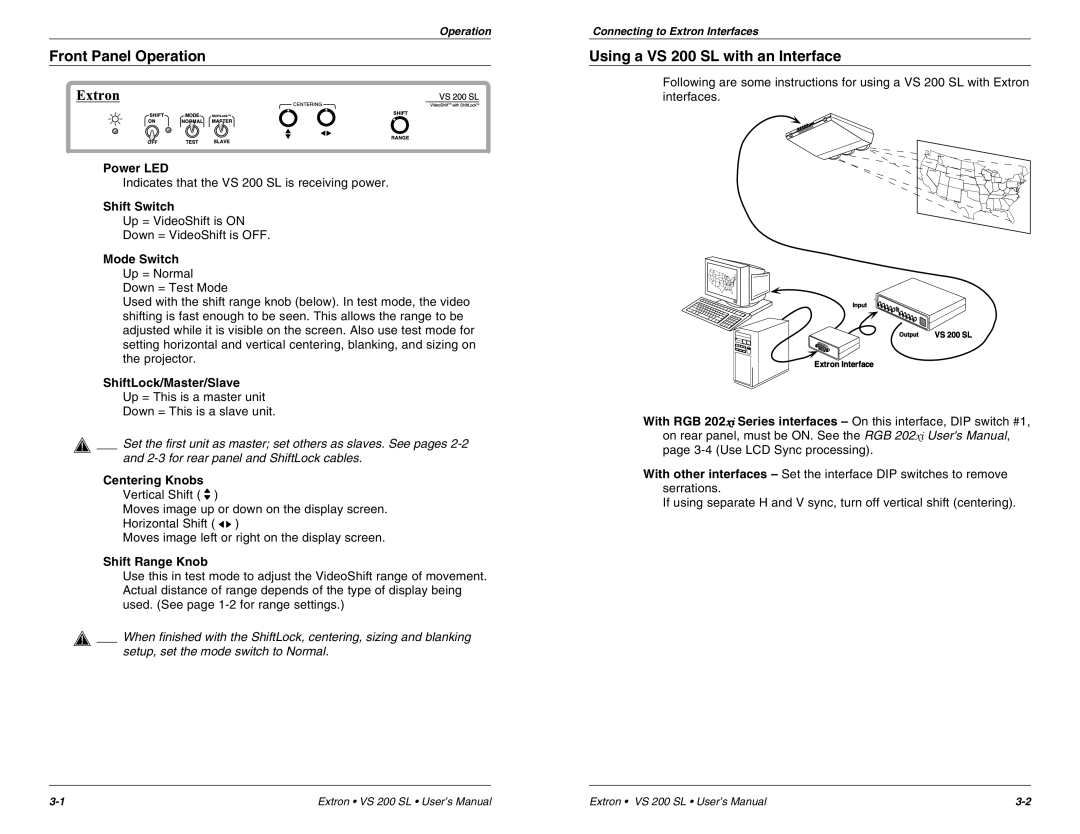
Power LED
Indicates that the VS 200 SL is receiving power.
Shift Switch
Up = VideoShift is ON
Down = VideoShift is OFF.
Mode Switch Up = Normal Down = Test Mode
Used with the shift range knob (below). In test mode, the video shifting is fast enough to be seen. This allows the range to be adjusted while it is visible on the screen. Also use test mode for setting horizontal and vertical centering, blanking, and sizing on the projector.
ShiftLock/Master/Slave
Up = This is a master unit
Down = This is a slave unit.
___ Set the first unit as master; set others as slaves. See pages
Centering Knobs
Vertical Shift ( ![]() )
)
Moves image up or down on the display screen.
Horizontal Shift ( ![]() )
)
Moves image left or right on the display screen.
Shift Range Knob
Use this in test mode to adjust the VideoShift range of movement. Actual distance of range depends of the type of display being used. (See page
___ When finished with the ShiftLock, centering, sizing and blanking setup, set the mode switch to Normal.
Connecting to Extron Interfaces
Using a VS 200 SL with an Interface
Following are some instructions for using a VS 200 SL with Extron interfaces.
With RGB 202xi Series interfaces – On this interface, DIP switch #1,
on rear panel, must be ON. See the RGB 202xi User's Manual, page
With other interfaces – Set the interface DIP switches to remove serrations.
If using separate H and V sync, turn off vertical shift (centering).
Extron • VS 200 SL • User’s Manual | Extron • VS 200 SL • User’s Manual |