Adjusting the Cooktop | Customer Support |
|
|
CONVERSION TO DIFFERENT GAS TYPE
Burners can be used with NG or LPG, provided that the injector orifices appropriate for the gas delivered are installed.
To change the injector orifices, you will need a 7mm box spanner and a 10mm ring spanner (CG901M only).
| 1. Turn off the main electrical supply. WARNING: Shock Hazard Inside. | ||
| 2. | Ensure all gas valves are turned off. |
|
| 3. | Remove all trivets and burner heads. |
|
| 4. | Pull off knobs. |
|
only | 5. | Unscrew the nut securing the flame failure probe of the |
|
|
| ||
CG901M |
| ||
6. | Remove the 2 screws holding each burner (3 on the wok burner). | ||
7. Partially lift the hob and unplug the electrode on the | |||
| burner to allow hob removal. Caution The edge can be sharp. | ||
| 8. | Unscrew the orifices and replace them with the correct ones. | |
| (size numbers are stamped on the side, eg. 70= 0.70mm) |
| |
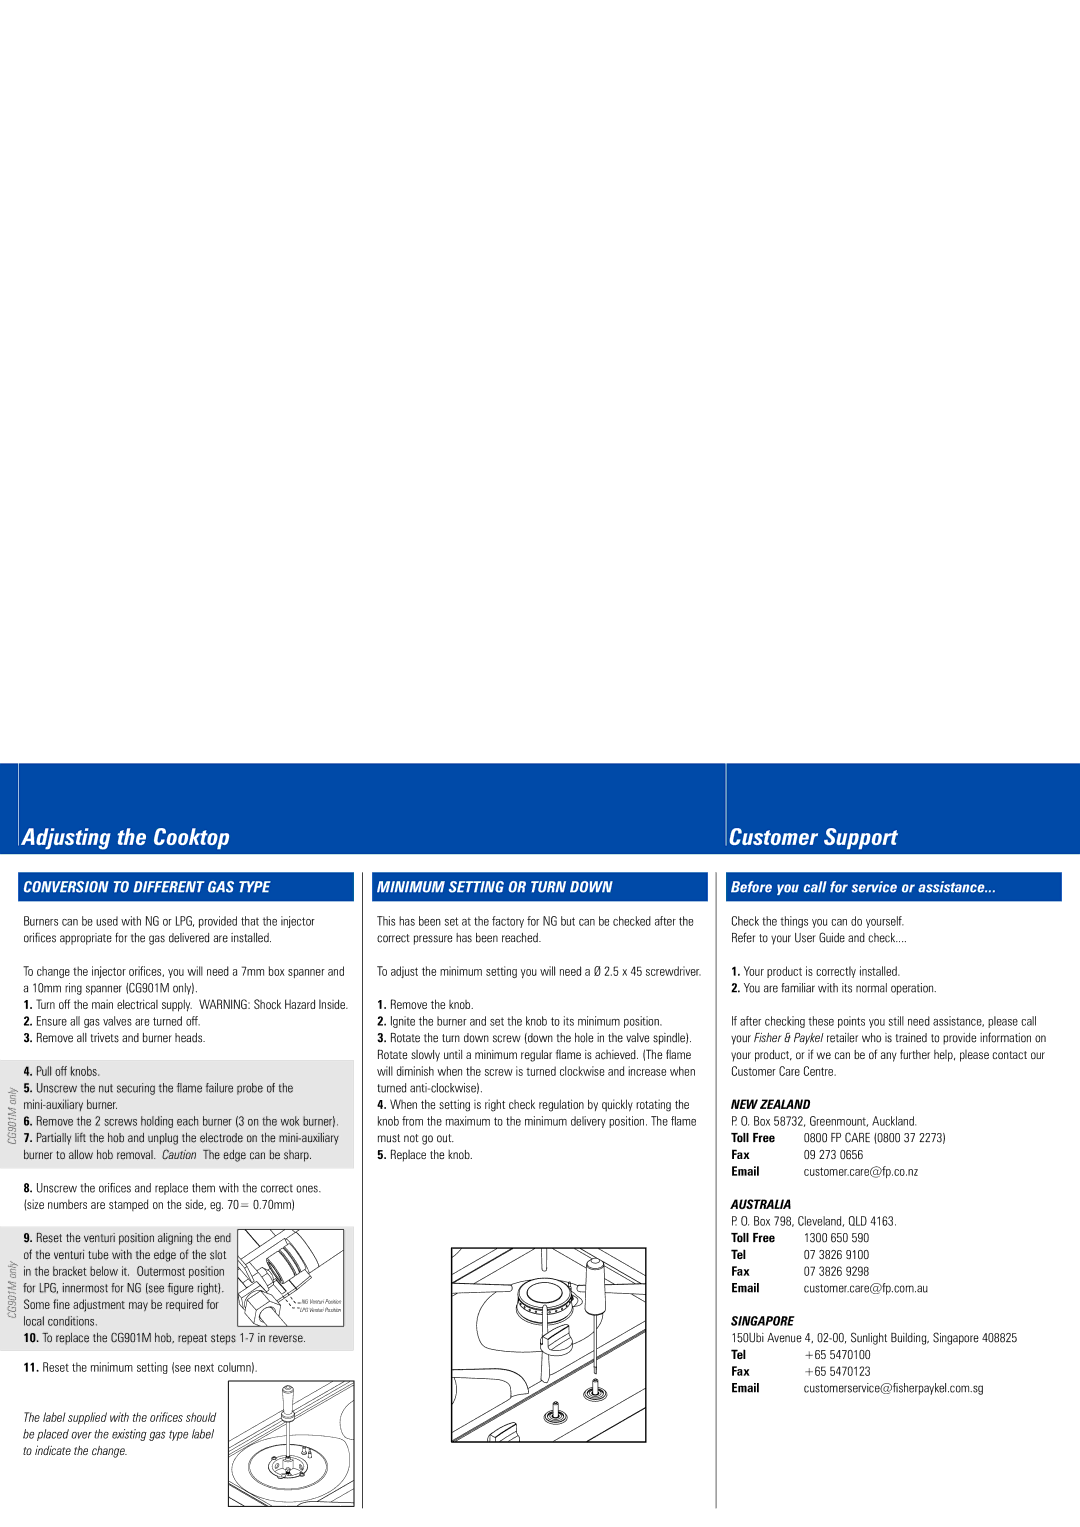
| 9. | Reset the venturi position aligning the end |
|
only | of the venturi tube with the edge of the slot |
| |
in the bracket below it. Outermost position |
| ||
CG901M | for LPG, innermost for NG (see figure right). |
| |
Some fine adjustment may be required for | NG Venturi Position | ||
LPG Venturi Position | |||
local conditions. |
| ||
|
| ||
10.To replace the CG901M hob, repeat steps
11.Reset the minimum setting (see next column).
The label supplied with the orifices should be placed over the existing gas type label to indicate the change.
MINIMUM SETTING OR TURN DOWN
This has been set at the factory for NG but can be checked after the correct pressure has been reached.
To adjust the minimum setting you will need a Ø 2.5 x 45 screwdriver.
1.Remove the knob.
2.Ignite the burner and set the knob to its minimum position.
3.Rotate the turn down screw (down the hole in the valve spindle). Rotate slowly until a minimum regular flame is achieved. (The flame will diminish when the screw is turned clockwise and increase when turned
4.When the setting is right check regulation by quickly rotating the knob from the maximum to the minimum delivery position. The flame must not go out.
5.Replace the knob.
Before you call for service or assistance...
Check the things you can do yourself.
Refer to your User Guide and check....
1.Your product is correctly installed.
2.You are familiar with its normal operation.
If after checking these points you still need assistance, please call your Fisher & Paykel retailer who is trained to provide information on your product, or if we can be of any further help, please contact our Customer Care Centre.
NEW ZEALAND
P. O. Box 58732, Greenmount, Auckland.
Toll Free 0800 FP CARE (0800 37 2273)
Fax 09 273 0656
Email customer.care@fp.co.nz
AUSTRALIA
P. O. Box 798, Cleveland, QLD 4163.
Toll Free | 1300 650 590 |
Tel | 07 3826 9100 |
Fax | 07 3826 9298 |
customer.care@fp.com.au |
SINGAPORE
150Ubi Avenue 4,
Tel | +65 5470100 |
Fax | +65 5470123 |
customerservice@fisherpaykel.com.sg |