OWNER’S MANUAL
INSTALLATION
NOTICE: This heater is intended for use as supplemental heat. Use this heater along with your pri- mary heating system. Do not in- stall this heater as your primary heat source. If you have a central heating system, you may run system’s circulating blower while using heater. This will help circu- late the heat throughout the house. In the event of a power outage, you can use this heater as your primary heat source.
![]() WARNING: A qualified ser- vice person must install heater. Follow all local codes.
WARNING: A qualified ser- vice person must install heater. Follow all local codes.
NOTICE: State or local codes may only allow operation of this appli- ance in a vented configuration. Check your state or local codes.
![]() WARNING: Make sure the se- lector switch is in the OFF posi- tion before installing heater.
WARNING: Make sure the se- lector switch is in the OFF posi- tion before installing heater.
![]() WARNING: Before installing in a solid fuel burning fireplace, the chimney flue and firebox must be cleaned of soot, creosote, ashes and loose paint by a quali- fied chimney cleaner. Creosote will ignite if highly heated. A dirty chimney may create and distrib- ute soot within the house. Inspect chimney flue for damage. If dam- aged, operate heater with flue damper closed.
WARNING: Before installing in a solid fuel burning fireplace, the chimney flue and firebox must be cleaned of soot, creosote, ashes and loose paint by a quali- fied chimney cleaner. Creosote will ignite if highly heated. A dirty chimney may create and distrib- ute soot within the house. Inspect chimney flue for damage. If dam- aged, operate heater with flue damper closed.
![]() WARNING: Seal any fresh air vents or ash
WARNING: Seal any fresh air vents or ash
![]() WARNING: Never install the heater
WARNING: Never install the heater
•in a bedroom or bathroom un- less installed as vented appli- ance, see page 10
•in a recreational vehicle
•where curtains, furniture, cloth- ing, or other flammable objects are less than 42 inches from the front, top, or sides of the heater
•in high traffic areas
•in windy or drafty areas
![]() CAUTION: This heater cre- ates warm air currents. These currents move heat to wall sur- faces next to heater. Installing heater next to vinyl or cloth wall coverings or operating heater where impurities (such as to- bacco smoke, aromatic candles, cleaning fluids, oil or kerosene lamps, etc.) in the air exist, may discolor walls.
CAUTION: This heater cre- ates warm air currents. These currents move heat to wall sur- faces next to heater. Installing heater next to vinyl or cloth wall coverings or operating heater where impurities (such as to- bacco smoke, aromatic candles, cleaning fluids, oil or kerosene lamps, etc.) in the air exist, may discolor walls.
IMPORTANT:
CHECK GAS TYPE
Use only propane/LP gas. If your gas sup- ply is not propane/LP gas, do not install heater. Call dealer where you bought heater for proper type heater.
INSTALLATION AND CLEARANCES (Vent-Free Operation Only)
![]() WARNING: Maintain the mini- mum clearances. If you can, pro- vide greater clearances from floor, ceiling, and adjoining wall.
WARNING: Maintain the mini- mum clearances. If you can, pro- vide greater clearances from floor, ceiling, and adjoining wall.
MINIMUM FIREPLACE CLEARANCE
TO COMBUSTIBLE MATERIALS
Log Size Side Wall Ceiling Floor*
18", 24", 30” | 16" | 42" | 5" |
*See Floor Clearances, page 9.
LOG SIZING REQUIREMENTS
| Minimum Firebox Size | |||
Log |
|
|
|
|
|
| Front | Rear* | |
Size | Height | Depth | Width | Width |
|
|
|
|
|
18" | 17" | 14" | 20" | 14" |
24" | 17" | 14" | 26" | 18" |
30" | 17" | 14" | 32" | 22" |
|
|
|
|
|
*Measured at 14” depth
Carefully follow the instructions below. This will ensure safe installation into a masonry,
Minimum Clearances For Side
Combustible Material, Side Wall,
and Ceiling
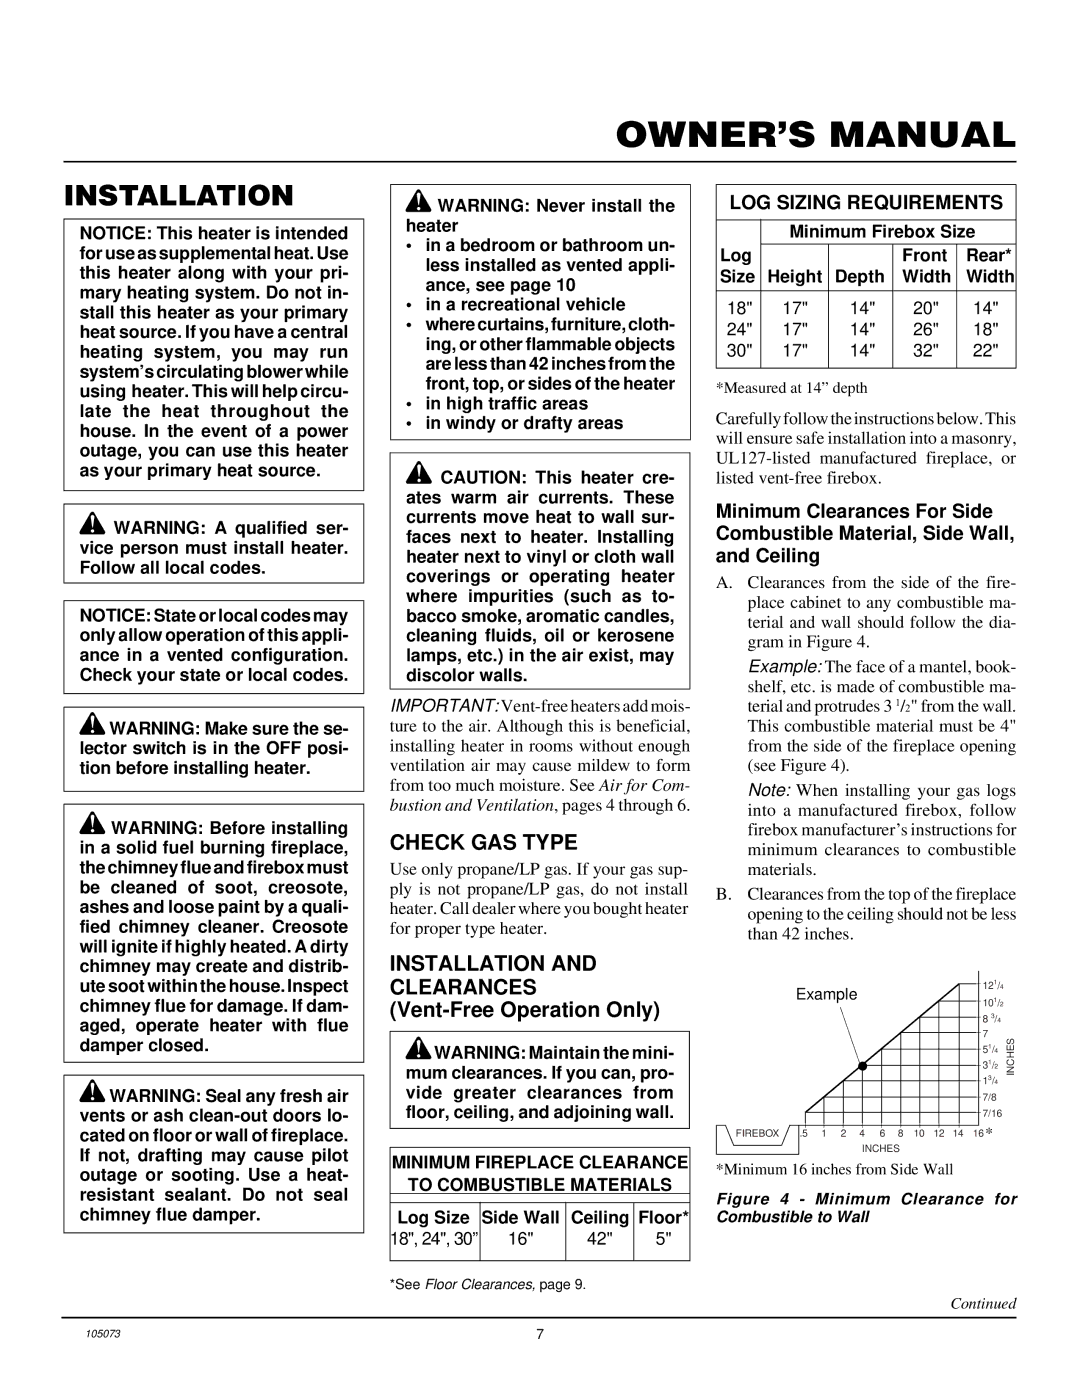
A.Clearances from the side of the fire- place cabinet to any combustible ma- terial and wall should follow the dia- gram in Figure 4.
Example: The face of a mantel, book- shelf, etc. is made of combustible ma- terial and protrudes 3 1/2" from the wall. This combustible material must be 4" from the side of the fireplace opening (see Figure 4).
Note: When installing your gas logs into a manufactured firebox, follow firebox manufacturer’s instructions for minimum clearances to combustible materials.
B.Clearances from the top of the fireplace opening to the ceiling should not be less than 42 inches.
| Example |
|
|
|
|
|
| 121/4 |
| ||
|
|
|
|
|
|
| 101/2 |
| |||
|
|
|
|
|
|
|
|
|
| 8 3/4 |
|
|
|
|
|
|
|
|
|
|
| 7 | INCHES |
|
|
|
|
|
|
|
|
|
| 51/4 | |
|
|
|
|
|
|
|
|
|
| 31/2 | |
|
|
|
|
|
|
|
|
|
| 13/4 | |
|
|
|
|
|
|
|
|
|
|
| |
|
|
|
|
|
|
|
|
|
| 7/8 |
|
|
|
|
|
|
|
|
|
|
| 7/16 |
|
FIREBOX | .5 | 1 | 2 | 4 | 6 | 8 | 10 | 12 | 14 | 16 * |
|
|
|
|
| INCHES |
|
|
|
|
| ||
*Minimum 16 inches from Side Wall
Figure 4 - Minimum Clearance for Combustible to Wall
Continued
105073 | 7 |
