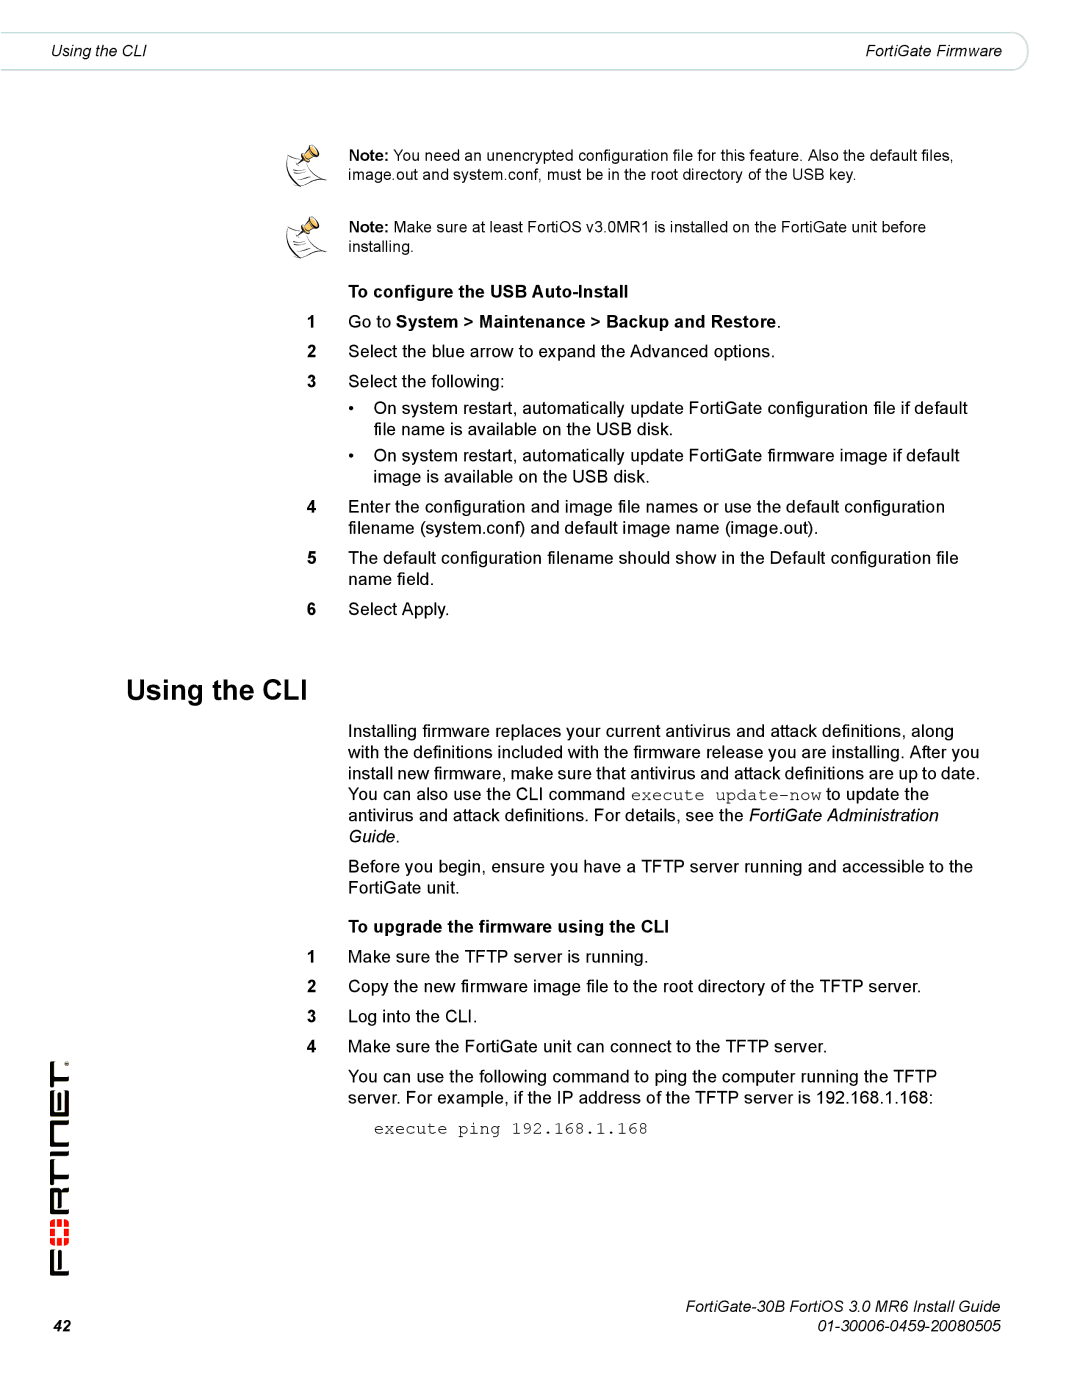
30B specifications
Fortinet's FortiGate 30B is a compact yet powerful security appliance designed for small to medium-sized businesses and branch offices. This next-generation firewall (NGFW) integrates various security functions, helping organizations safeguard their networks without compromising on performance or ease of use.One of the standout features of the FortiGate 30B is its robust security capabilities. It offers firewall protection, intrusion prevention systems (IPS), antivirus, web filtering, and application control, all in one device. This consolidated approach simplifies security management, enabling companies to deploy a range of protections without the need for multiple products.
The FortiGate 30B utilizes Fortinet's proprietary FortiOS operating system, which allows for centralized management and visibility into network traffic. With features like FortiView, administrators can gain insights into application usage, user activities, and security events, helping them make informed decisions to enhance their security posture.
Performance is another critical aspect of the FortiGate 30B. Equipped with Fortinet's purpose-built security processing units (SPUs), the device is designed to handle high throughput while maintaining low latency. This ensures that businesses can operate smoothly without facing interruptions caused by security measures.
Additionally, the FortiGate 30B supports advanced technologies such as VPN (Virtual Private Network) for secure remote access and SD-WAN (Software-Defined Wide Area Network) capabilities. This combination enables organizations to optimize their network performance and enhance connectivity between branch offices or remote workers, making it an ideal solution for today's flexible work environments.
A highlight of the FortiGate 30B is its ease of deployment. With a user-friendly interface and guided setup wizards, even those with limited IT experience can configure the device quickly. The included FortiCloud service allows for easy management and monitoring, further simplifying the administrative overhead.
Scalability is yet another critical characteristic of the FortiGate 30B. As businesses grow, they can easily expand their security infrastructure by integrating additional Fortinet solutions into their network, maintaining a cohesive security strategy without disrupting operations.
In summary, the FortiGate 30B offers a comprehensive, high-performance security solution for small and medium-sized organizations. With its integrated features, advanced technologies, and user-friendly management capabilities, it empowers businesses to protect their networks effectively while ensuring optimal performance and scalability for future growth.

