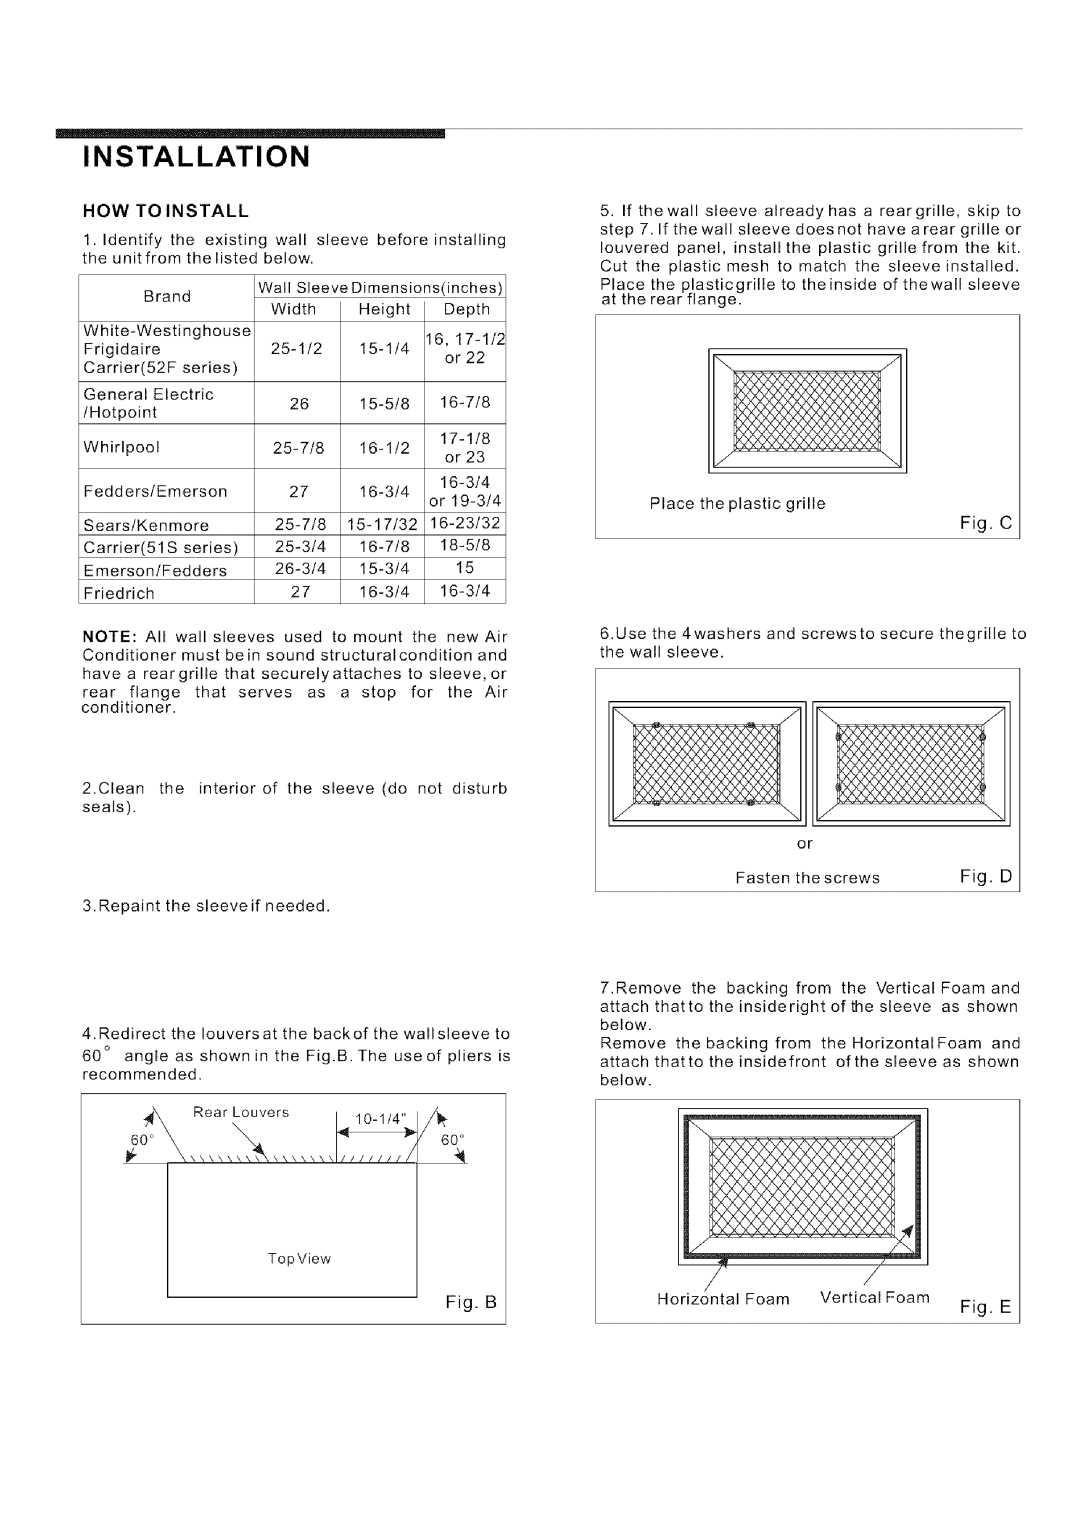
EA108T, 819042236-01 specifications
The Frigidaire EA108T, part number 819042236-01, is a remarkable addition to the world of home appliances, designed to enhance convenience and efficiency in daily tasks. This appliance exemplifies Frigidaire's commitment to quality, performance, and innovative technology.One of the standout features of the Frigidaire EA108T is its versatility. This appliance can serve multiple functions, effectively streamlining kitchen tasks. Whether you're cooking, reheating, or defrosting, the EA108T adjusts to your needs seamlessly, saving you valuable time in the kitchen. With a sleek and modern design, it complements various kitchen aesthetics while occupying minimal counter space.
This model incorporates advanced heating technology that ensures even cooking results. The precise temperature controls allow users to achieve the desired level of doneness with ease. Additionally, the efficient heating system reduces cooking times without sacrificing quality, which is particularly beneficial for those with busy lifestyles.
Another highlight of the EA108T is its user-friendly interface. The intuitive controls make it easy to operate, even for those who may not be technologically savvy. The clear display provides essential information at a glance, allowing users to monitor their cooking progress without any hassle.
The EA108T is also designed with safety in mind. It features a built-in timer and automatic shut-off function, ensuring that users won't have to worry about overcooking or burning their meals. This emphasis on safety makes it an excellent choice for families with children, providing peace of mind while cooking.
Moreover, the Frigidaire EA108T is energy-efficient, contributing to household sustainability. Its design minimizes energy consumption, aligning with contemporary environmental standards and helping consumers reduce their energy bills.
Lastly, ease of maintenance is a priority with the EA108T. The removable components are dishwasher-safe, simplifying cleanup and enhancing the overall user experience. The durable materials used in its construction promise longevity, making it a wise investment for any kitchen.
In summary, the Frigidaire EA108T, 819042236-01, stands out in the realm of kitchen appliances due to its combination of versatility, user-friendliness, safety features, energy efficiency, and ease of maintenance. These characteristics not only make cooking and meal preparation more enjoyable but also elevate the overall kitchen experience.

