OPERATING INSTRUCTIONS
Operating Your Dryer, continued
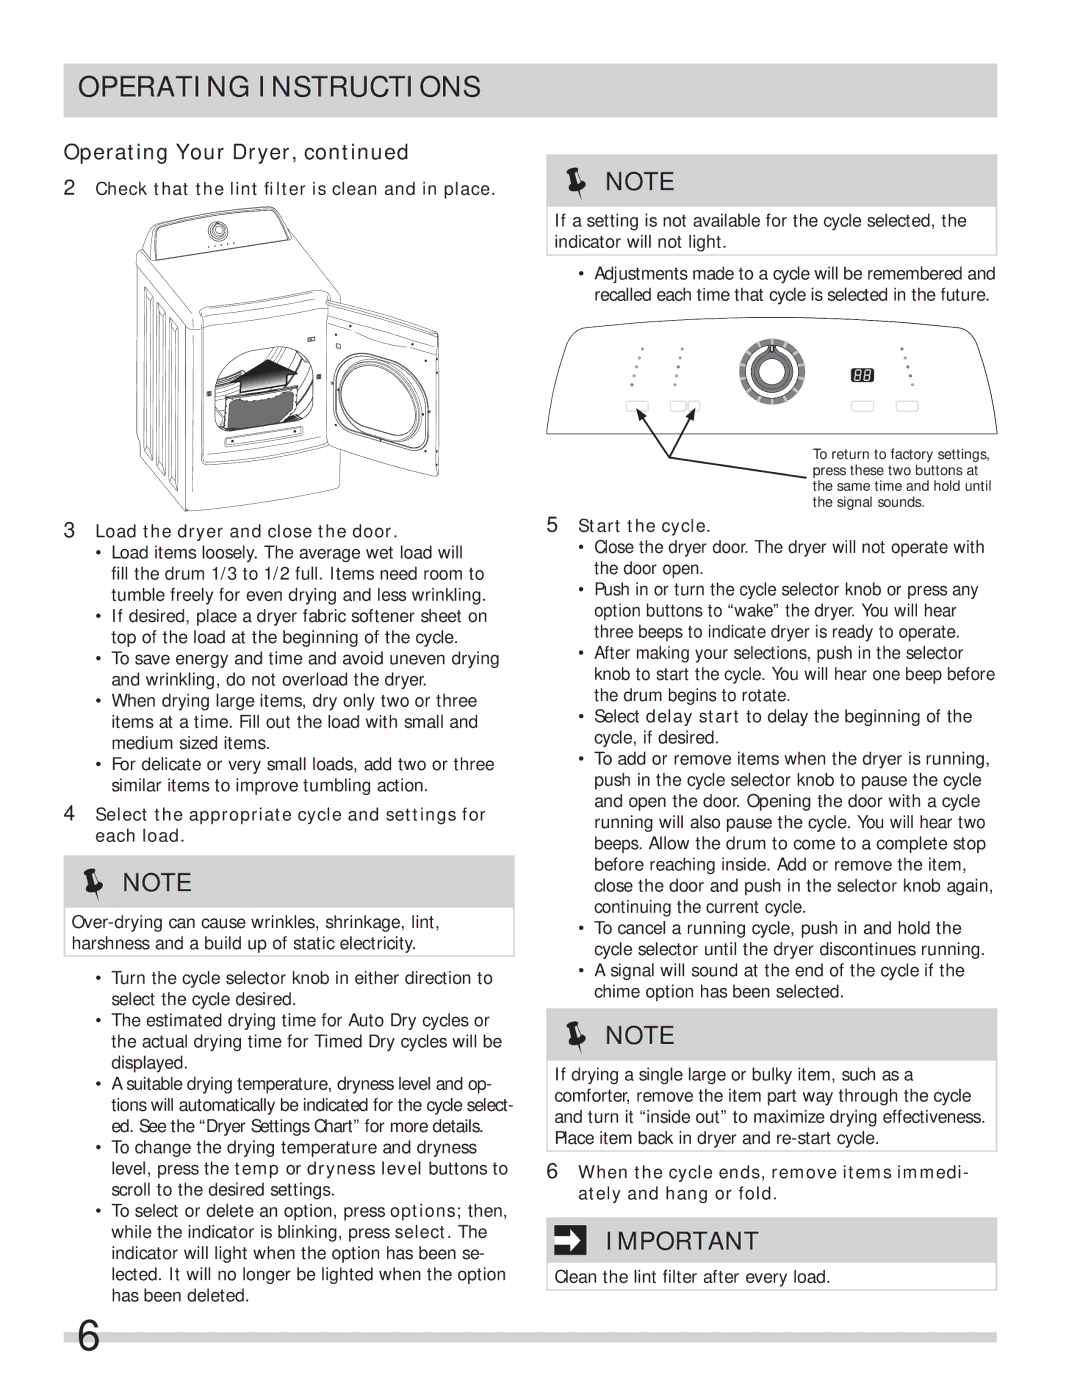
2Check that the lint filter is clean and in place.
NOTE
If a setting is not available for the cycle selected, the indicator will not light.
•Adjustments made to a cycle will be remembered and recalled each time that cycle is selected in the future.
3Load the dryer and close the door.
•Load items loosely. The average wet load will
fill the drum 1/3 to 1/2 full. Items need room to tumble freely for even drying and less wrinkling.
•If desired, place a dryer fabric softener sheet on top of the load at the beginning of the cycle.
•To save energy and time and avoid uneven drying and wrinkling, do not overload the dryer.
•When drying large items, dry only two or three items at a time. Fill out the load with small and medium sized items.
•For delicate or very small loads, add two or three similar items to improve tumbling action.
4Select the appropriate cycle and settings for each load.
NOTE
•Turn the cycle selector knob in either direction to select the cycle desired.
•The estimated drying time for Auto Dry cycles or the actual drying time for Timed Dry cycles will be displayed.
•A suitable drying temperature, dryness level and op- tions will automatically be indicated for the cycle select- ed. See the “Dryer Settings Chart” for more details.
•To change the drying temperature and dryness level, press the temp or dryness level buttons to scroll to the desired settings.
•To select or delete an option, press options; then, while the indicator is blinking, press select. The indicator will light when the option has been se- lected. It will no longer be lighted when the option has been deleted.
To return to factory settings, press these two buttons at the same time and hold until the signal sounds.
5Start the cycle.
•Close the dryer door. The dryer will not operate with the door open.
•Push in or turn the cycle selector knob or press any option buttons to “wake” the dryer. You will hear three beeps to indicate dryer is ready to operate.
•After making your selections, push in the selector knob to start the cycle. You will hear one beep before the drum begins to rotate.
•Select delay start to delay the beginning of the cycle, if desired.
•To add or remove items when the dryer is running, push in the cycle selector knob to pause the cycle and open the door. Opening the door with a cycle running will also pause the cycle. You will hear two beeps. Allow the drum to come to a complete stop before reaching inside. Add or remove the item, close the door and push in the selector knob again, continuing the current cycle.
•To cancel a running cycle, push in and hold the cycle selector until the dryer discontinues running.
•A signal will sound at the end of the cycle if the chime option has been selected.
NOTE
If drying a single large or bulky item, such as a comforter, remove the item part way through the cycle and turn it “inside out” to maximize drying effectiveness. Place item back in dryer and
6When the cycle ends, remove items immedi- ately and hang or fold.
![]()
![]() IMPORTANT
IMPORTANT
Clean the lint filter after every load.
6