12.Thread the new probe wire through the hole in front of the fryer. The probe assembly should be oriented in the same manner as the probe being replaced. Place the new probe assembly onto the element, and ensure that the probe extends 1” beyond the front of the bracket before securing the bracket. Also ensure that the springs are on each probe under each bracket.
13.Apply Loctite PST567 sealant to replacement threads.
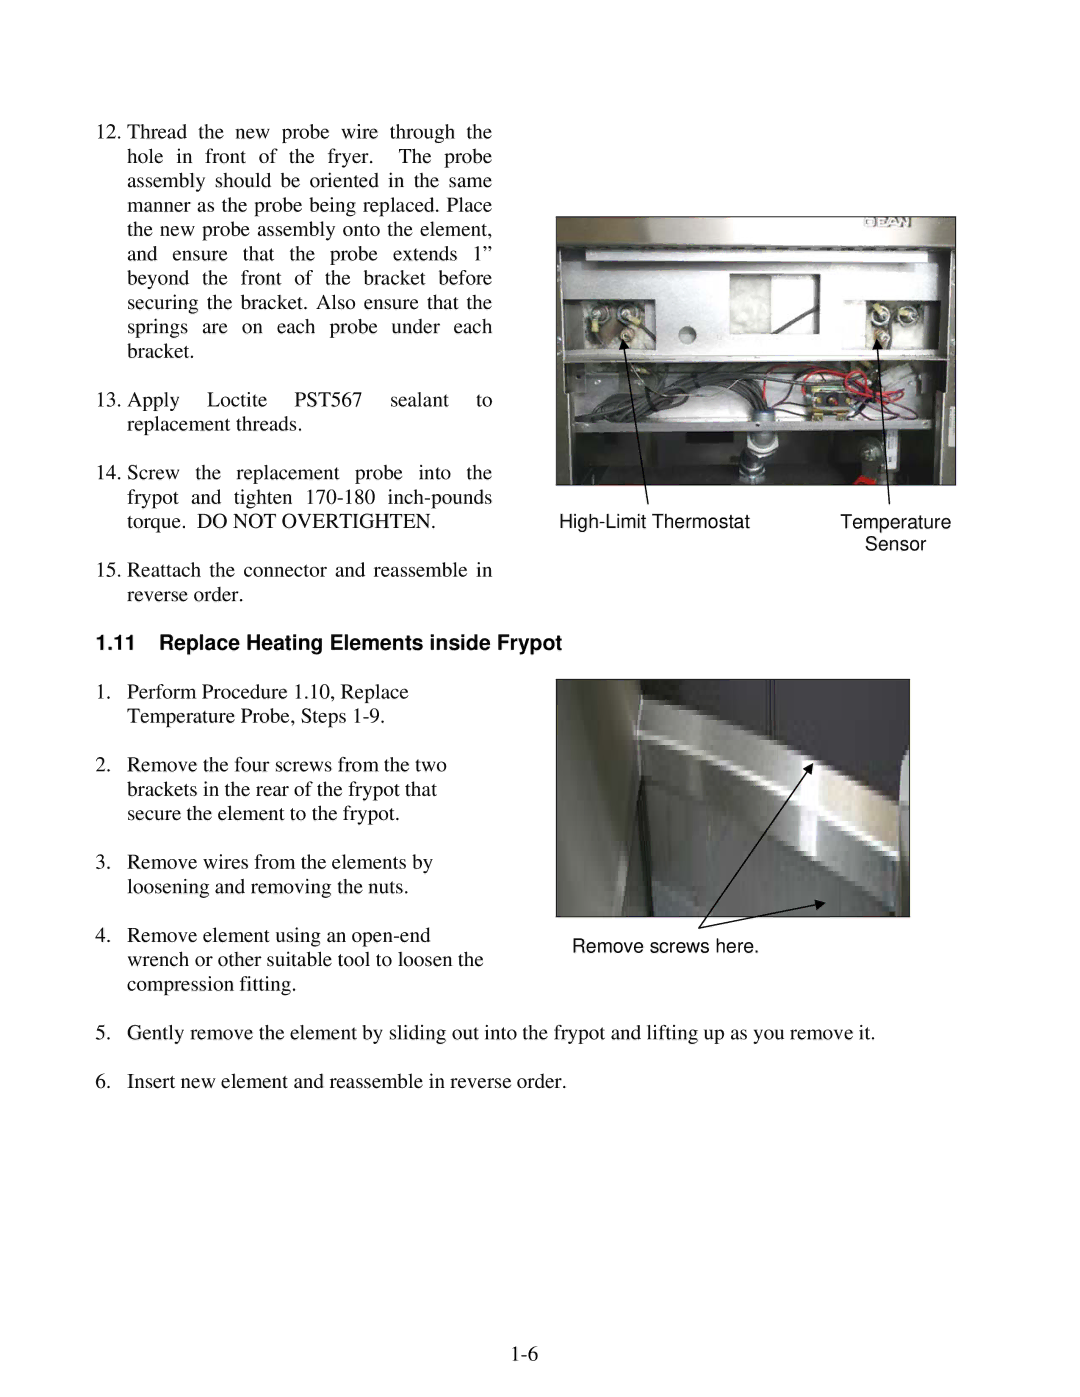
14.Screw the replacement probe into the frypot and tighten
torque. DO NOT OVERTIGHTEN. | Temperature | |
|
| Sensor |
15.Reattach the connector and reassemble in reverse order.
1.11Replace Heating Elements inside Frypot
1.Perform Procedure 1.10, Replace Temperature Probe, Steps
2.Remove the four screws from the two brackets in the rear of the frypot that secure the element to the frypot.
3.Remove wires from the elements by loosening and removing the nuts.
4. Remove element using an | Remove screws here. | |
wrench or other suitable tool to loosen the | ||
| ||
compression fitting. |
|
5.Gently remove the element by sliding out into the frypot and lifting up as you remove it.
6.Insert new element and reassemble in reverse order.