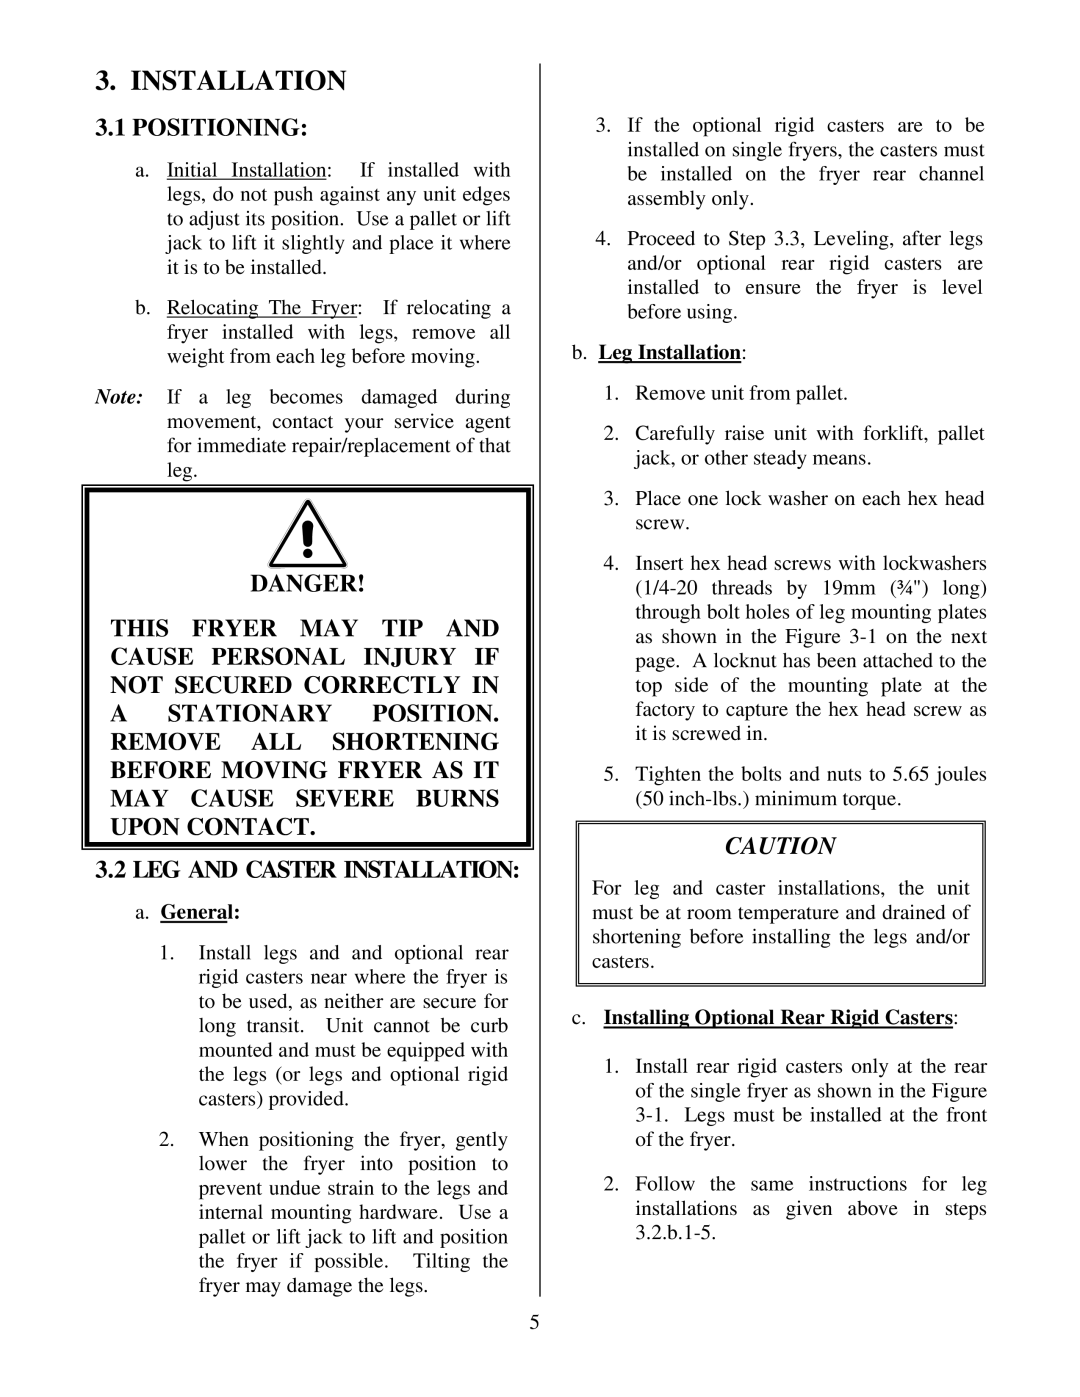
3. INSTALLATION

3.1POSITIONING:

a.Initial Installation: If installed with legs, do not push against any unit edges to adjust its position. Use a pallet or lift jack to lift it slightly and place it where it is to be installed.

b.Relocating The Fryer: If relocating a fryer installed with legs, remove all weight from each leg before moving.

Note: If a leg becomes damaged during movement, contact your service agent for immediate repair/replacement of that leg.

DANGER!

THIS FRYER MAY TIP AND CAUSE PERSONAL INJURY IF NOT SECURED CORRECTLY IN A STATIONARY POSITION. REMOVE ALL SHORTENING BEFORE MOVING FRYER AS IT MAY CAUSE SEVERE BURNS UPON CONTACT.

3.2LEG AND CASTER INSTALLATION:

a.General:

1.Install legs and and optional rear rigid casters near where the fryer is to be used, as neither are secure for long transit. Unit cannot be curb mounted and must be equipped with the legs (or legs and optional rigid casters) provided.

2.When positioning the fryer, gently lower the fryer into position to prevent undue strain to the legs and internal mounting hardware. Use a pallet or lift jack to lift and position the fryer if possible. Tilting the fryer may damage the legs.

3.If the optional rigid casters are to be installed on single fryers, the casters must be installed on the fryer rear channel assembly only.

4.Proceed to Step 3.3, Leveling, after legs and/or optional rear rigid casters are installed to ensure the fryer is level before using.

b.Leg Installation:

1.Remove unit from pallet.

2.Carefully raise unit with forklift, pallet jack, or other steady means.

3.Place one lock washer on each hex head screw.

4.Insert hex head screws with lockwashers (1/4-20 threads by 19mm (¾") long) through bolt holes of leg mounting plates as shown in the Figure 3-1 on the next page. A locknut has been attached to the top side of the mounting plate at the factory to capture the hex head screw as it is screwed in.

5.Tighten the bolts and nuts to 5.65 joules (50 inch-lbs.) minimum torque.

CAUTION

For leg and caster installations, the unit must be at room temperature and drained of shortening before installing the legs and/or casters.

c.Installing Optional Rear Rigid Casters:

1.Install rear rigid casters only at the rear of the single fryer as shown in the Figure 3-1. Legs must be installed at the front of the fryer.

2.Follow the same instructions for leg installations as given above in steps 3.2.b.1-5.

5

Page 7
Image 7
Frymaster Cool Zone Electric Fryer Positioning, General, Leg Installation, Installing Optional Rear Rigid Casters

Cool Zone Electric Fryer specifications

The Frymaster Cool Zone Electric Fryer is a revolutionary piece of kitchen equipment designed to elevate the frying experience for chefs and restaurant operators. This commercial fryer is engineered with advanced technologies and features that make it a standout choice for busy kitchens, offering efficiency, safety, and superior cooking results.

One of the primary features of the Frymaster Cool Zone Electric Fryer is its innovative Cool Zone technology. This unique design includes a cooler area around the fry pot where food particles and debris settle instead of burning. This feature not only prolongs the life of the oil but also enhances the flavor of the food being cooked, ensuring that each item maintains its quality and taste. By reducing the amount of carbonized food particles in the oil, the Cool Zone significantly improves productivity and minimizes oil changes, making it both economical and environmentally friendly.

The Frymaster fryer is constructed using heavy-duty materials, ensuring durability and longevity in a high-demand kitchen environment. The fryer features a stainless steel front and sides, while the fry pot is made from high-quality stainless steel, providing superior heat retention and ensuring even cooking temperatures. This robust construction allows it to withstand the rigors of daily use.

Equipped with a precise temperature control system, the Frymaster Cool Zone Electric Fryer allows for accurate cooking temperatures, which are essential for achieving perfectly fried foods. The easy-to-read digital control panel includes programmable settings, empowering chefs to replicate successful recipes effortlessly. This technology ensures that chefs can produce consistent and high-quality results every time.

Safety is also a top priority with the Frymaster Cool Zone Electric Fryer. The fryer is equipped with built-in safety features, including automatic shut-off mechanisms and adjustable temperature limits, which help prevent overheating and reduce the risk of accidents. The fryer’s design also ensures easy access and cleaning, allowing for a seamless operation in fast-paced kitchen environments.

Overall, the Frymaster Cool Zone Electric Fryer stands out with its innovative features and technologies, making it an essential tool for any food service operation. Its Cool Zone technology, durable construction, precise temperature control, and safety features combine to deliver an unparalleled frying experience that guarantees satisfaction for both chefs and customers alike.