Cool Zone Electric Fryer specifications
The Frymaster Cool Zone Electric Fryer is a revolutionary piece of kitchen equipment designed to elevate the frying experience for chefs and restaurant operators. This commercial fryer is engineered with advanced technologies and features that make it a standout choice for busy kitchens, offering efficiency, safety, and superior cooking results.One of the primary features of the Frymaster Cool Zone Electric Fryer is its innovative Cool Zone technology. This unique design includes a cooler area around the fry pot where food particles and debris settle instead of burning. This feature not only prolongs the life of the oil but also enhances the flavor of the food being cooked, ensuring that each item maintains its quality and taste. By reducing the amount of carbonized food particles in the oil, the Cool Zone significantly improves productivity and minimizes oil changes, making it both economical and environmentally friendly.
The Frymaster fryer is constructed using heavy-duty materials, ensuring durability and longevity in a high-demand kitchen environment. The fryer features a stainless steel front and sides, while the fry pot is made from high-quality stainless steel, providing superior heat retention and ensuring even cooking temperatures. This robust construction allows it to withstand the rigors of daily use.
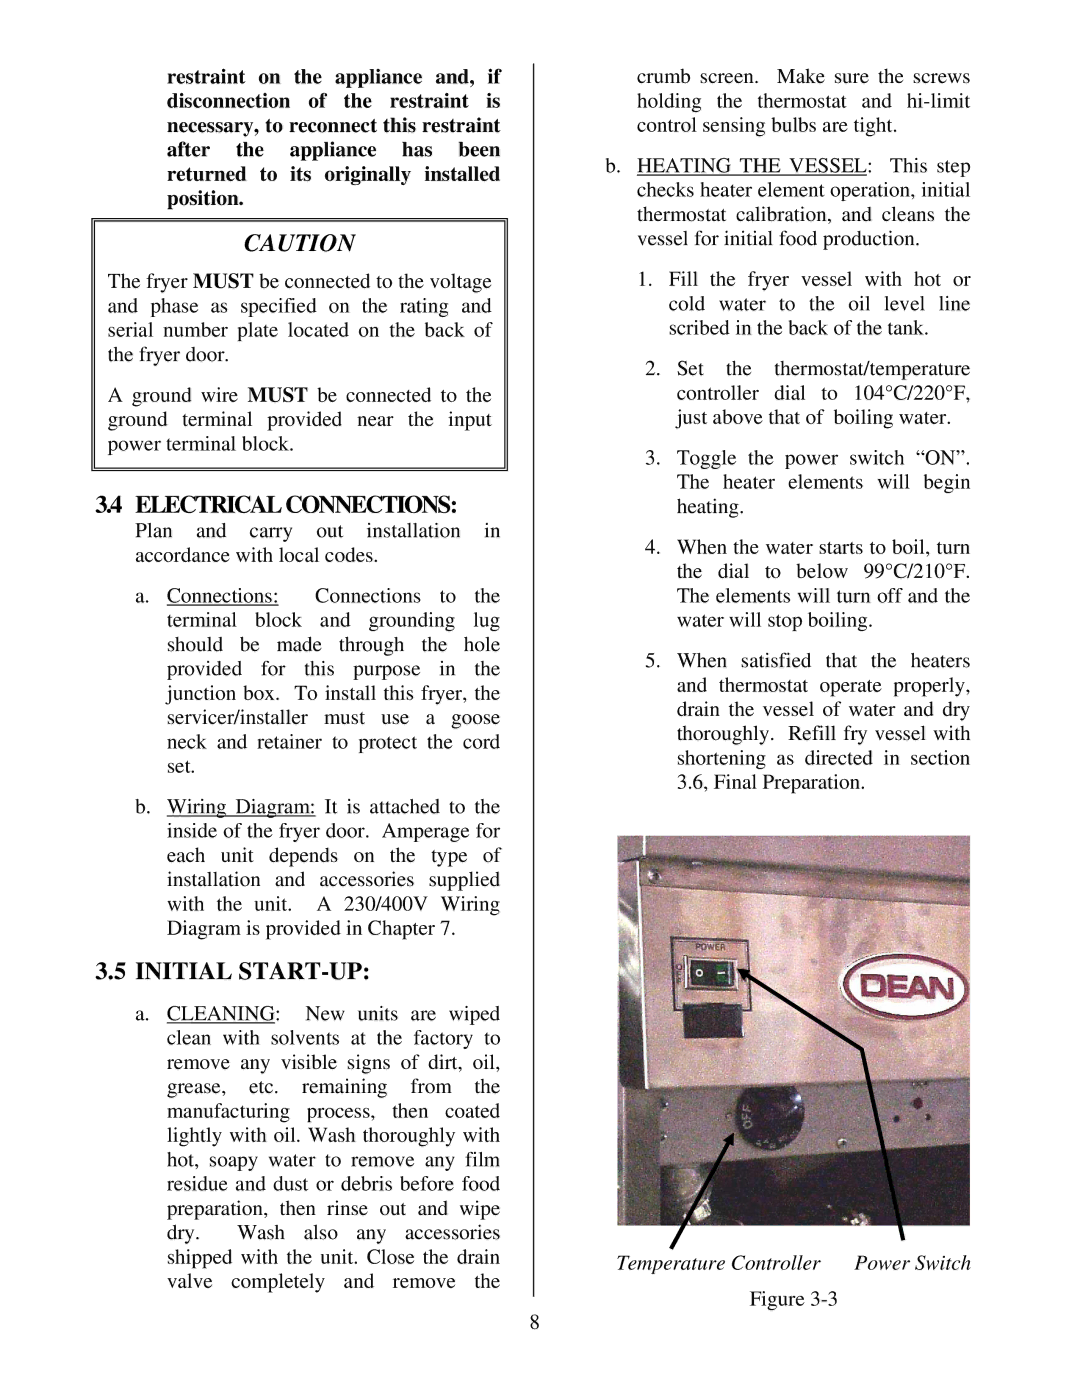
Equipped with a precise temperature control system, the Frymaster Cool Zone Electric Fryer allows for accurate cooking temperatures, which are essential for achieving perfectly fried foods. The easy-to-read digital control panel includes programmable settings, empowering chefs to replicate successful recipes effortlessly. This technology ensures that chefs can produce consistent and high-quality results every time.
Safety is also a top priority with the Frymaster Cool Zone Electric Fryer. The fryer is equipped with built-in safety features, including automatic shut-off mechanisms and adjustable temperature limits, which help prevent overheating and reduce the risk of accidents. The fryer’s design also ensures easy access and cleaning, allowing for a seamless operation in fast-paced kitchen environments.
Overall, the Frymaster Cool Zone Electric Fryer stands out with its innovative features and technologies, making it an essential tool for any food service operation. Its Cool Zone technology, durable construction, precise temperature control, and safety features combine to deliver an unparalleled frying experience that guarantees satisfaction for both chefs and customers alike.

