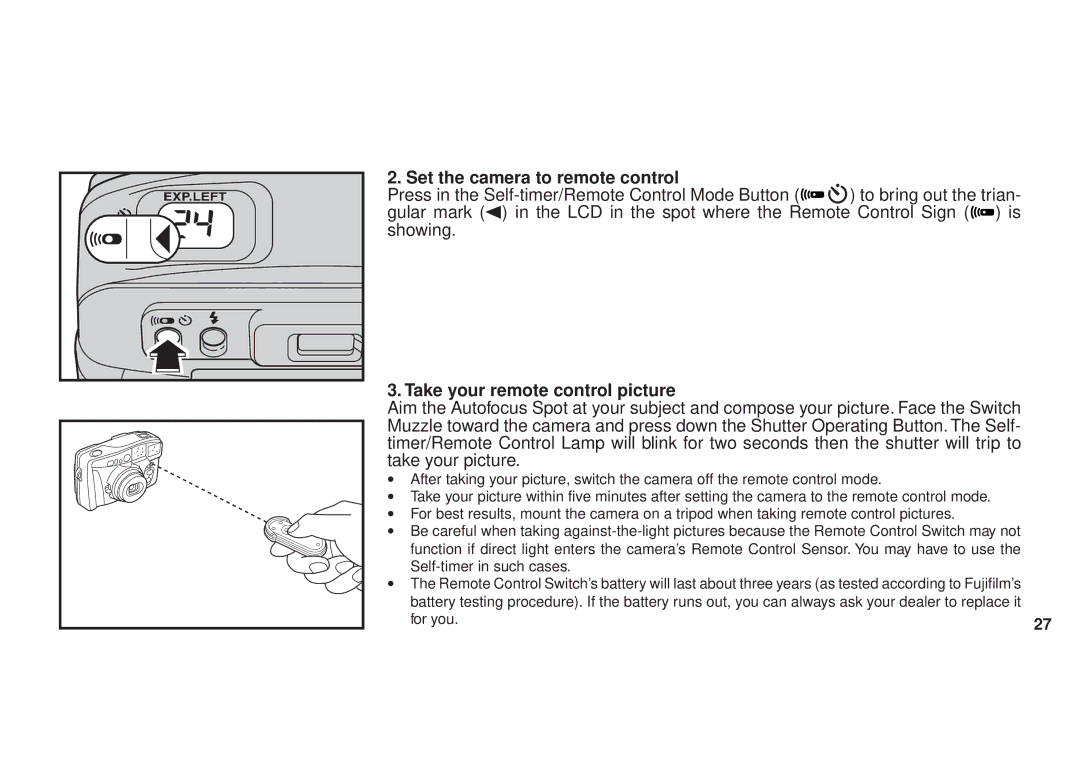
2. Set the camera to remote control
Press in the ![]()
![]() ) to bring out the trian- gular mark (d) in the LCD in the spot where the Remote Control Sign (
) to bring out the trian- gular mark (d) in the LCD in the spot where the Remote Control Sign (![]()
![]() ) is showing.
) is showing.
3. Take your remote control picture
Aim the Autofocus Spot at your subject and compose your picture. Face the Switch Muzzle toward the camera and press down the Shutter Operating Button. The Self- timer/Remote Control Lamp will blink for two seconds then the shutter will trip to take your picture.
•After taking your picture, switch the camera off the remote control mode.
•Take your picture within five minutes after setting the camera to the remote control mode.
•For best results, mount the camera on a tripod when taking remote control pictures.
•Be careful when taking
•The Remote Control Switch’s battery will last about three years (as tested according to Fujifilm’s
battery testing procedure). If the battery runs out, you can always ask your dealer to replace it |
|
for you. | 27 |