S7000 specifications
The FujiFilm S7000 digital camera, launched in the early 2000s, marked a significant advancement in the world of digital photography, particularly for enthusiasts and semi-professional photographers. With its unique features and technologies, the S7000 positioned itself as a versatile camera that delivered high-quality images and usability.One of the highlights of the S7000 is its Super CCD technology, which features a 6.3-megapixel sensor that effectively captures images at a resolution of 12-megapixels via interpolation. This technology allows for greater dynamic range and enhanced detail, making it possible to produce large prints without sacrificing quality. The camera boasts a wide ISO range from 80 to 1600, making it adaptable for various lighting conditions, whether bright daylight or low-light environments.
The S7000 features a 6x optical zoom lens with a focal length equivalent to 35-210mm in 35mm film terms, providing flexibility for different types of photography, from landscapes to close-up portraits. The lens design includes aspherical elements to reduce aberrations, ensuring sharp images across the zoom range. In addition to its optical capabilities, the camera supports digital zoom, allowing users to extend the zoom range further, albeit at a loss of quality.
An ergonomic design sets the S7000 apart, with a robust build that fits comfortably in hand. The camera features a 1.8-inch LCD screen, which can be tilted for versatile shooting angles, along with an optical viewfinder for traditional composing. Notably, the S7000 includes both manual and automatic exposure modes, giving photographers the creative control they desire while still accommodating those who prefer point-and-shoot functionality.
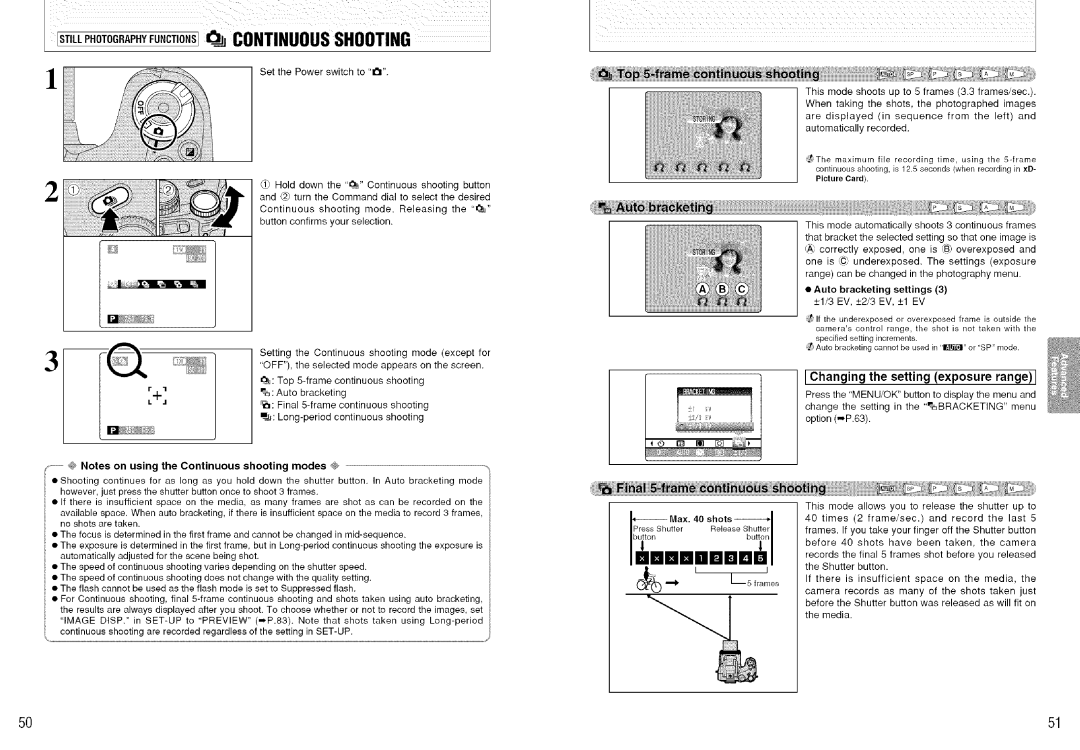
The S7000 also offers advanced features such as multiple scene modes and the ability to shoot in RAW format, providing flexibility in post-processing. Users benefit from its Continuous Shooting mode, allowing for capturing a rapid series of shots, which is particularly useful in sports or wildlife photography.
Overall, the FujiFilm S7000 is a significant camera that combines innovative technology with user-friendly design. Its combination of Super CCD technology, versatile zoom capabilities, and robust shooting options make it a memorable part of photography history, appealing to both beginners and seasoned photographers alike. With its introduction, FujiFilm brought the digital camera experience to new heights, laying the groundwork for future advancements in the field.

