
9319356051, AIR CONDITIONER specifications
The Fujitsu 9319356051 air conditioner stands out as a robust solution for both residential and commercial cooling needs, offering a blend of efficiency, design, and advanced technology. One of the most notable features of this air conditioning unit is its exceptional energy efficiency. It leverages advanced inverter technology, allowing the compressor to adjust its speed according to the cooling demand. This not only maintains a consistent temperature but also significantly reduces energy consumption, making it an eco-friendly option.Equipped with a powerful cooling capacity, the Fujitsu 9319356051 is designed to effectively cool large spaces. Its rapid cooling feature ensures that the environment reaches the desired temperature quickly, providing comfort when it is needed the most. This air conditioner also incorporates a dehumidification function, which effectively reduces humidity levels, enhancing overall comfort without the excessive coolness that often accompanies high-capacity cooling units.
One of the defining characteristics of the Fujitsu 9319356051 is its quiet operation. The noise levels produced during operation are minimal, allowing users to enjoy a peaceful environment, whether it’s during day or night. This feature makes it particularly suitable for bedrooms, offices, and other quiet spaces where noise could be a distraction.
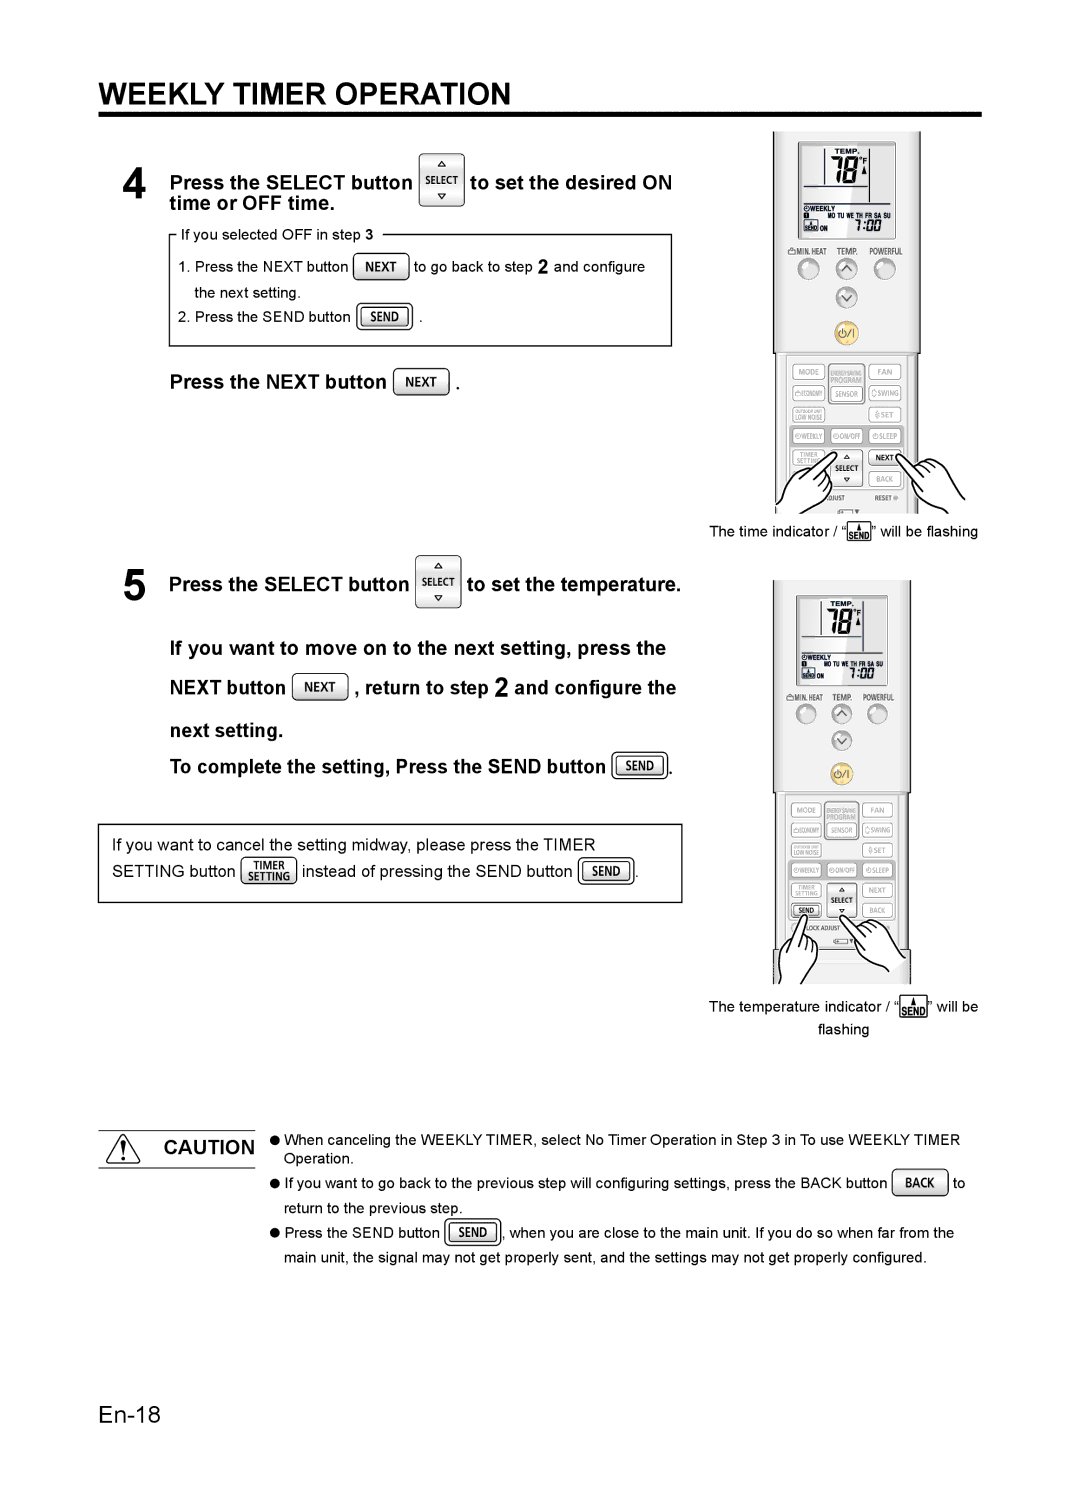
In terms of user control, the air conditioner boasts an intuitive remote control and programmable settings. Users can set timers, adjust temperatures, and choose from various modes—cooling, heating, and fan modes—ensuring that the unit meets diverse climate control needs. The ability to save preferred settings adds to the convenience, allowing for personalized comfort at the touch of a button.
The design of the Fujitsu 9319356051 is both functional and aesthetically pleasing, designed to blend seamlessly with various room decors. Its compact size allows for flexible installation options, whether mounted on a wall or set up in a window.
Overall, the Fujitsu 9319356051 air conditioner combines energy efficiency, powerful cooling, quiet operation, and user-friendly features, making it an excellent choice for those looking for a reliable and high-performing air conditioning unit. With its emphasis on comfort and efficiency, it continues to be a popular choice among consumers seeking quality climate control solutions.