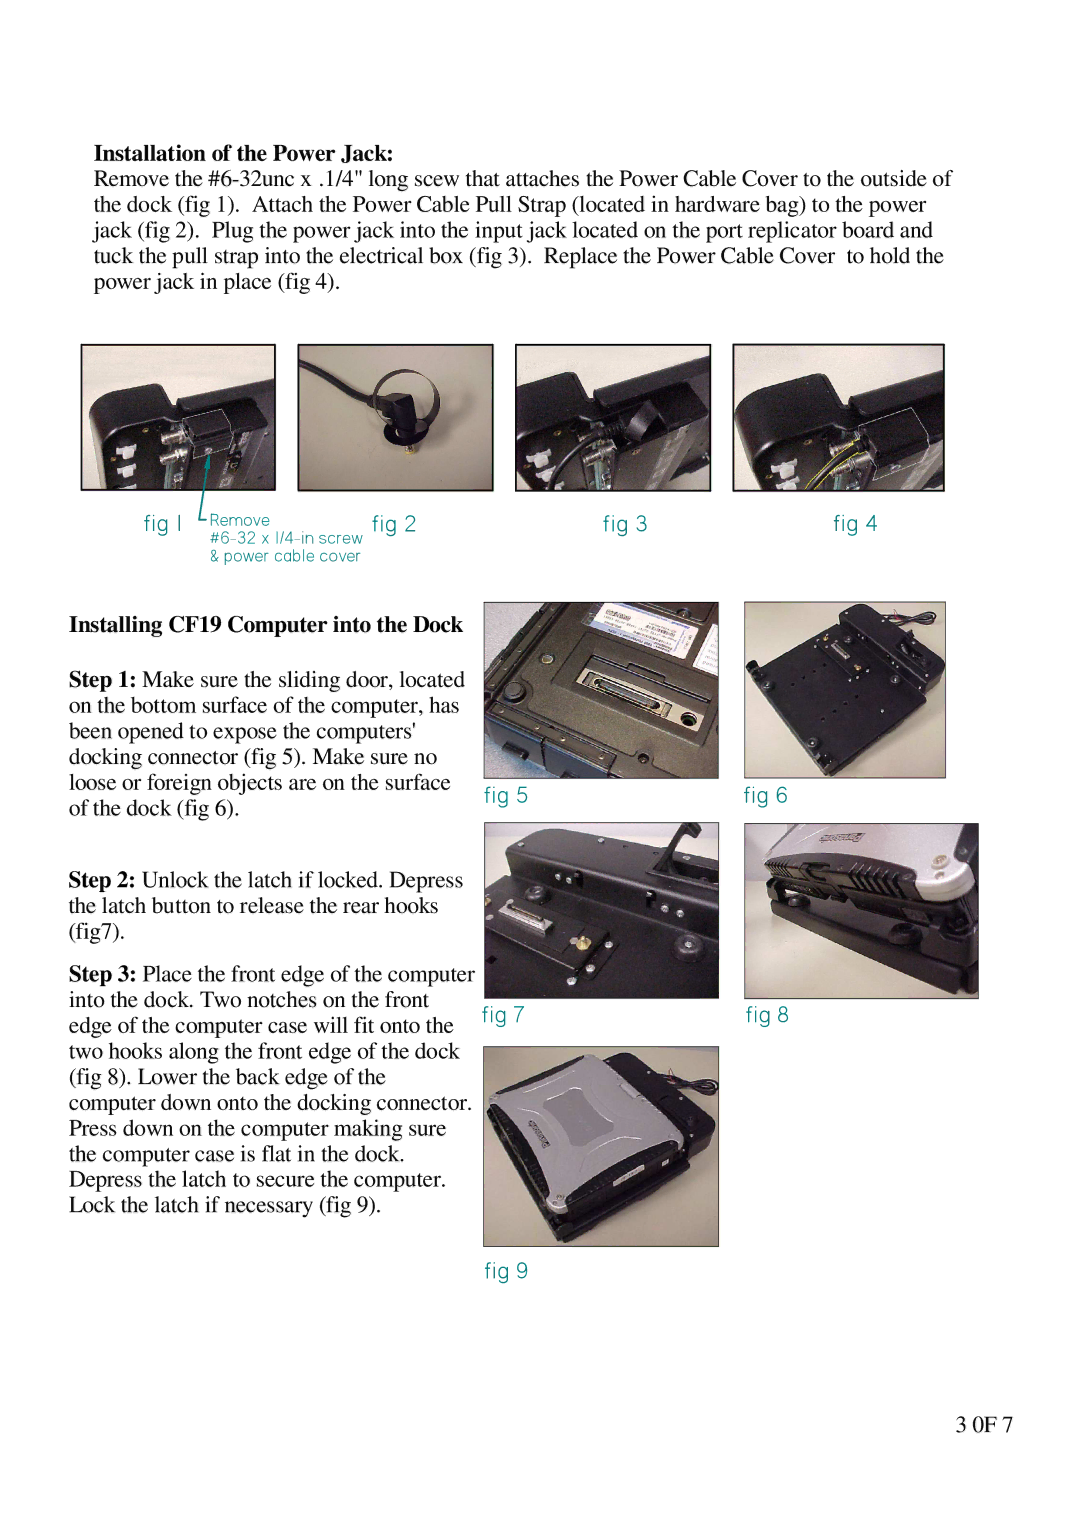
Installation of the Power Jack:
Remove the
fig 1 Removefig 2
Installing CF19 Computer into the Dock
Step 1: Make sure the sliding door, located on the bottom surface of the computer, has been opened to expose the computers' docking connector (fig 5). Make sure no loose or foreign objects are on the surface of the dock (fig 6).
Step 2: Unlock the latch if locked. Depress the latch button to release the rear hooks (fig7).
fig 3
fig 5
fig 4
fig 6
Step 3: Place the front edge of the computer into the dock. Two notches on the front edge of the computer case will fit onto the two hooks along the front edge of the dock (fig 8). Lower the back edge of the computer down onto the docking connector. Press down on the computer making sure the computer case is flat in the dock. Depress the latch to secure the computer. Lock the latch if necessary (fig 9).
fig 7 | fig 8 |
|
|
|
|
fig 9
3 0F 7
