ge.com

SmartDispenseTM Detergent Dispenser

Water Hardness Calibration

Prior to the first use, the dishwasher needs

3

Press the “Up”

arrow pad to raise the value

to be calibrated for water hardness. Please follow


or the “Down”

arrow pad to lower the value.


the directions below to calibrate the dishwasher


Set the water hardness value to the number

to the hardness of your tap water.


determined with the test strip and table at the left.

Safety Instructions

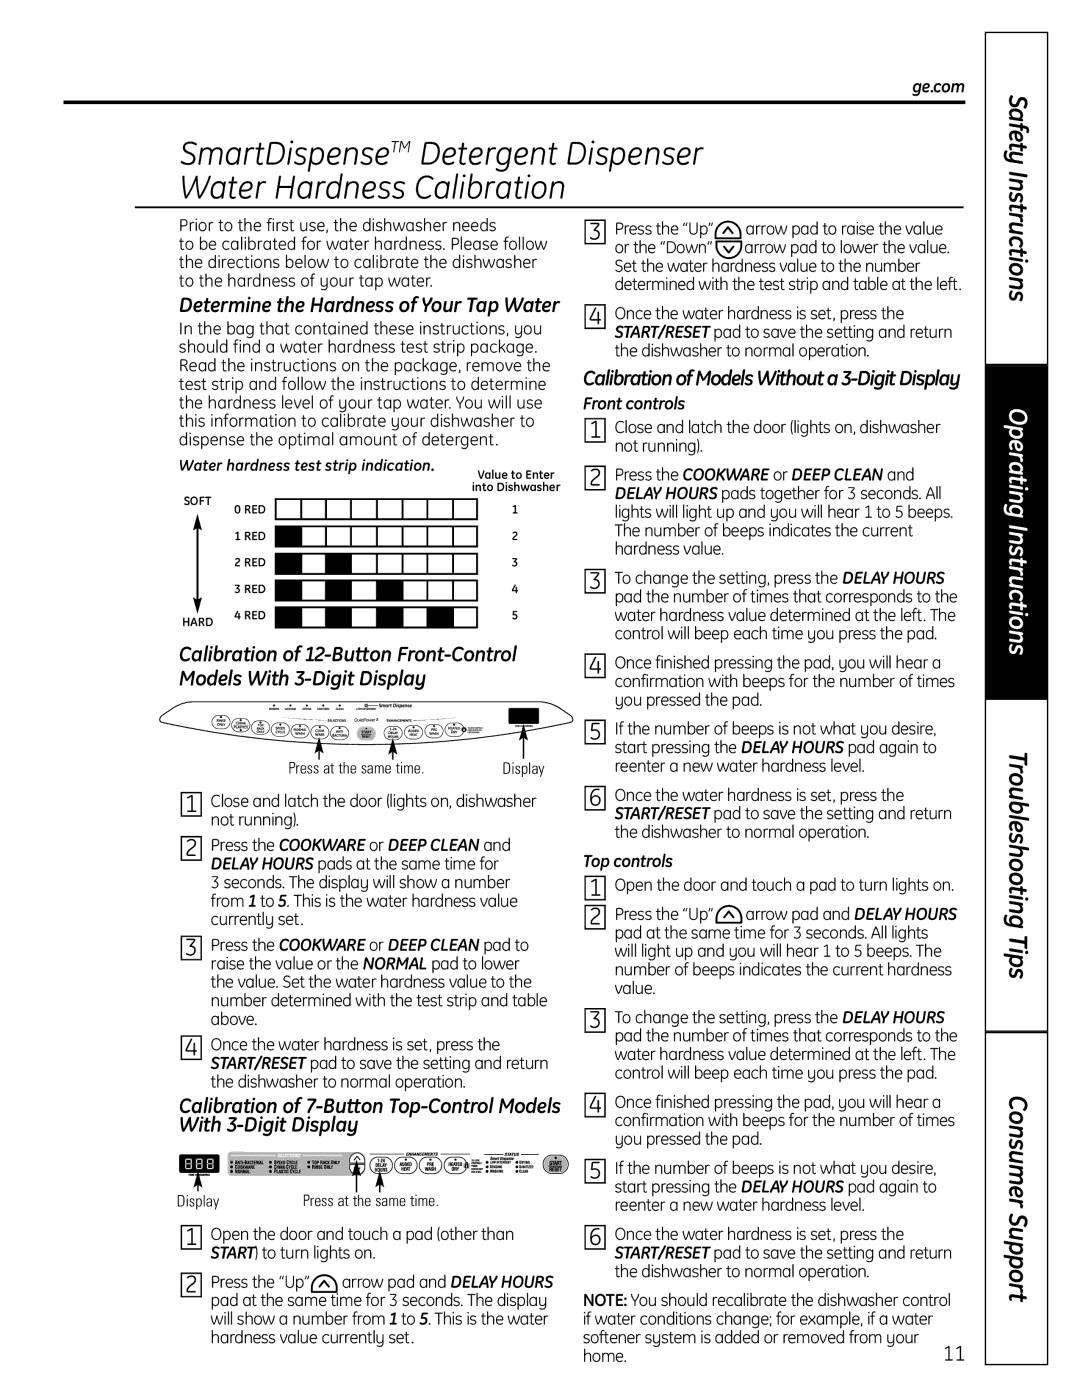
Determine the Hardness of Your Tap Water

In the bag that contained these instructions, you should find a water hardness test strip package. Read the instructions on the package, remove the test strip and follow the instructions to determine the hardness level of your tap water. You will use this information to calibrate your dishwasher to dispense the optimal amount of detergent.

Water hardness test strip indication.


Value to Enter


into Dishwasher


SOFT

0 RED


1


1 RED


2


2 RED


3


3 RED


4


HARD

4 RED

5


4Once the water hardness is set, press the START/RESET pad to save the setting and return the dishwasher to normal operation.

CalibrationofModelsWithouta3-DigitDisplay

Front controls

1Close and latch the door (lights on, dishwasher not running).

2Press the COOKWARE or DEEP CLEAN and DELAY HOURS pads together for 3 seconds. All lights will light up and you will hear 1 to 5 beeps. The number of beeps indicates the current hardness value.

3To change the setting, press the DELAY HOURS pad the number of times that corresponds to the water hardness value determined at the left. The control will beep each time you press the pad.

Operating Instructions

Calibration of 12-Button Front-Control Models With 3-Digit Display

Press at the same time.

Display

1Close and latch the door (lights on, dishwasher not running).

2Press the COOKWARE or DEEP CLEAN and DELAY HOURS pads at the same time for

3 seconds. The display will show a number from 1 to 5. This is the water hardness value currently set.

3Press the COOKWARE or DEEP CLEAN pad to raise the value or the NORMAL pad to lower the value. Set the water hardness value to the number determined with the test strip and table above.

4Once the water hardness is set, press the START/RESET pad to save the setting and return the dishwasher to normal operation.

Calibration of 7-Button Top-Control Models With 3-Digit Display

Display

Press at the same time.

1Open the door and touch a pad (other than START) to turn lights on.

2Press the “Up” arrow pad and DELAY HOURS pad at the same time for 3 seconds. The display will show a number from 1 to 5. This is the water hardness value currently set.

4Once finished pressing the pad, you will hear a confirmation with beeps for the number of times you pressed the pad.

5If the number of beeps is not what you desire, start pressing the DELAY HOURS pad again to reenter a new water hardness level.

6Once the water hardness is set, press the START/RESET pad to save the setting and return the dishwasher to normal operation.

Top controls

1Open the door and touch a pad to turn lights on.

2Press the “Up”arrow pad and DELAY HOURS pad at the same time for 3 seconds. All lights will light up and you will hear 1 to 5 beeps. The number of beeps indicates the current hardness value.

3To change the setting, press the DELAY HOURS pad the number of times that corresponds to the water hardness value determined at the left. The control will beep each time you press the pad.

4Once finished pressing the pad, you will hear a confirmation with beeps for the number of times you pressed the pad.

5If the number of beeps is not what you desire, start pressing the DELAY HOURS pad again to reenter a new water hardness level.

6Once the water hardness is set, press the START/RESET pad to save the setting and return the dishwasher to normal operation.

NOTE: You should recalibrate the dishwasher control if water conditions change; for example, if a water

softener system is added or removed from your

11

home.

Troubleshooting Tips

Consumer Support

Page 11
Image 11
GE 165D4700P381 Determine the Hardness of Your Tap Water, CalibrationofModelsWithouta3-DigitDisplay, Front controls

165D4700P381 specifications

The GE 165D4700P381 is a notable component in the field of electrical engineering, primarily recognized for its application in various industries that require reliable and efficient electrical power management. This product serves as a key element in power distribution systems, ensuring stable performance and effective load management.

One of the main features of the GE 165D4700P381 is its robust design. Engineered to withstand harsh environmental conditions, this device is built with high-quality materials that offer durability and longevity. It is suited for both indoor and outdoor applications, making it a versatile solution for different settings.

The technology embedded within the GE 165D4700P381 reflects the latest advancements in power management systems. It is designed to operate efficiently in a range of temperatures and humidity levels, ensuring optimal functionality regardless of the surrounding environment. This adaptability is critical for industries that face fluctuating conditions, allowing for uninterrupted service.

The GE 165D4700P381 also features integrated protective mechanisms that enhance its safety. With built-in fault detection and prevention systems, it minimizes the risk of electrical failures, thereby protecting connected devices and reducing maintenance costs. These safety features are crucial for applications in sectors such as manufacturing, utilities, and telecommunications, where system reliability is paramount.

Additionally, the GE 165D4700P381 is equipped with advanced connectivity options. This enables seamless integration with smart grid technologies and IoT devices, facilitating real-time monitoring and management of electrical power systems. The ability to connect with digital infrastructure supports enhanced data analytics, allowing businesses to optimize their energy consumption and improve operational efficiency.

Overall, the GE 165D4700P381 stands out as a dependable solution for those seeking to enhance their power management capabilities. Its combination of robust construction, advanced technology, and safety features makes it an ideal choice for various industrial applications. As energy demands grow and systems evolve, the GE 165D4700P381 continues to play a vital role in ensuring reliable electrical performance across multiple platforms.