Safety Instructions

Operating Instructions

Tips

About the dishwasher control panel.

5Start

Close the dishwasher door and select the cycle and desired enhancements. Touch the START/RESET pad to begin the cycle. Water fill begins, and approximately 60 seconds later the wash action begins.

NOTE: The dishwasher remembers your last cycle so you don’t have to reprogram each time. When the dishwasher door is fully closed, the control panel lights will display the last settings you selected.

If you don’t want to change any of the settings, simply touch the START/RESET pad to begin the cycle.

If the door is closed, the indicator lights will turn off if the START/RESET pad is not selected within two minutes. To activate the display, open and close the door or press any pad.

Also, if a power failure occurs, NORMAL and HEATED DRY will automatically be programmed. Make any new selections and touch the START/RESET pad to begin the cycle.

6Clean

The CLEAN light will illuminate and a double beep will sound when a wash cycle is complete. On some models,

the CLEAN light will turn off when the door is opened. On other models, the CLEAN light will remain on until the door is opened and then relatched or until any keypad is pressed while the door is latched shut.

Flashing display lights.

Status Indicator Lights

What It Means

START/RESET

Cycle has been interrupted by pressing the START/RESET pad. Light will stop


flashing after the dishwasher automatically drains out the water.

Using the dishwasher.

Check the Water Temperature

The entering water should be at least 120°F (49°C) and

faucet nearest the dishwasher, place the thermometer in

not more than 150°F (66°C) for effective cleaning and to

a glass and let the water run continuously into the glass

prevent dish damage. Check the water temperature with

until the temperature stops rising.

a candy or meat thermometer. Turn on the hot water


Use Jet-Dry ® or Cascade Crystal Clear® Rinse Agent

Jet-Dry®or Cascade Crystal Clear® rinse agents remove spots and prevent new film buildup on your dishes, glasses, flatware, cookware and plastic.

Troubleshooting

Filling the Dispenser

The rinse agent dispenser holds 3.5 oz. (99 g.) of rinse agent. Under normal conditions, this will last approximately one month. Try to keep it full, but do not overfill.

1Make sure the dishwasher door is fully open.

2Turn the dispenser cap to the left and lift it out.

3Add rinse agent until the indicator window looks full.

4Clean up any spilled rinse agent with a damp cloth.

5Replace the dispenser cap.

Indicator


window

Dispenser cap

Support

Rinse Aid Setting

The amount of rinse agent released into the final wash can be adjusted. The factory setting is at the midpoint. If there are rings of calcium (hard water) spots on dishes, try a higher setting. If you see foam in the dishwasher, move the indicator to a lower setting.

To adjust the setting

Remove the dispenser cap; then turn the adjuster counterclockwise to increase the amount of rinse agent, clockwise to reduce the amount of rinse agent.

Rinse agent adjuster

Consumer

Dish Preparation Prior to Loading


■ No prerinsing of normal food soil is required.

■ Remove leafy vegetables, meat trimmings and


■ Scrape off hard soils, including bones, toothpicks, skins

excessive amounts of grease or oil.


and seeds.

■ Remove acidic food soils that can discolor stainless

6

■ Remove large quantities of any remaining food.

steel.

Page 6
Image 6
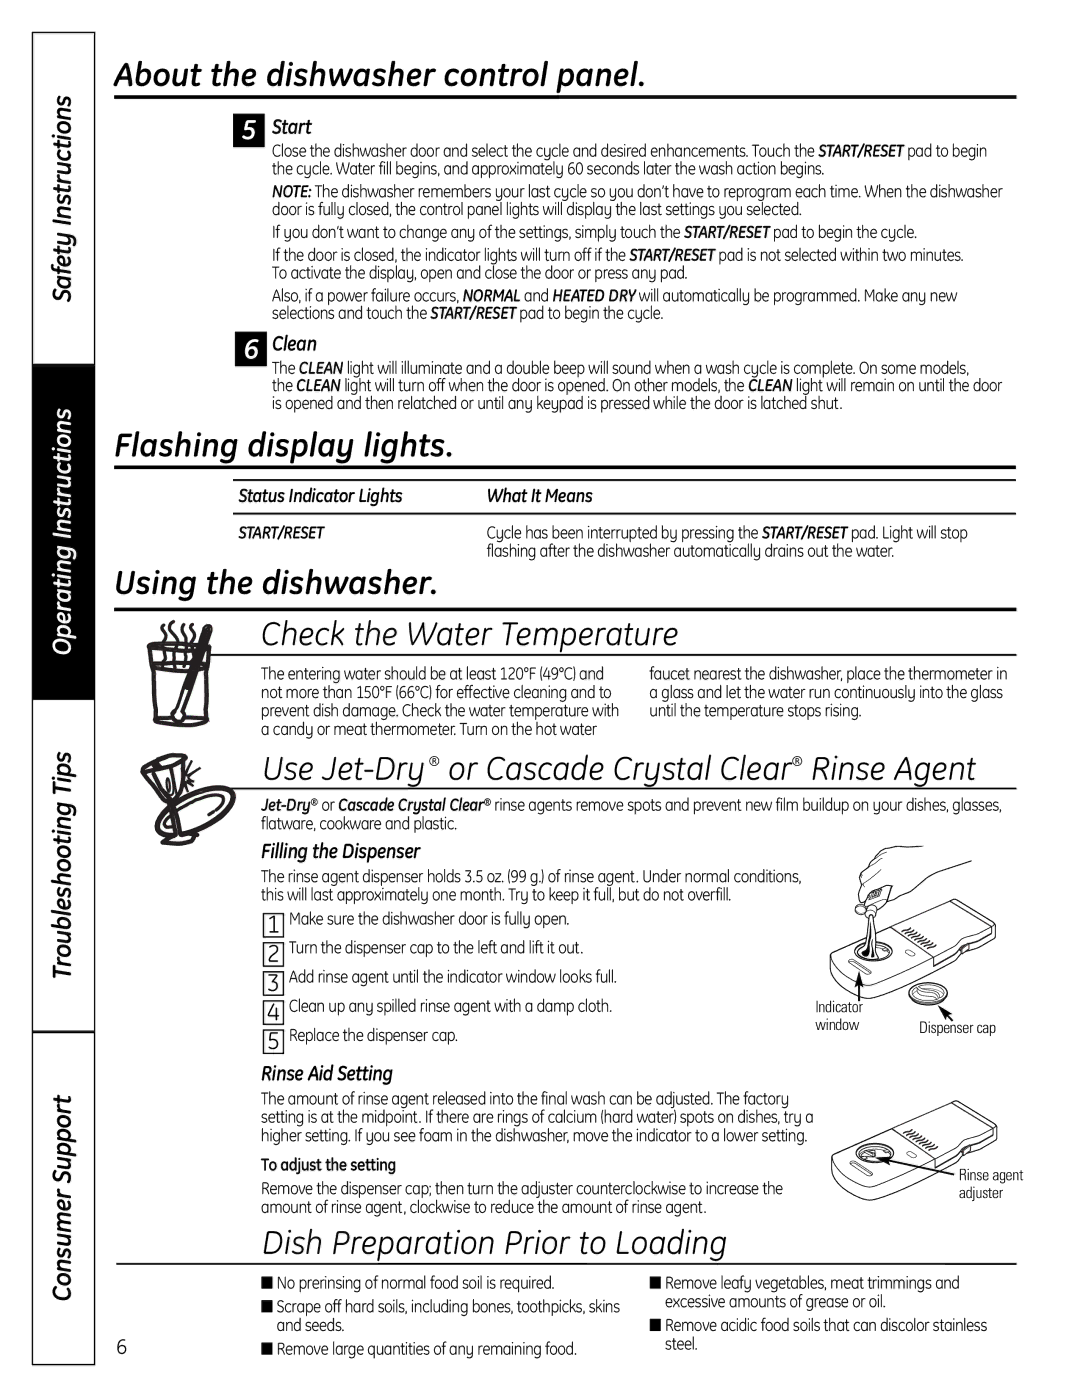
GE 165D4700P382 owner manual Flashing display lights, Using the dishwasher, Check the Water Temperature

165D4700P382 specifications

The GE 165D4700P382 is a highly regarded component within the realm of industrial and commercial applications, known for its robustness and reliability. This device serves as a vital part of various electrical systems, providing efficient performance and superior operation in challenging environments.

One of the main features of the GE 165D4700P382 is its advanced protection capabilities. It is designed to safeguard equipment from overloads, short circuits, and voltage spikes, thereby prolonging the life of connected machinery and reducing the likelihood of failures. This protective functionality is essential in environments where electrical disturbances can lead to significant downtime and costly repairs.

The GE 165D4700P382 incorporates cutting-edge technology that enhances its efficiency and versatility. This component is equipped with state-of-the-art microprocessor-based controls that allow for precise monitoring and management of the electrical system. These controls enable functionalities such as adjustable trip settings, remote monitoring, and integration into automated systems, making it an adaptable choice for contemporary industrial settings.

Another key characteristic of the GE 165D4700P382 is its robust construction. Built to withstand extreme temperatures and harsh environmental conditions, this component is rated for high performance even in the most demanding applications. Its housing is designed to resist dust, moisture, and other contaminants, ensuring reliable operation without the need for frequent maintenance.

The device's compact design facilitates easy integration into existing electrical systems, making installation straightforward and efficient. Furthermore, the GE 165D4700P382 offers various mounting options, allowing for flexibility in deployment depending on the specific requirements of the application.

In summary, the GE 165D4700P382 stands out due to its advanced protection features, high-performance microprocessor technology, robust construction, and user-friendly design. These characteristics make it an indispensable asset in industrial and commercial settings, ensuring optimal performance and reliability in electrical systems. As industries continue to evolve with increasing demands for efficiency and safety, the GE 165D4700P382 remains a trusted choice for professionals seeking quality and innovation in their electrical components.