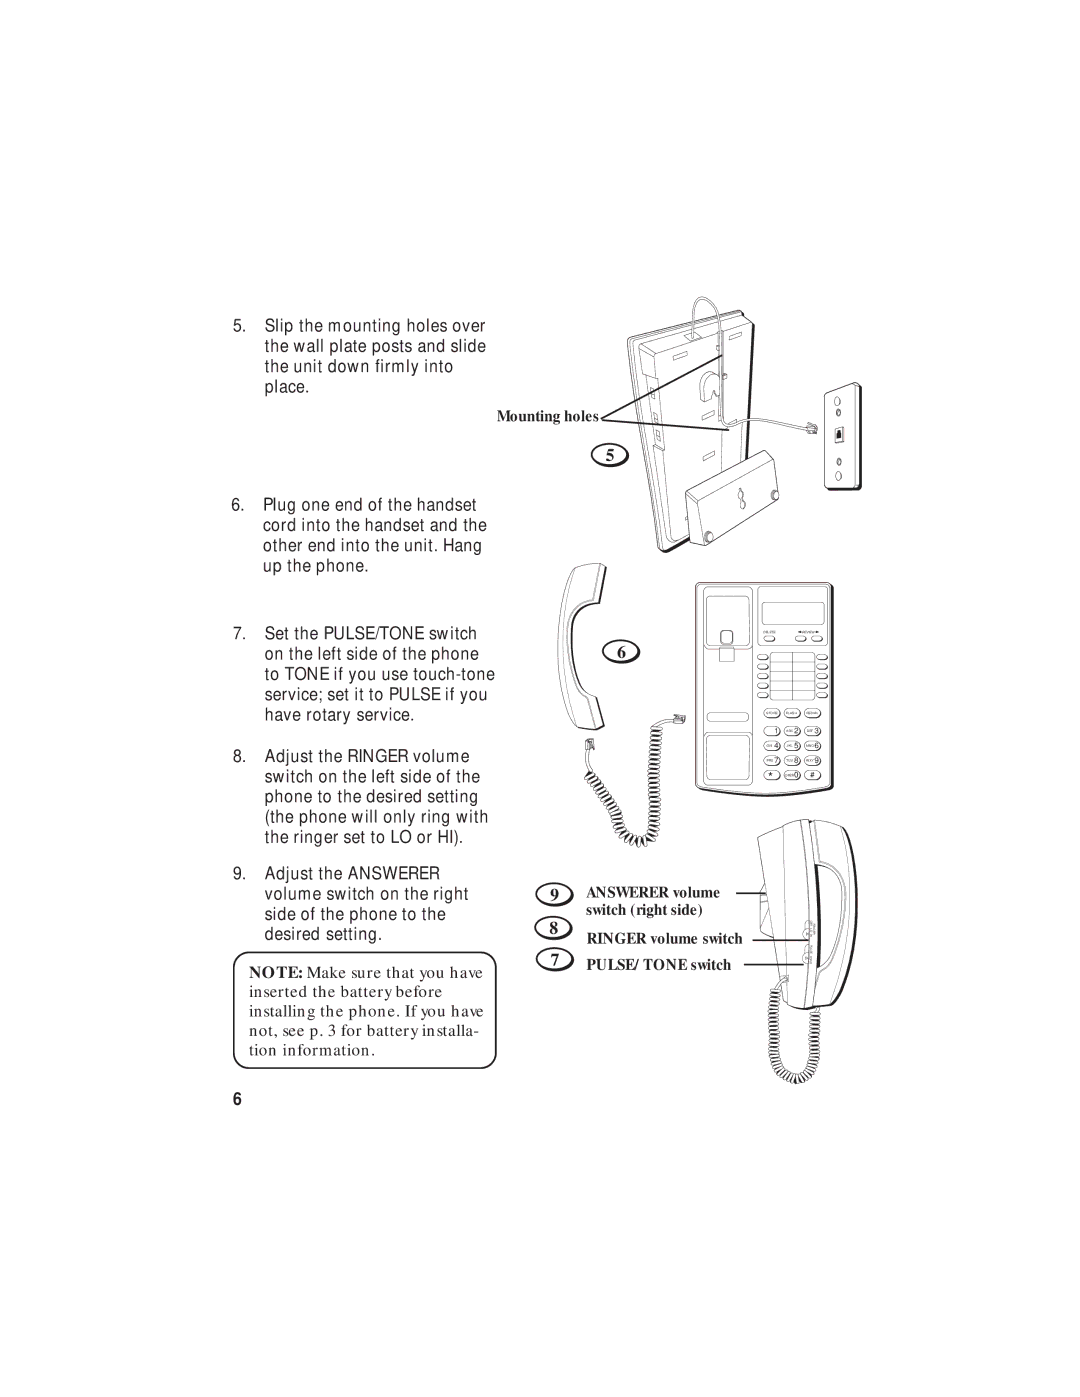
5.Slip the mounting holes over the wall plate posts and slide the unit down firmly into place.
Mounting holes
6.Plug one end of the handset cord into the handset and the other end into the unit. Hang up the phone.
7.Set the PULSE/TONE switch on the left side of the phone to TONE if you use
8.Adjust the RINGER volume switch on the left side of the phone to the desired setting (the phone will only ring with the ringer set to LO or HI).
9.Adjust the ANSWERER volume switch on the right side of the phone to the desired setting.
NOTE: Make sure that you have inserted the battery before installing the phone. If you have not, see p. 3 for battery installa- tion information.
5
6
9ANSWERER volume switch (right side)
8
RINGER volume switch
7PULSE/TONE switch
DELETE |
| REVIEW |
STORE | FLASH | REDIAL |
1 | ABC 2 | DEF 3 |
GHI 4 | JKL 5 | MNO 6 |
PRS 7 | TUV 8 | WXY 9 |
* | OPER 0 | # |
|
|
OFF LO | RINGER |
HI |
|
6