Installation Preparation
1UNPACKING THE COMPACTOR
•Move the compactor close to the installation location.
•Use a section of the shipping carton to protect the finished floor.
•Do not use the handle to lift the compactor.
•Remove all protective packaging materials such as tape or shipping pads. Remove waxy residue caused by shipping material with a mild solution of liquid household cleaner and water.
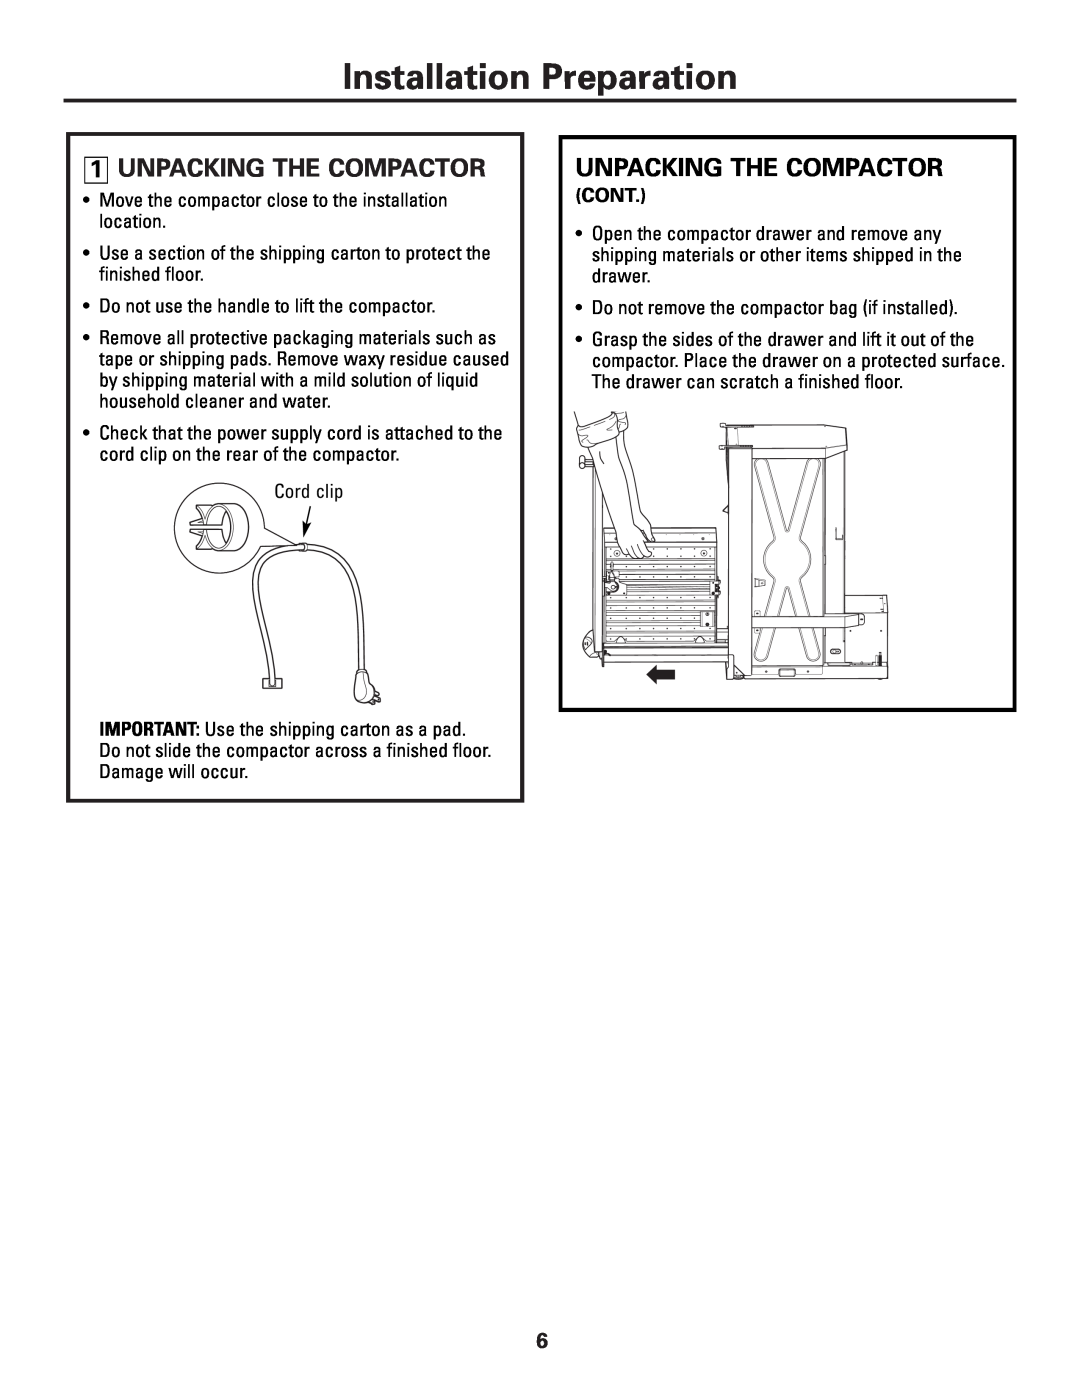
•Check that the power supply cord is attached to the cord clip on the rear of the compactor.
Cord clip
IMPORTANT: Use the shipping carton as a pad. Do not slide the compactor across a finished floor. Damage will occur.
UNPACKING THE COMPACTOR
(CONT.)
•Open the compactor drawer and remove any shipping materials or other items shipped in the drawer.
•Do not remove the compactor bag (if installed).
•Grasp the sides of the drawer and lift it out of the compactor. Place the drawer on a protected surface. The drawer can scratch a finished floor.
6