49-4540, JBP87GD specifications
The GE JBP87GD,49-4540 is an innovative electric range that exemplifies efficiency, style, and advanced cooking technology. Designed to meet the needs of modern households, this range combines convenience with high performance, making it an excellent choice for aspiring chefs and busy families alike.One of the standout features of the GE JBP87GD is its versatile cooking capacity. It is equipped with four radiant cooking elements that provide adjustable heat levels to accommodate various cooking methodologies. The 8-inch and 6-inch burners facilitate everything from delicate simmering to rapid boiling, ensuring that users can cook multiple dishes simultaneously without compromising quality.
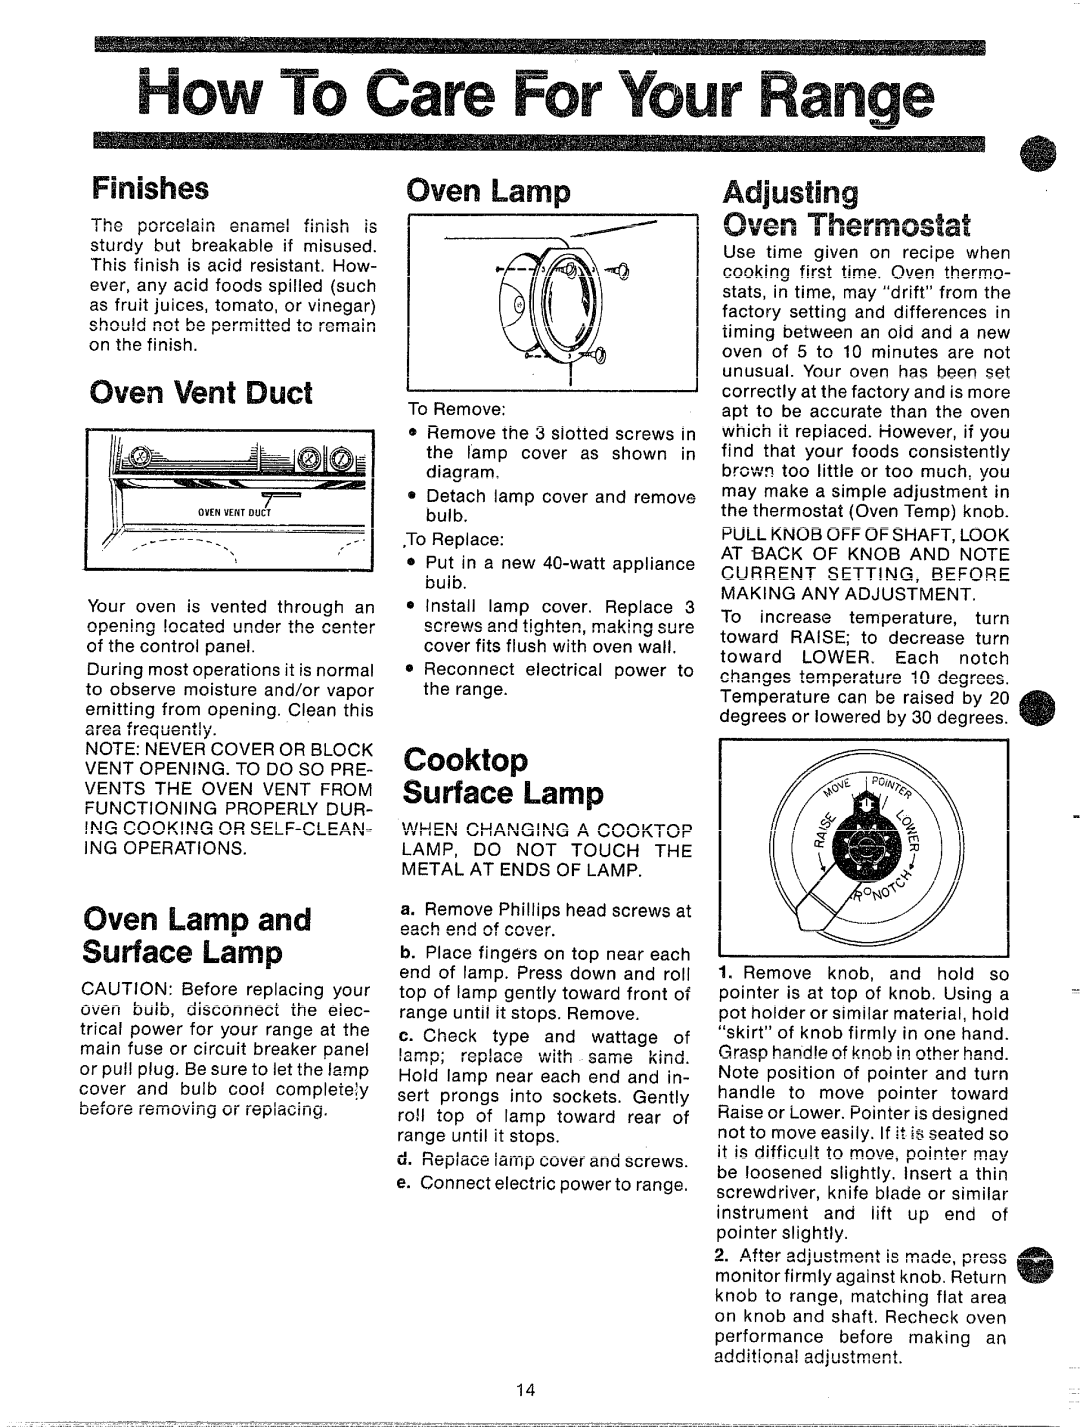
The oven is a highlight of this electric range, showcasing a spacious interior that can hold multiple racks and various baking sheets. Its ability to maintain even heat distribution is enhanced by the advanced bake technology, which ensures that foods are cooked to perfection. The self-cleaning feature is another convenient aspect, allowing users to maintain the oven’s cleanliness with minimal effort. This feature utilizes high heat to burn off food residues, simplifying the cleaning process significantly.
In addition to its core cooking functionalities, the GE JBP87GD range incorporates cutting-edge technology such as the precise temperature control system, which provides accurate heat settings for consistent cooking results. The oven’s digital temperature display allows users to monitor and adjust settings with ease, further enhancing the user experience.
The design of the GE JBP87GD is equally impressive; it features a sleek and modern stainless-steel finish that adds a touch of elegance to any kitchen. The control panel is user-friendly with easy-to-read knobs and a convenience of having a built-in timer, making it simple to track cooking times.
Furthermore, safety is a top priority with this electric range. It includes features like a safety lock for the oven and an automatic shut-off option, ensuring peace of mind during cooking.
In conclusion, the GE JBP87GD,49-4540 electric range is a well-rounded kitchen appliance that combines style, safety, and superior cooking capabilities. With its user-friendly features, advanced cooking technology, and sleek design, it stands out as a reliable option for anyone looking to enhance their cooking experience. Whether baking, broiling, or simmering, the GE JBP87GD is equipped to meet all culinary needs, making it an asset in any modern kitchen.