GEAppliances.com
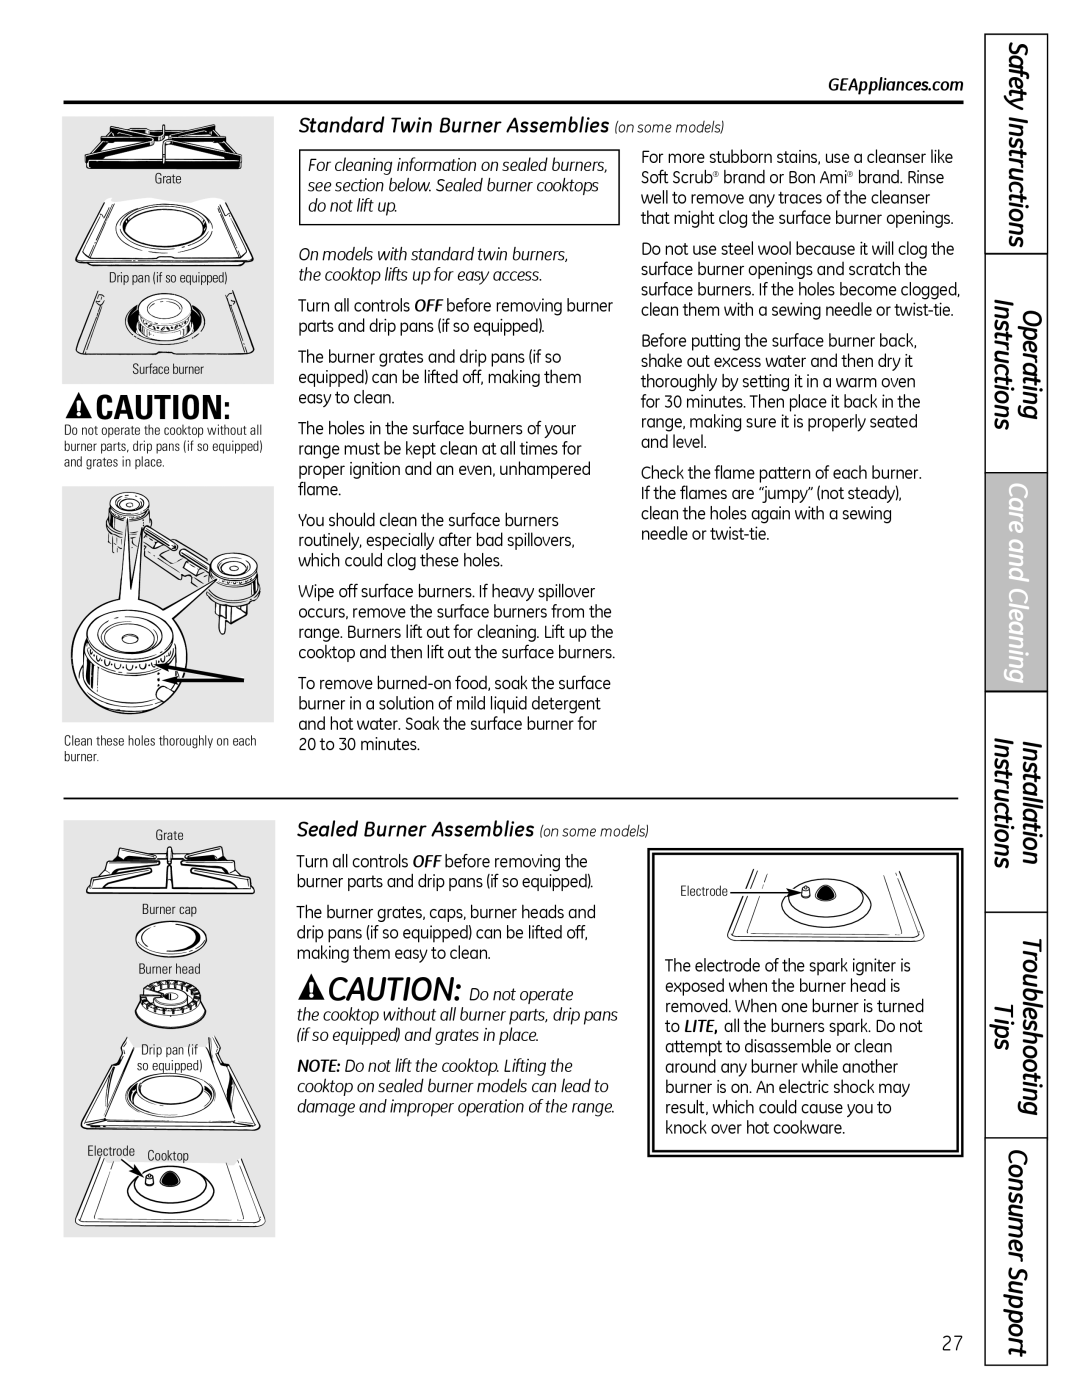
Standard Twin Burner Assemblies (on some models)
Safety |
Grate
Drip pan (if so equipped)
Surface burner
![]() CAUTION:
CAUTION:
Do not operate the cooktop without all burner parts, drip pans (if so equipped) and grates in place.
Clean these holes thoroughly on each burner.
For cleaning information on sealed burners, see section below. Sealed burner cooktops do not lift up.
On models with standard twin burners, the cooktop lifts up for easy access.
Turn all controls OFF before removing burner parts and drip pans (if so equipped).
The burner grates and drip pans (if so equipped) can be lifted off, making them easy to clean.
The holes in the surface burners of your range must be kept clean at all times for proper ignition and an even, unhampered flame.
You should clean the surface burners routinely, especially after bad spillovers, which could clog these holes.
Wipe off surface burners. If heavy spillover occurs, remove the surface burners from the range. Burners lift out for cleaning. Lift up the cooktop and then lift out the surface burners.
To remove
For more stubborn stains, use a cleanser like Soft Scrub® brand or Bon Ami® brand. Rinse well to remove any traces of the cleanser that might clog the surface burner openings.
Do not use steel wool because it will clog the surface burner openings and scratch the surface burners. If the holes become clogged, clean them with a sewing needle or
Before putting the surface burner back, shake out excess water and then dry it thoroughly by setting it in a warm oven for 30 minutes. Then place it back in the range, making sure it is properly seated and level.
Check the flame pattern of each burner. If the flames are “jumpy” (not steady), clean the holes again with a sewing needle or
Instructions | |
Instructions | Operating |
Care and Cleaning | |
Instructions | Installation |
Grate
Burner cap
Burner head
Drip pan (if ![]() so equipped)
so equipped) ![]()
![]()
Electrode Cooktop
Sealed Burner Assemblies (on some models)
Turn all controls OFF before removing the burner parts and drip pans (if so equipped).
The burner grates, caps, burner heads and drip pans (if so equipped) can be lifted off, making them easy to clean.
![]() CAUTION: Do not operate
CAUTION: Do not operate
the cooktop without all burner parts, drip pans (if so equipped) and grates in place.
NOTE: Do not lift the cooktop. Lifting the cooktop on sealed burner models can lead to damage and improper operation of the range.
Electrode
The electrode of the spark igniter is exposed when the burner head is removed. When one burner is turned to LITE, all the burners spark. Do not attempt to disassemble or clean around any burner while another burner is on. An electric shock may result, which could cause you to knock over hot cookware.
Troubleshooting Tips |
Consumer Support |
27