INSTRUCCIONES DE INSTALACION

(continuación)

PASO 10

COMO CAMBIAR EL TIRO O EXTRACTOR DE “BAJO RANGO” A “ALTO RANGO”

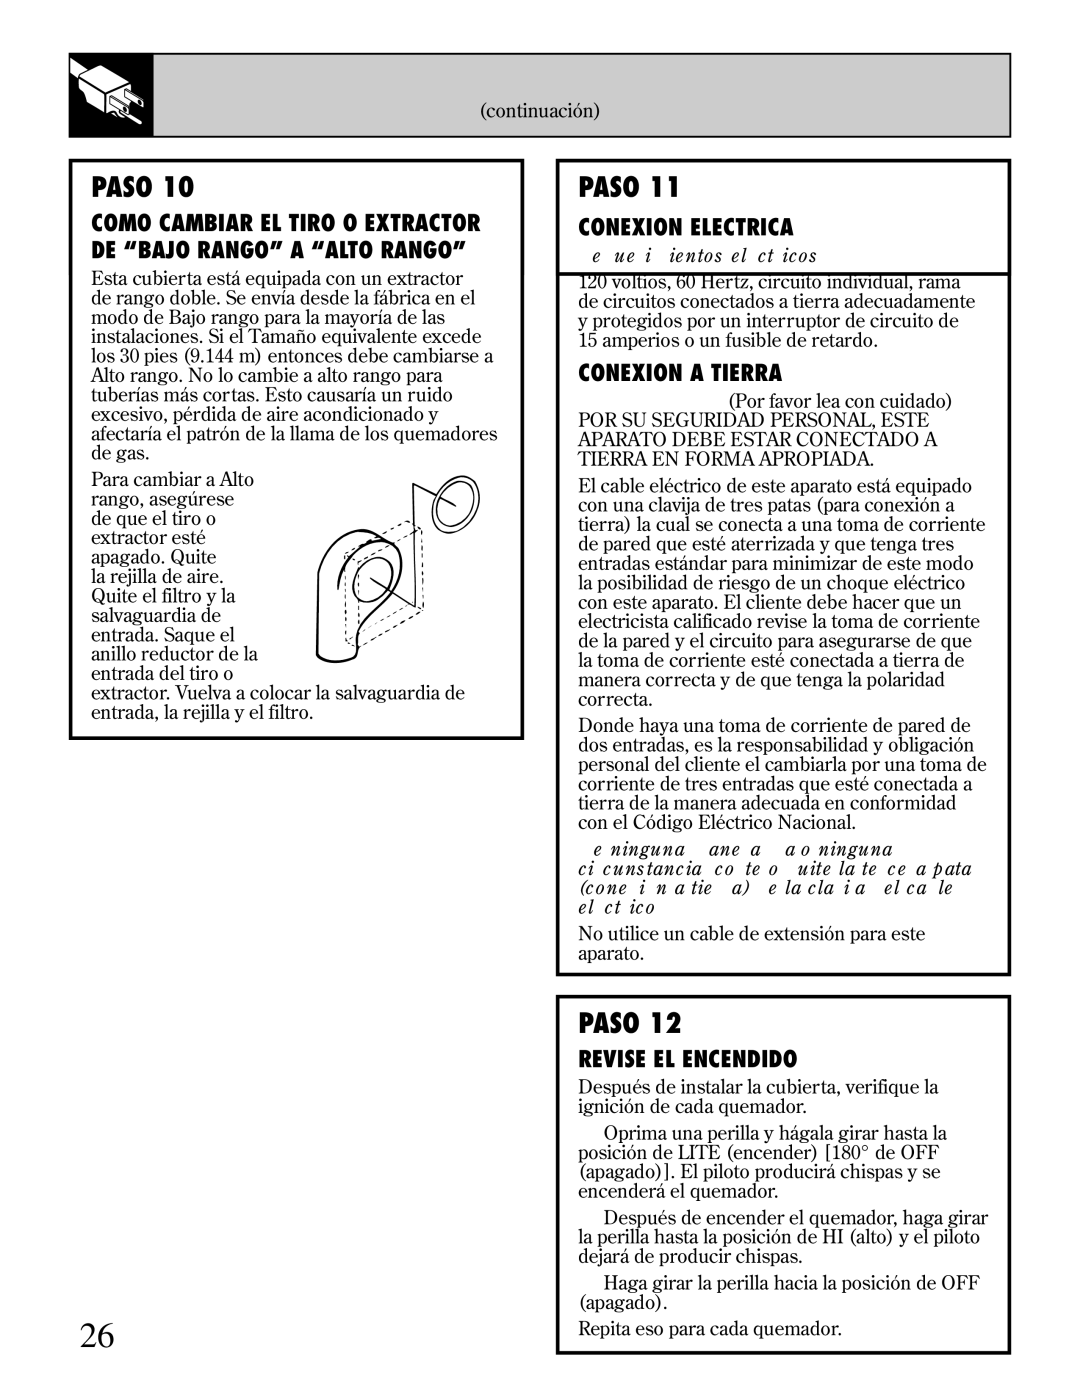
Esta cubierta está equipada con un extractor de rango doble. Se envía desde la fábrica en el modo de Bajo rango para la mayoría de las instalaciones. Si el Tamaño equivalente excede los 30 pies (9.144 m) entonces debe cambiarse a Alto rango. No lo cambie a alto rango para tuberías más cortas. Esto causaría un ruido excesivo, pérdida de aire acondicionado y afectaría el patrón de la llama de los quemadores de gas.

Para cambiar a Alto rango, asegúrese de que el tiro o

extractor esté apagado. Quite la rejilla de aire. Quite el filtro y la salvaguardia de entrada. Saque el anillo reductor de la

entrada del tiro o

extractor. Vuelva a colocar la salvaguardia de entrada, la rejilla y el filtro.

PASO 11

CONEXION ELECTRICA

Requerimientos eléctricos:

120 voltios, 60 Hertz, circuito individual, rama de circuitos conectados a tierra adecuadamente y protegidos por un interruptor de circuito de 15 amperios o un fusible de retardo.

CONEXION A TIERRA

IMPORTANTE: (Por favor lea con cuidado)

POR SU SEGURIDAD PERSONAL, ESTE APARATO DEBE ESTAR CONECTADO A TIERRA EN FORMA APROPIADA.

El cable eléctrico de este aparato está equipado con una clavija de tres patas (para conexión a tierra) la cual se conecta a una toma de corriente de pared que esté aterrizada y que tenga tres entradas estándar para minimizar de este modo la posibilidad de riesgo de un choque eléctrico con este aparato. El cliente debe hacer que un electricista calificado revise la toma de corriente de la pared y el circuito para asegurarse de que la toma de corriente esté conectada a tierra de manera correcta y de que tenga la polaridad correcta.

Donde haya una toma de corriente de pared de dos entradas, es la responsabilidad y obligación personal del cliente el cambiarla por una toma de corriente de tres entradas que esté conectada a tierra de la manera adecuada en conformidad con el Código Eléctrico Nacional.

De ninguna manera, bajo ninguna circunstancia, corte o quite la tercera pata (conexión a tierra) de la clavija del cable eléctrico.

No utilice un cable de extensión para este aparato.

26

PASO 12

REVISE EL ENCENDIDO

Después de instalar la cubierta, verifique la ignición de cada quemador.

1.Oprima una perilla y hágala girar hasta la posición de LITE (encender) [180° de OFF (apagado)]. El piloto producirá chispas y se encenderá el quemador.

2.Después de encender el quemador, haga girar la perilla hasta la posición de HI (alto) y el piloto dejará de producir chispas.

3.Haga girar la perilla hacia la posición de OFF (apagado).

Repita eso para cada quemador.

Page 58
Image 58
GE JGP389 installation instructions Conexion Electrica, Conexion a Tierra, Revise EL Encendido, Requerimientos eléctricos

JGP389 specifications

The GE JGP389 is a standout gas range that expertly combines functionality with style, making it a popular choice for modern kitchens. This appliance is notable for its dual-fuel capabilities, pairing a precise gas cooktop with the consistency of an electric oven. This synergy allows for both expert-level cooking and baking, appealing to home chefs and baking enthusiasts alike.

One of the key features of the GE JGP389 is its 5-burner gas cooktop, which provides ample cooking space to accommodate various pots and pans simultaneously. Each burner is designed with different heat output, from a high-capacity burner that delivers intense heat for quick boiling to a low-simmer burner ideal for delicate dishes. The center burner is ideal for griddles, adding versatility for those who enjoy preparing breakfast or cooking larger meals.

The oven of the JGP389 uses advanced convection technology, which circulates heated air throughout the cooking cavity for even baking results. This feature is particularly useful for baking multiple trays of cookies or roasting vegetables, as it ensures consistent results without the need to rotate dishes. Furthermore, the oven boasts a self-cleaning option, making maintenance straightforward and reducing the effort required to keep the appliance in top condition.

In addition to its cooking prowess, the GE JGP389 is designed with user convenience in mind. The control knobs are positioned at the front, allowing for easy access and adjustments while cooking. The oven includes an integrated timer and temperature display, ensuring accurate cooking times and oven settings.

Safety is also a priority for this model; it is equipped with surface burners that ignite quickly and efficiently, and an oven that features an automatic shut-off option. These elements contribute to peace of mind while cooking, knowing that the appliance is both user-friendly and secure.

Overall, the GE JGP389 combines advanced technology, practical features, and a sleek design, making it a valuable addition to any kitchen. Whether preparing everyday meals or hosting special occasions, this gas range proves itself a reliable partner for culinary adventures. With its impressive versatility and modern conveniences, the GE JGP389 stands out in the realm of kitchen appliances.