
JT91530, JT95530, JK95527, JK91527 specifications
General Electric (GE) has long been a pioneer in appliance innovation, and its latest ranges of ovens, including the GE JK91527, JK95527, JT95530, and JT91530 models, exemplify this commitment to quality, functionality, and design. These models encompass a range of features that cater to modern cooking needs.The GE JK91527 and JK95527 are wall ovens that prioritize user convenience and efficiency. Both models are equipped with a bright, intuitive touchscreen control panel that allows for easy navigation between cooking settings. These ovens feature the True European Convection technology, ensuring uniform baking results by circulating hot air throughout the oven.
In terms of capacity, the JK91527 and JK95527 offer expansive interior space, making them ideal for preparing larger meals or multiple dishes simultaneously. The self-cleaning option saves time and effort, while the built-in WiFi connectivity allows users to monitor and control the oven remotely via a smartphone app.
Moving on to the JT95530 and JT91530, these models showcase GE’s dedication to versatile cooking methods. Both of these wall ovens are convection ovens as well; however, they also offer microwave capabilities. This 2-in-1 functionality allows for quick reheating and cooking, making them perfect for busy households. The advanced sensor cooking feature takes the guesswork out of meal preparation, automatically adjusting cooking time and power levels for optimal results.
Another noteworthy characteristic of the JT95530 and JT91530 is their sleek stainless-steel design, which brings a modern aesthetic to any kitchen space. The capacity of these models is similarly expansive, with multiple rack positions that offer flexibility for different cooking needs.
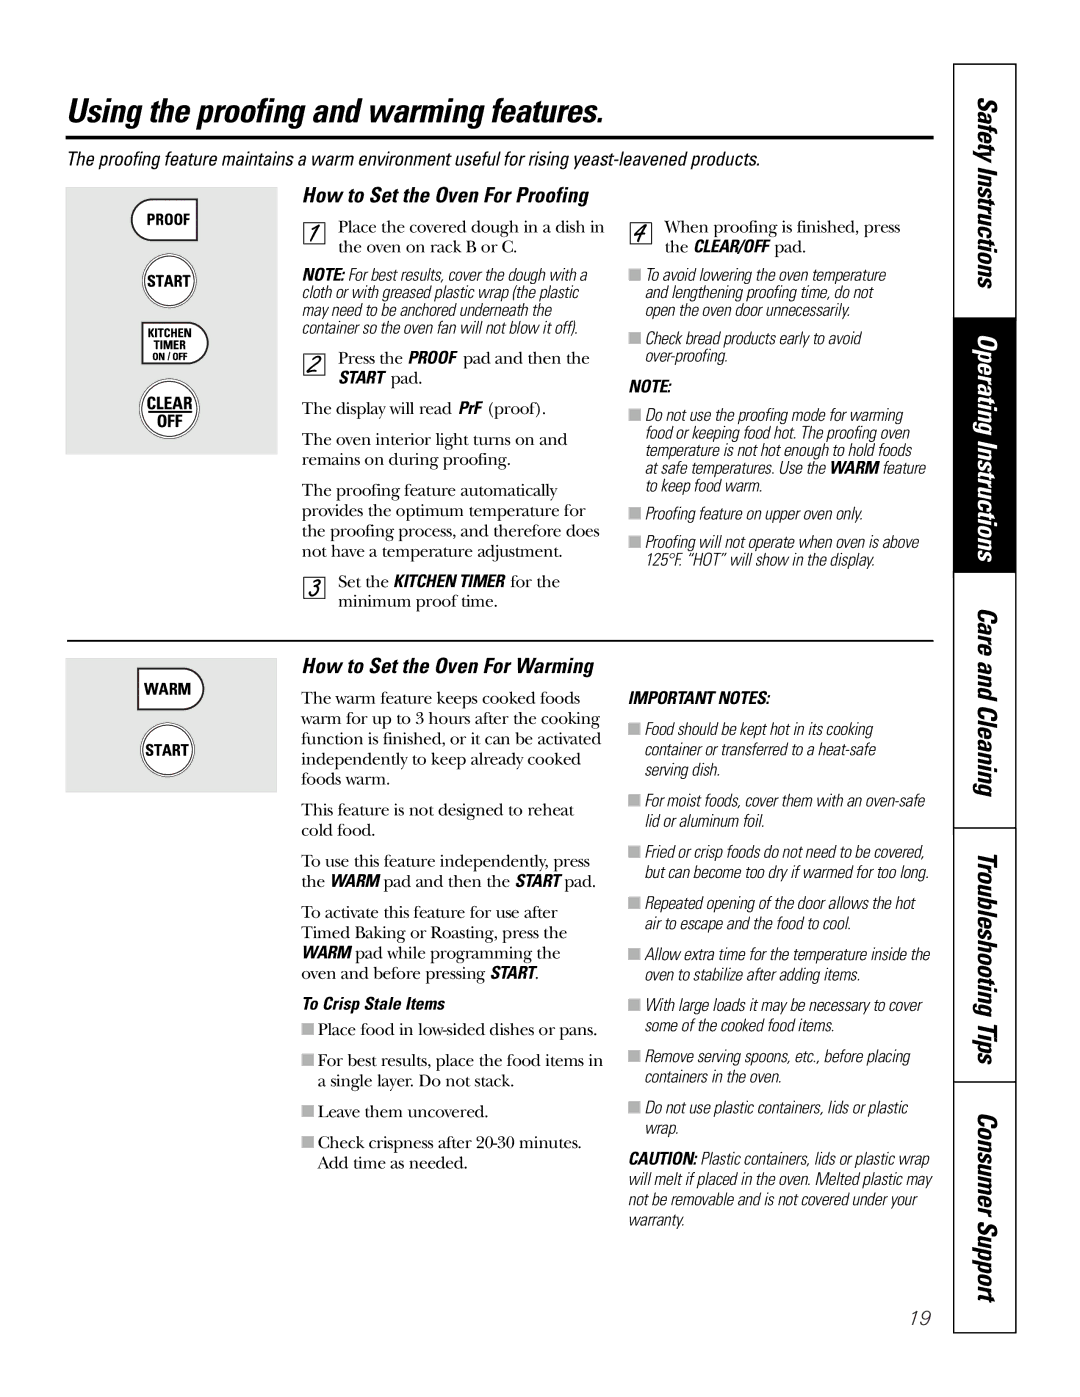
Each of these GE models boasts a variety of cooking modes, including broiling, baking, and warming, ensuring they can handle a diverse range of culinary tasks. The continuous grates and adjustable racks further enhance usability, allowing for effortless transitions between meals.
In conclusion, the GE JK91527, JK95527, JT95530, and JT91530 wall ovens are epitomes of modern kitchen technology, featuring a blend of style, functionality, and advanced cooking features that cater to both novice home cooks and seasoned chefs alike. With their innovative design and thoughtful engineering, these models are poised to redefine the home cooking experience.