Step 18
Use the bell/crimp style wire connectors to connect the heater wiring to the jumper harness (Figure 14).
Step 20
Apply power back to unit and ensure both unit and heater are operational. Listen for compressor and feel heater with back of hand. Heater surface will be slightly warmer than surrounding left wall surface. Go back and ensure that heater assembly is directly touching the left sidewall. Heater may have shifted during wire routing.
Figure 14
Step 19
Disconnect main power cord
Step 21
Replace cover on machine compartment. Ensure that no wires are being pinched between the cover and the case back. Replace unit to original position in home.
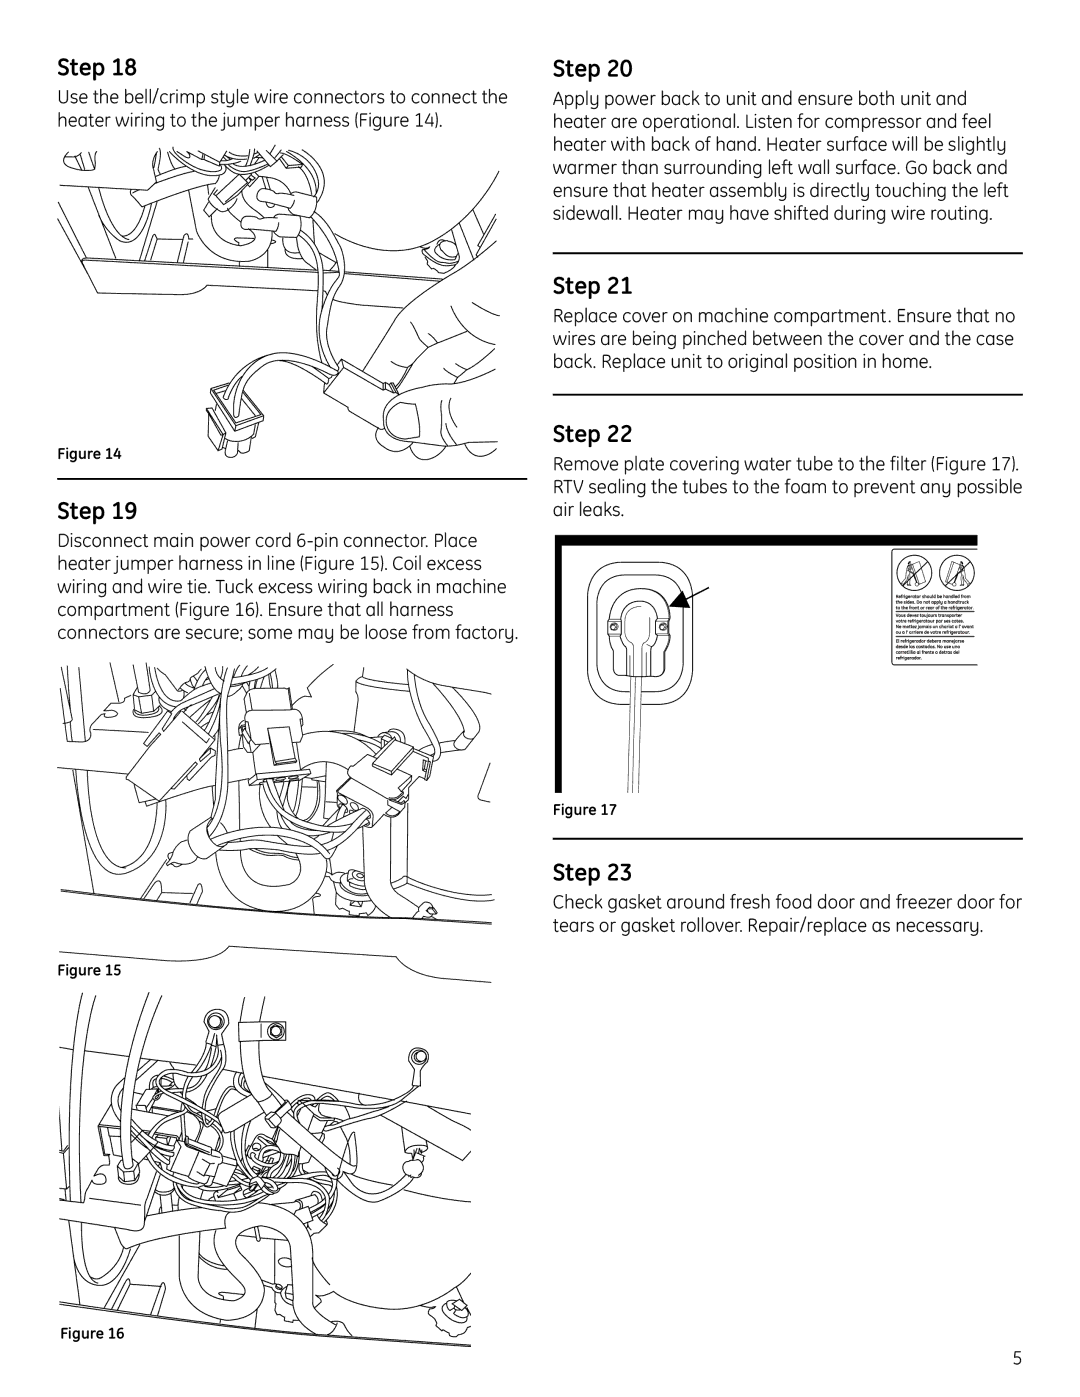
Step 22
Remove plate covering water tube to the filter (Figure 17). RTV sealing the tubes to the foam to prevent any possible air leaks.
Figure 17
Step 23
Check gasket around fresh food door and freezer door for tears or gasket rollover. Repair/replace as necessary.
Figure 15
Figure 16
5