Installation Instructions
4ASSEMBLE BURNERS, CHECK IGNITION (cont.)
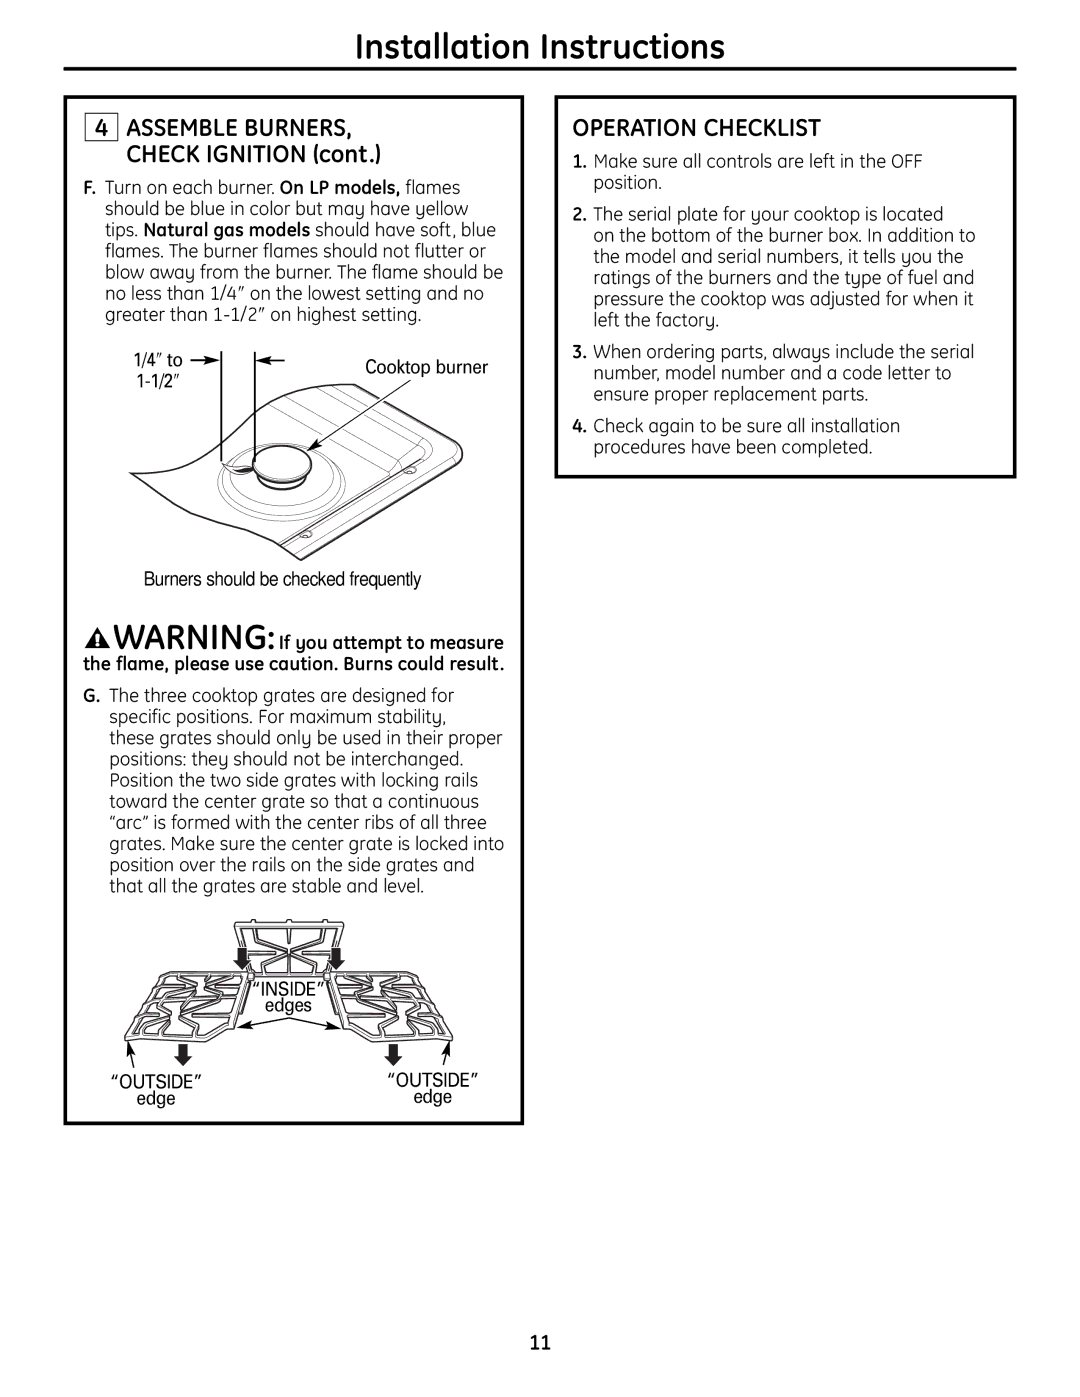
F.Turn on each burner. On LP models, flames should be blue in color but may have yellow tips. Natural gas models should have soft, blue flames. The burner flames should not flutter or blow away from the burner. The flame should be no less than 1/4″ on the lowest setting and no greater than
1/4″ to |
|
|
|
|
| Cooktop burner |
|
|
| ||||
|
|
|
| |||
|
|
| ||||
|
|
|
| |||
|
|
|
|
|
|
|
Burners should be checked frequently
![]() WARNING: If you attempt to measure the flame, please use caution. Burns could result.
WARNING: If you attempt to measure the flame, please use caution. Burns could result.
G.The three cooktop grates are designed for specific positions. For maximum stability, these grates should only be used in their proper positions: they should not be interchanged. Position the two side grates with locking rails toward the center grate so that a continuous “arc” is formed with the center ribs of all three grates. Make sure the center grate is locked into position over the rails on the side grates and that all the grates are stable and level.
“INSIDE”
edges
“OUTSIDE” | “OUTSIDE” |
edge | edge |
OPERATION CHECKLIST
1.Make sure all controls are left in the OFF position.
2.The serial plate for your cooktop is located
on the bottom of the burner box. In addition to the model and serial numbers, it tells you the ratings of the burners and the type of fuel and pressure the cooktop was adjusted for when it left the factory.
3.When ordering parts, always include the serial number, model number and a code letter to ensure proper replacement parts.
4.Check again to be sure all installation procedures have been completed.
11