~STALLATION ~QUI~MENTS
WORTANT...Pleme Read Careftiy.
How to connect electricity
For personal safety, this appliance must be properly grounded.
The power cord of this appliance is equipped with
a
|
|
|
|
| |
|
|
|
|
| |
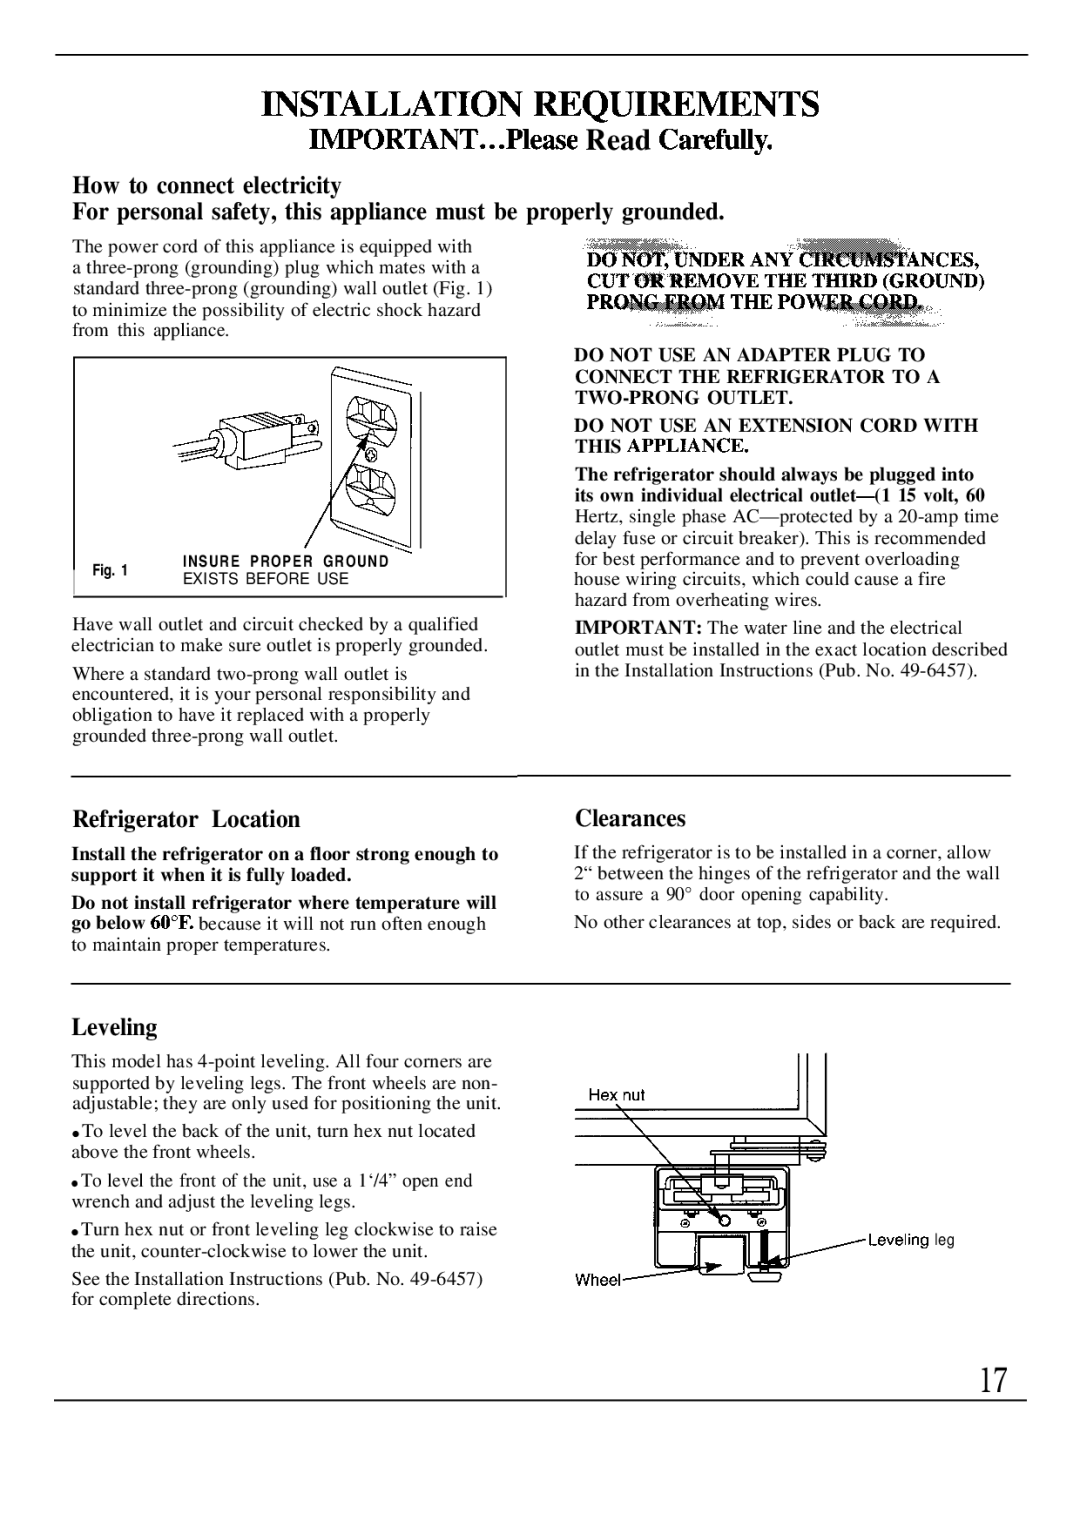
| Fig. 1 | INSURE PROPER GROUND ‘ | |||
I | EXISTS BEFORE USE | ||||
| |||||
|
| ||||
|
|
|
|
| |
Have wall outlet and circuit checked by a qualified electrician to make sure outlet is properly grounded.
Where a standard
DO NOT USE AN ADAPTER PLUG TO CONNECT THE REFRIGERATOR TO A
DO NOT USE AN EXTENSION CORD WITH THIS APPLMNCE.
The refrigerator should always be plugged into its own individual electrical
IMPORTANT: The water line and the electrical outlet must be installed in the exact location described in the Installation Instructions (Pub. No.
Refrigerator Location
Install the refrigerator on a floor strong enough to support it when it is fully loaded.
Do not install refrigerator where temperature will go below 60°F. because it will not run often enough to maintain proper temperatures.
Clearances
If the refrigerator is to be installed in a corner, allow 2“ between the hinges of the refrigerator and the wall to assure a 90° door opening capability.
No other clearances at top, sides or back are required.
Leveling
This model has
●To level the back of the unit, turn hex nut located above the front wheels.
●To level the front of the unit, use a 1‘/4” open end wrench and adjust the leveling legs.
●Turn hex nut or front leveling leg clockwise to raise the unit,
See the Installation Instructions (Pub. No.
PLeve’ing leg
Wheel~—
17
