USING VIDEO EQUALIZATION TO GET AN OPTIMAL PICTURE
Video Equalization using the internal DIP switches
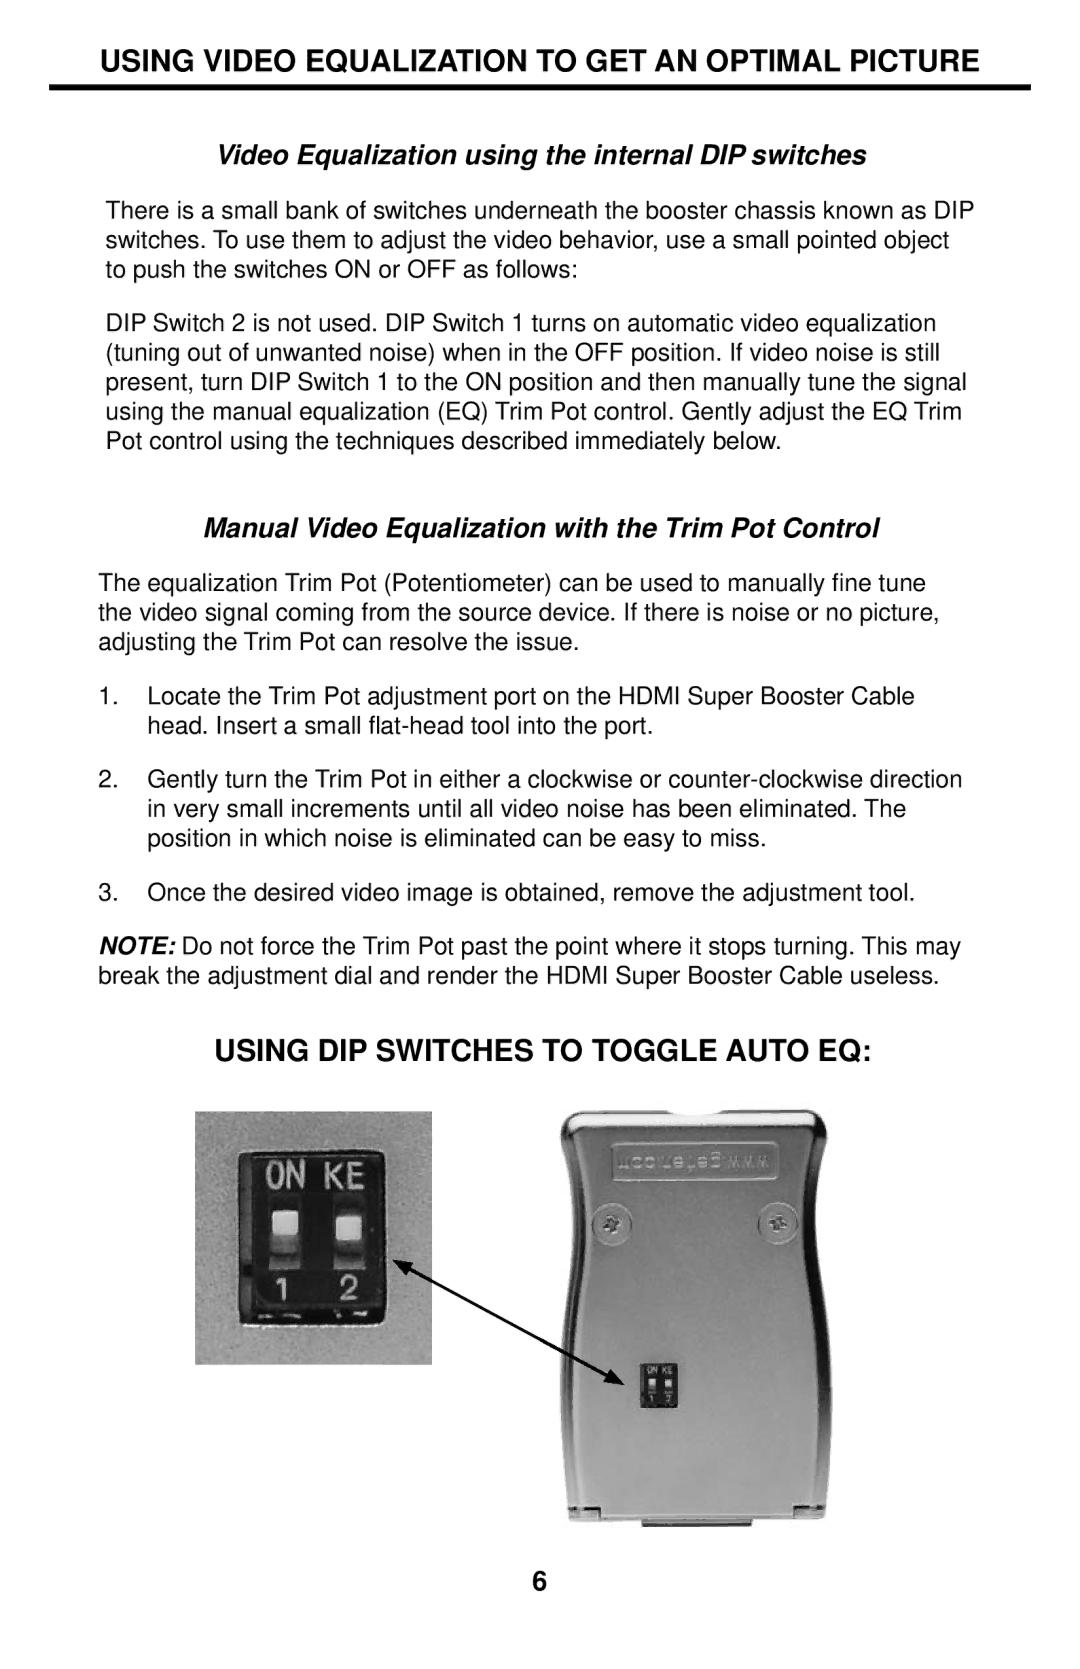
There is a small bank of switches underneath the booster chassis known as DIP switches. To use them to adjust the video behavior, use a small pointed object to push the switches ON or OFF as follows:
DIP Switch 2 is not used. DIP Switch 1 turns on automatic video equalization (tuning out of unwanted noise) when in the OFF position. If video noise is still present, turn DIP Switch 1 to the ON position and then manually tune the signal using the manual equalization (EQ) Trim Pot control. Gently adjust the EQ Trim Pot control using the techniques described immediately below.
Manual Video Equalization with the Trim Pot Control
The equalization Trim Pot (Potentiometer) can be used to manually fine tune the video signal coming from the source device. If there is noise or no picture, adjusting the Trim Pot can resolve the issue.
1.Locate the Trim Pot adjustment port on the HDMI Super Booster Cable head. Insert a small
2.Gently turn the Trim Pot in either a clockwise or
3.Once the desired video image is obtained, remove the adjustment tool.
NOTE: Do not force the Trim Pot past the point where it stops turning. This may break the adjustment dial and render the HDMI Super Booster Cable useless.
USING DIP SWITCHES TO TOGGLE AUTO EQ:
6
