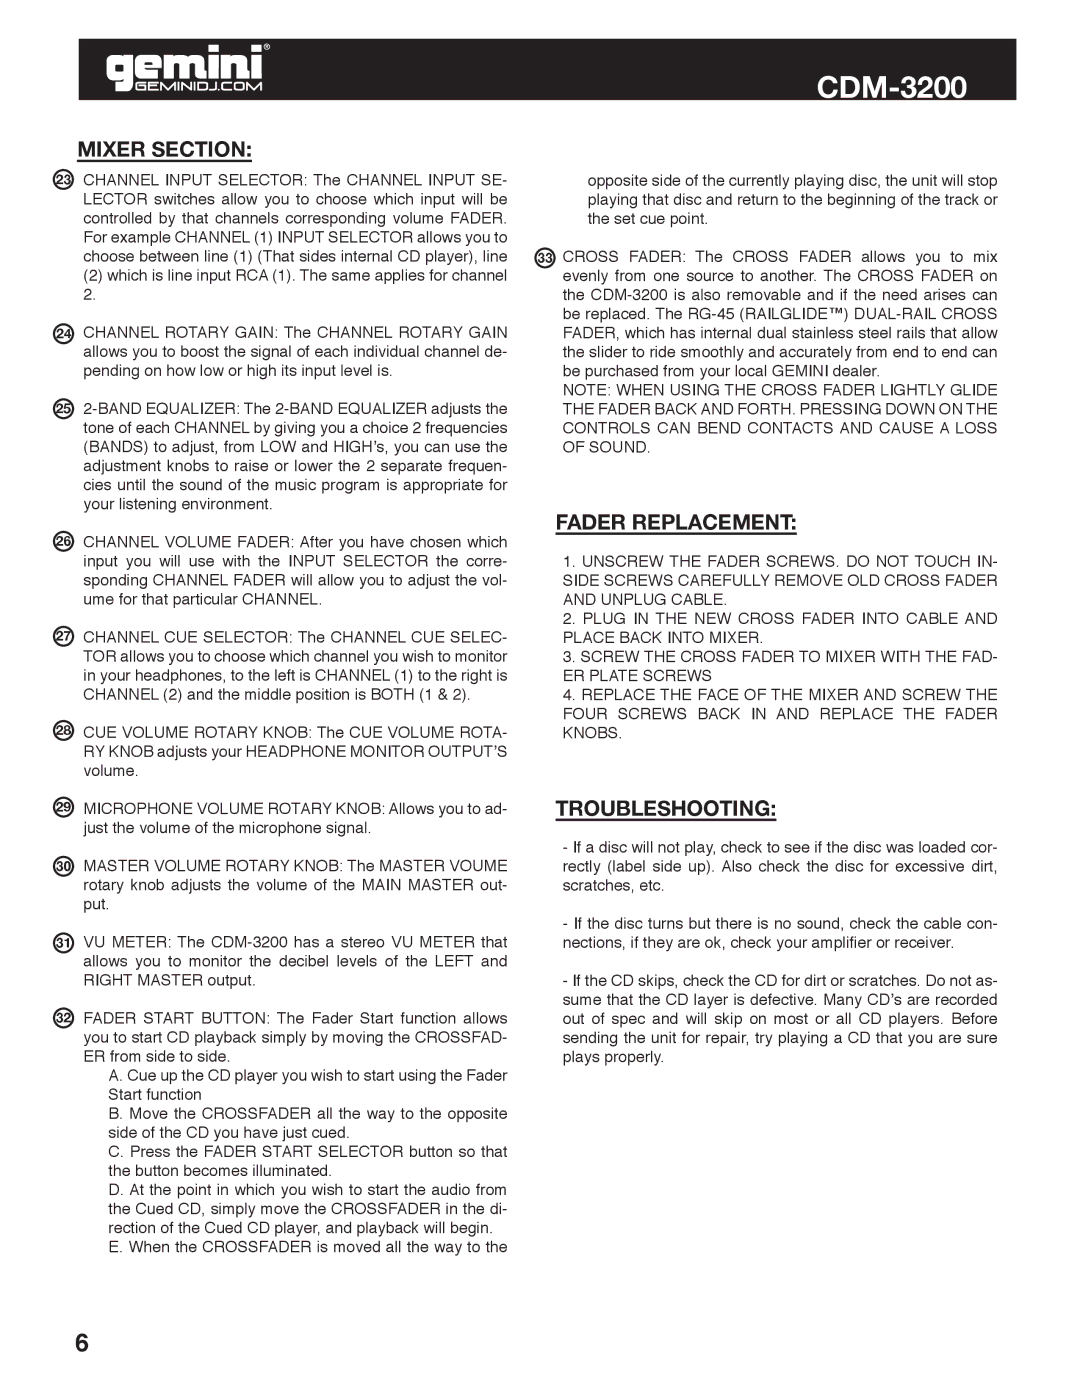
CDM-3200 specifications
The Gemini CDM-3200 is a versatile and robust dual-deck CD player designed for professional DJs and music enthusiasts alike. This device stands out for its comprehensive features and user-friendly interface, making it a popular choice in clubs, radio stations, and event venues.One of the main features of the Gemini CDM-3200 is its dual-deck configuration, which allows DJs to seamlessly mix two audio sources simultaneously. Each deck is equipped with an illuminated display that provides real-time information on track number, time remaining, and other crucial data, ensuring that users can quickly navigate their playlists. The CD player supports various formats, including standard audio CDs, CD-Rs, and CD-RWs, making it adaptable to a wide range of music libraries.
In terms of technology, the CDM-3200 integrates advanced pitch control and variable speed functions, enabling DJs to adjust the tempo of tracks with ease. This feature is essential for beatmatching and maintaining a seamless flow during live performances. Additionally, the player includes a built-in anti-shock mechanism that reduces the risk of audio dropouts, ensuring uninterrupted playback even in high-energy environments.
Another significant characteristic of the Gemini CDM-3200 is its user-friendly interface. The device features large, responsive jog wheels and an intuitive layout that allows for quick access to essential functions such as looping, cue points, and pitch bending. Furthermore, the inclusion of USB connectivity means that users can also play audio files directly from USB drives, broadening the range of playback options available.
The CDM-3200 also comes equipped with built-in effects such as echo, flanger, and filter, giving DJs the tools they need to add creativity and depth to their mixes. The device is designed for durability and reliability, with a sturdy casing suitable for both mobile and stationary setups.
In conclusion, the Gemini CDM-3200 is a powerful dual-deck CD player that combines flexibility, advanced technology, and user-friendly design. With its rich set of features, including dual playback, pitch control, USB compatibility, and built-in effects, it represents an excellent investment for any DJ looking to elevate their performance and enhance their music mixing capabilities. Its durable construction ensures that it can withstand the rigors of frequent use in various environments, making it a trusted choice in the world of DJ equipment.