English
(3) Configuring RAID array in RAID BIOS
Enter the RAID BIOS setup utility to configure a RAID array. Skip this step if you do not want to create RAID.
Step 1:
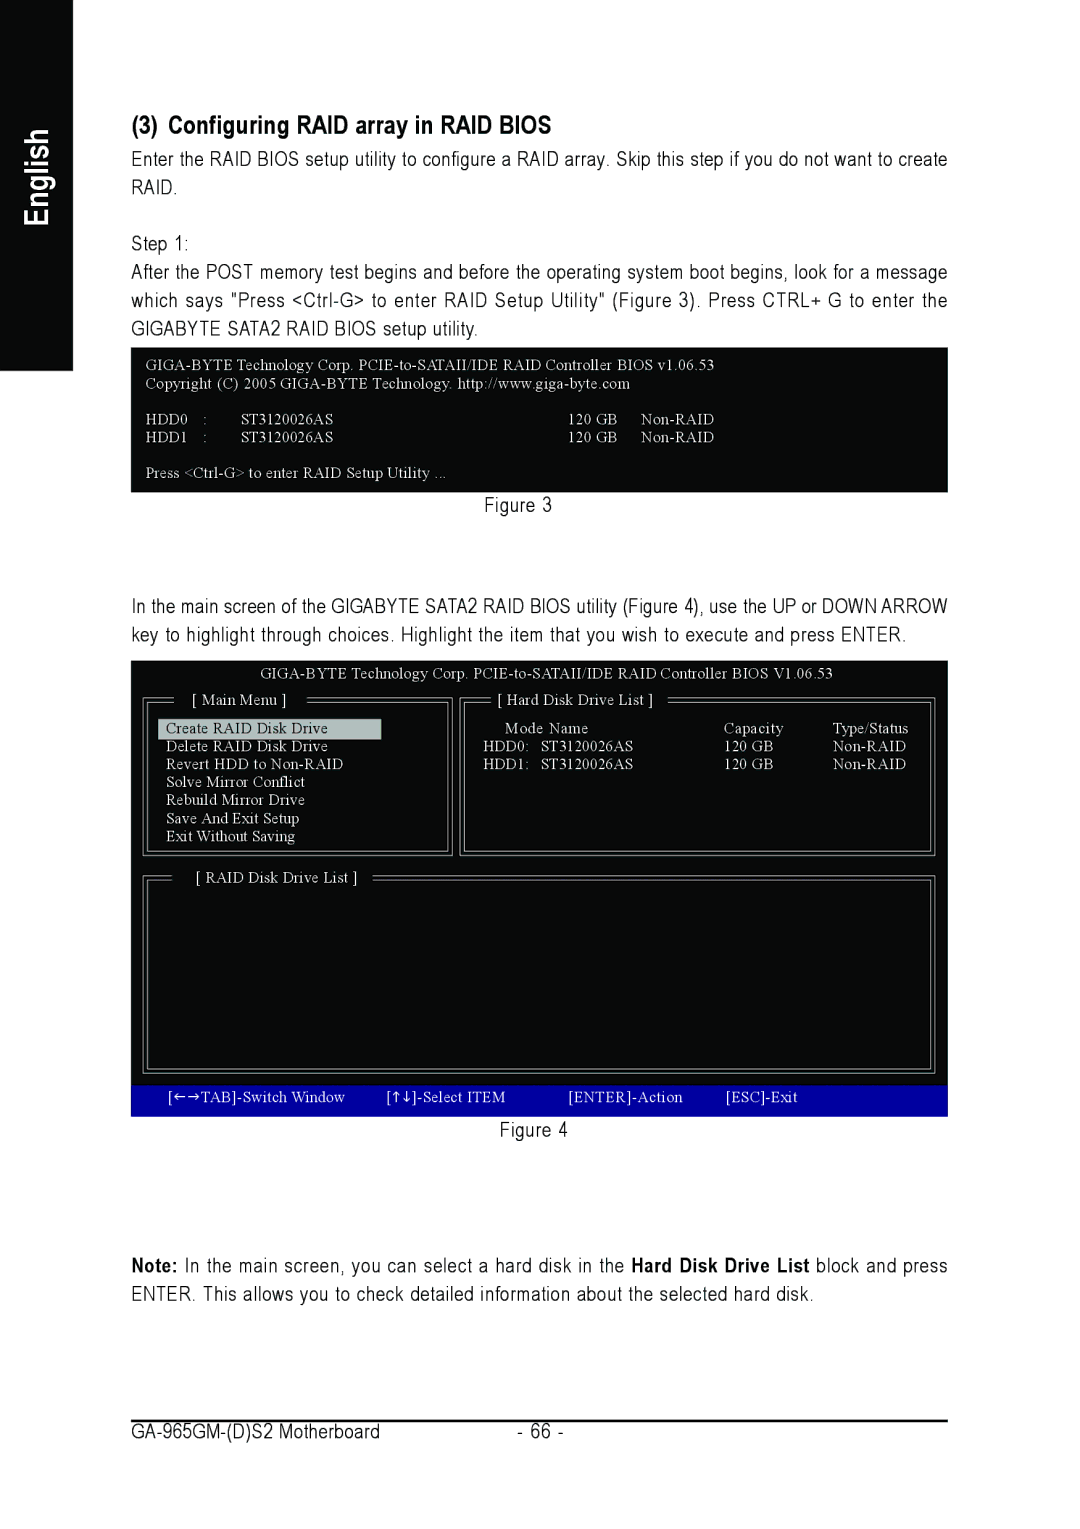
After the POST memory test begins and before the operating system boot begins, look for a message which says "Press
Copyright (C) 2005
HDD0 | : | ST3120026AS | 120 GB | |
HDD1 | : | ST3120026AS | 120 GB |
Press
Figure 3
In the main screen of the GIGABYTE SATA2 RAID BIOS utility (Figure 4), use the UP or DOWN ARROW key to highlight through choices. Highlight the item that you wish to execute and press ENTER.
[ Main Menu ] | [ Hard Disk Drive List ] |
|
|
Create RAID Disk Drive | Mode Name | Capacity | Type/Status |
Delete RAID Disk Drive | HDD0: ST3120026AS | 120 GB | |
Revert HDD to | HDD1: ST3120026AS | 120 GB | |
Solve Mirror Conflict |
|
|
|
Rebuild Mirror Drive |
|
|
|
Save And Exit Setup |
|
|
|
Exit Without Saving |
|
|
|
[ RAID Disk Drive List ] |
|
|
|
[ | [ | |||
|
|
|
|
|
Figure 4
Note: In the main screen, you can select a hard disk in the Hard Disk Drive List block and press ENTER. This allows you to check detailed information about the selected hard disk.
- 66 - |
