Planing
1.Rest the front base (12) flat on the workpiece surface without the blades making any contact with the workpiece.
2.Switch on the tool and wait for the blades to reach full speed.
3.Move the tool gently forward, applying pressure on the front of the tool, using your hand on the front handle (5) at the start of planing and pressure at the rear of the tool, using your hand on the main handle (4) towards the end of the planing stroke.
4.Push the planer beyond the edge of the workpiece without tilting it downwards or upwards.
Tip. Treat the material as if it was slightly longer than it actually is. Then you will continue with your planing action until the blades have well passed the end of your workpeice.
5.The rate of planing and the depth of cut determine the quality of the finish. For rough cutting, you can increase the depth of cut, however to achieve a good finish you will need to reduce the depth of cut and advance the tool more slowly.
Note. Planing is easier if you incline the workpiece slightly away from you so that you plane “downhill”.
CAUTION. Moving the machine too fast may cause a poor quality of cut and can damage the blades or the motor. Moving the machine too slowly may burn or mar the cut.
The proper feed rate will depend on the type of material being cut and the depth of the cut.
Practice first on a scrap piece of material to gauge the correct feed rate and the cut dimensions.
CAUTION. Always use two hands to hold the planer.
CAUTION. Where possible, clamp the workpiece to the bench.
Chamfering
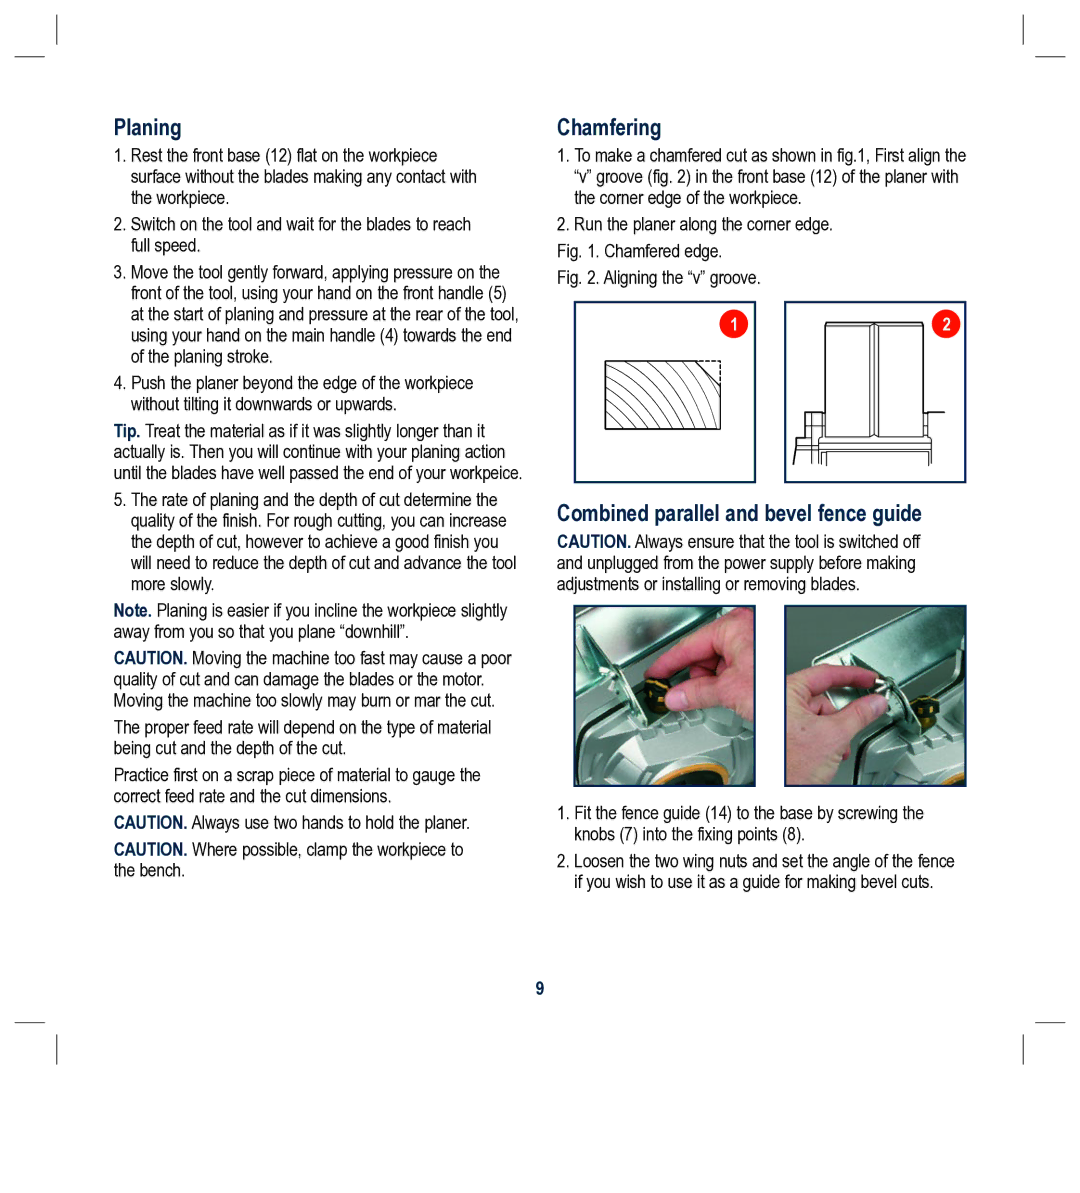
1.To make a chamfered cut as shown in fig.1, First align the “v” groove (fig. 2) in the front base (12) of the planer with the corner edge of the workpiece.
2.Run the planer along the corner edge.
Fig. 1. Chamfered edge.
Fig. 2. Aligning the “v” groove.
1 | 2 |
Combined parallel and bevel fence guide
CAUTION. Always ensure that the tool is switched off and unplugged from the power supply before making adjustments or installing or removing blades.
1.Fit the fence guide (14) to the base by screwing the knobs (7) into the fixing points (8).
2.Loosen the two wing nuts and set the angle of the fence if you wish to use it as a guide for making bevel cuts.
9