Note. The belt should push down no more than 13mm.
To select a faster drill speed, move the belt up to a higher step on the front and central pulleys and lower step on the central and rear pulleys. Rotating the pulleys and “rolling” the belt onto the larger pulley will make this easier.
To select a slower drill speed, move the belt down to a smaller step on the front and central pulleys and a higher step on the central and rear
pulleys. Rotating the pulleys and “rolling” the belt onto the larger pulley will make this easier.
To tighten the belts on the pulleys pull the motor backwards. This is best done by grabbing hold of the top of the rear pulley and the bottom of the motor housing.
Rotate the pulley by hand to ensure everything is aligned and correct.
Tighten the belt tension lock knob.
Replace the pulley cover.
Turning on and off
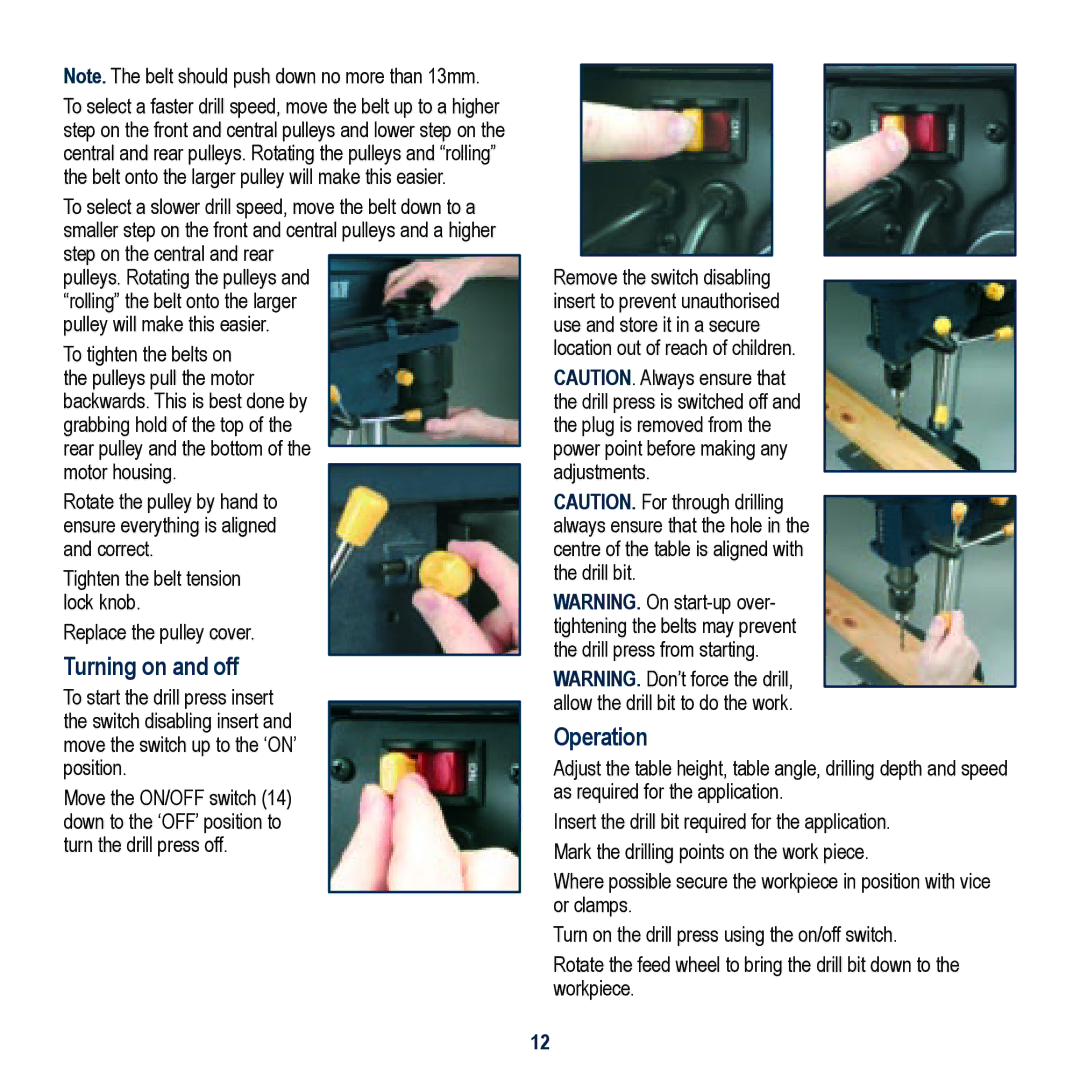
To start the drill press insert the switch disabling insert and move the switch up to the ‘ON’ position.
Move the ON/OFF switch (14) down to the ‘OFF’ position to turn the drill press off.
Remove the switch disabling insert to prevent unauthorised use and store it in a secure location out of reach of children.
CAUTION. Always ensure that the drill press is switched off and the plug is removed from the power point before making any adjustments.
CAUTION. For through drilling always ensure that the hole in the centre of the table is aligned with the drill bit.
WARNING. On
WARNING. Don’t force the drill, allow the drill bit to do the work.
Operation
Adjust the table height, table angle, drilling depth and speed as required for the application.
Insert the drill bit required for the application. Mark the drilling points on the work piece.
Where possible secure the workpiece in position with vice or clamps.
Turn on the drill press using the on/off switch.
Rotate the feed wheel to bring the drill bit down to the workpiece.
12
