5.Once the router is secured to the router plate place it under the table
6.Secure the router plate to the table by feeding each of the 4 screws through the top of the table and into the router plate.
7.Ensure that the front of the
router is facing the front of the router table.
8.Make sure the switch on the front left leg is in the off position.
9.Plug the router power cord into the back of the switch box. Secure the router power cord so that it will not interfere with the operation of the router.
Mounting a router other than the R1250
1.If there is no combination of screw holes in the router plate that match perfectly the mounting requirements of the router, it is necessary to drill extra holes.
2.Find the mounting screw holes in your router. This may be three or four holes
3.Work out the type and depth of screw needed and purchase suitable
4.Mark out on a piece of tracing paper the screw positions relative to the centre of the router.
5.Turn the router plate upside down and stick the tracing paper upside down onto the plate with its centre coincidental to the centre of the hole in the plate.
6.Double check you have the tracing paper the correct way up so that the router when mounted from underneath lines up with the centre of the hole in the router plate and the marked holes you are about to drill through.
7.Carefully drill through the router plate at the points marked on your tracing paper.
8.Turn the router plate and countersink the holes to suit the screws you purchased.
9.Remove the tracing paper and secure the router to the router plate.
Warning. Do not use your router table unless your router is fully secured in place.
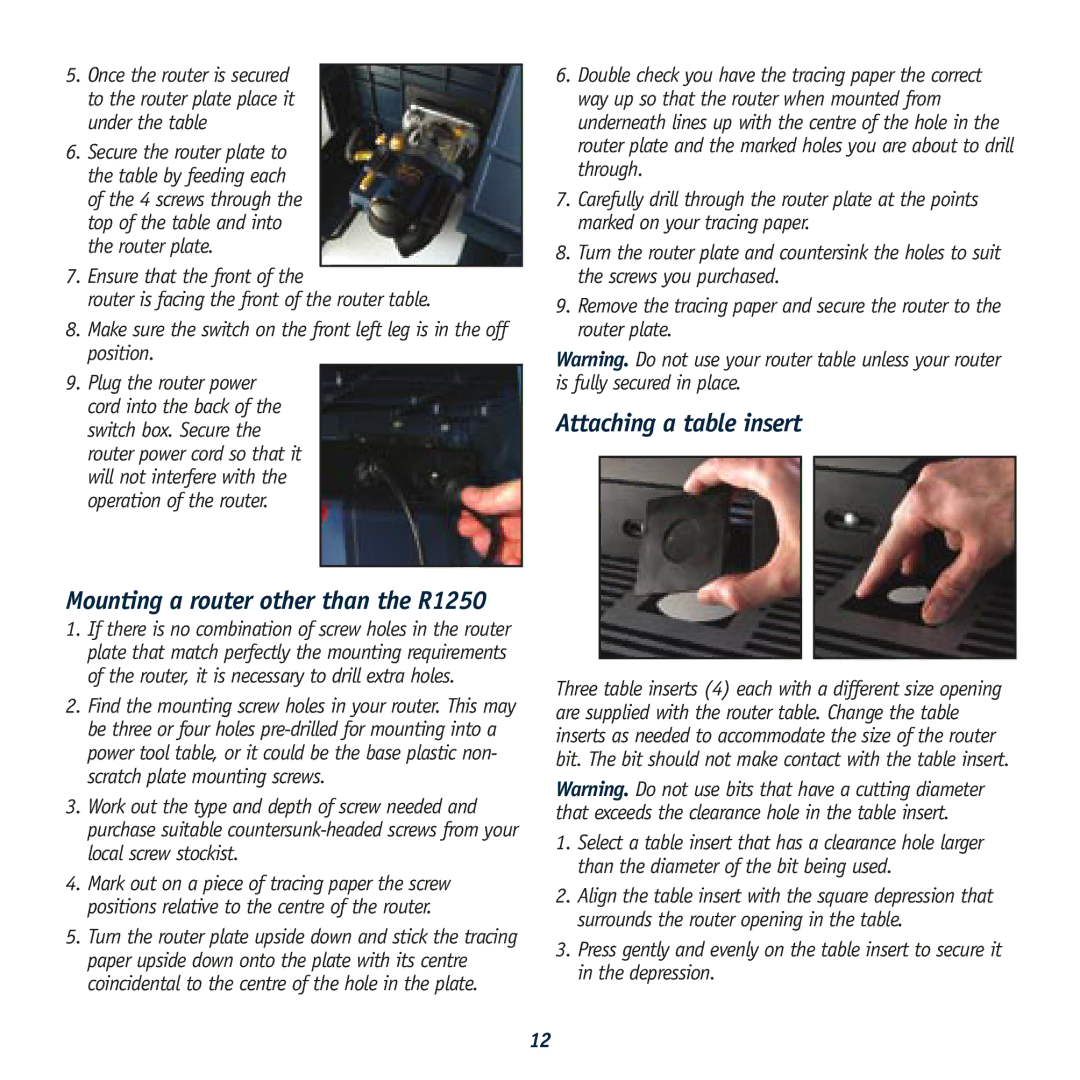
Attaching a table insert
Three table inserts (4) each with a different size opening are supplied with the router table. Change the table inserts as needed to accommodate the size of the router bit. The bit should not make contact with the table insert.
Warning. Do not use bits that have a cutting diameter that exceeds the clearance hole in the table insert.
1.Select a table insert that has a clearance hole larger than the diameter of the bit being used.
2.Align the table insert with the square depression that surrounds the router opening in the table.
3.Press gently and evenly on the table insert to secure it in the depression.
12