G |
| H |
|
|
|
I |
| J |
|
|
|
K |
|
|
| L | |
|
|
|
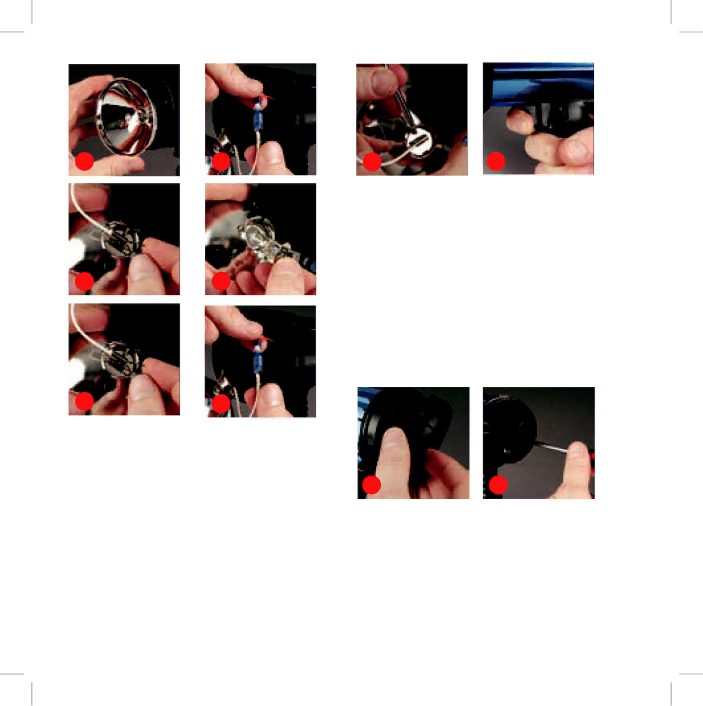
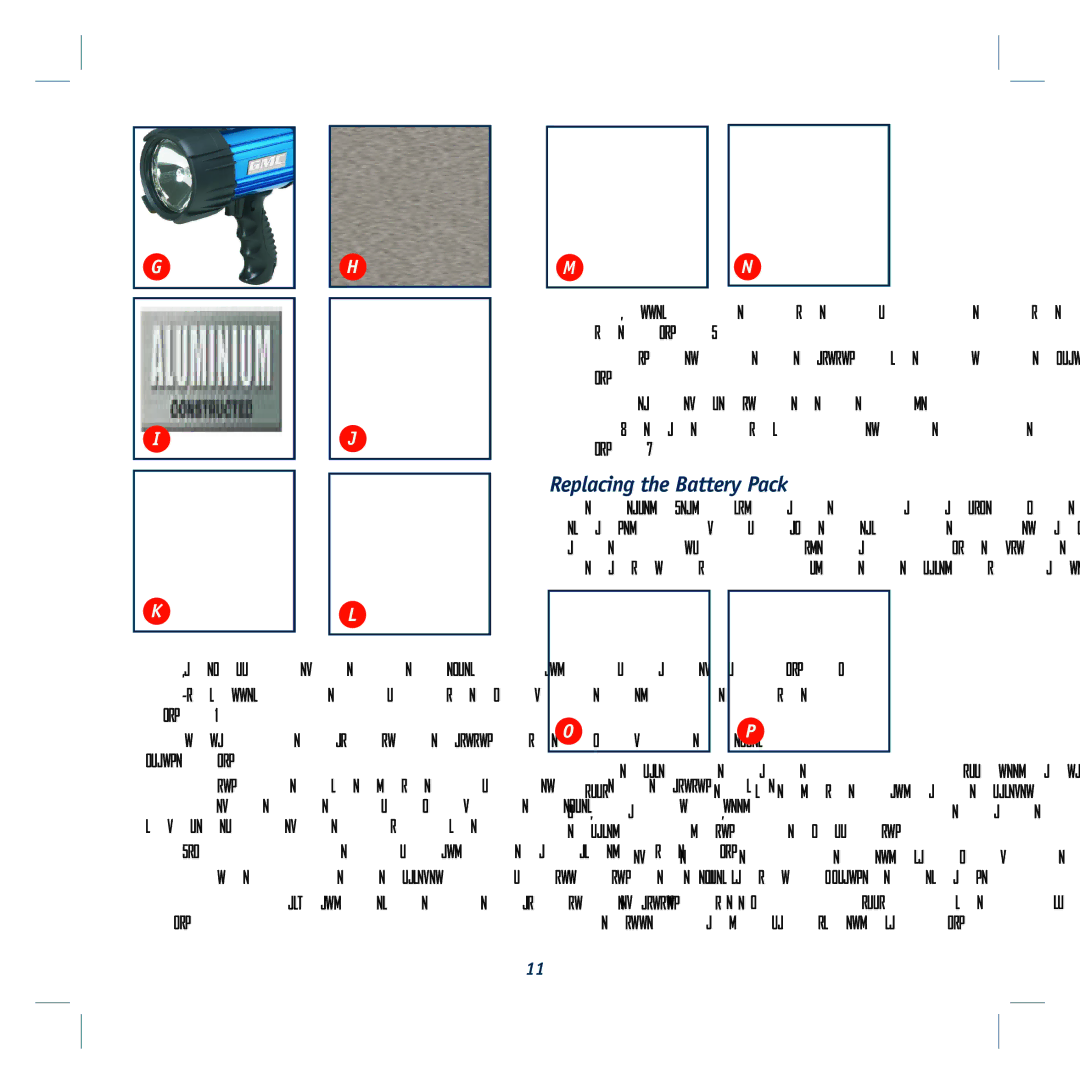
5.Carefully remove the reflector and bulb assembly (fig. G).
6.Disconnect the bulb wire from the red power wire
(fig. H).
7.Unsnap the hairpin retaining wires from the reflector’s flange (fig. I).
8.Using the screwdriver, loosen the retaining screw
to remove the bulb from the reflector (no need to completely remove this screw).
9.Lift out the bulb and the attached wire (fig. J).
10.Insert the replacement bulb into the reflector’s flange.
11.Put back and secure the hairpin retaining wires (fig. K).
M |
| N |
|
|
|
12.Connect the white bulb power wire to the red power wire (fig. L).
13.Tighten the retaining screw on the flange (fig. M).
14.Reassemble in reverse order.
15.Operate switch to ensure proper operation of spotlight (fig. N).
Replacing the Battery Pack
The Sealed Lead Acid Battery has a life of several years, if recharged promptly after each use. When a fully charged battery only provides about five minutes or less of spotlight operation, it should be replaced with a new one.
O |
| P |
|
|
|
To replace the battery, you will need a narrow shaft Phillips type screwdriver and a replacement battery (GMC Part
1.Remove the rubber end cap from the back of the body, noting the location of the Recharge Port (fig. O).
2.Remove the four Phillips screws (clockwise) that fasten the inner hard plastic end cap (fig. P).
11
