Installation
CONNECTING TO ELECTRICAL POWER cont’d.
Units Without Power Cord or Plug: Have a licensed electrician connect the unit to the power supply.
Three Phase Units: Have a licensed electrician wire the machine correctly to ensure that the planetary is rotating in the same direction as the arrow sticker located on the front of the machine. Check the rotation of the planetary shaft prior to first use. When standing in front of the mixer, the planetary shaft should be moving in a clockwise direction (i.e., the planetary shaft should appear to move from right to left). If the unit is operated backwards (counterclockwise) damage will occur to the mixer!
9.Complete the warranty card and mail it to Globe or register online at www.globeslicers.com/warranty.asp.
10.Clean the mixer prior to using it. Follow the cleaning instructions on page 11. NOTE: It is normal for the factory to apply a generous amount of grease in and on the machines before initial use. Excess grease (brown in color) will be on all metal surfaces (e.g. top portion of bowl guard, speed control, bowl clamps, bowl lift lever, and attachment hub thumbscrew). Excess
Operating Instructions
TO AVOID SERIOUS PERSONAL INJURY:
•DO NOT remove the bowl guard.
•DO NOT operate the mixer before reading the instruction manual first.
•ALWAYS disconnect or unplug electrical power before cleaning, servicing, or adjusting any parts or attachments.
•ALWAYS keep hands, hair, and clothing away from moving parts.
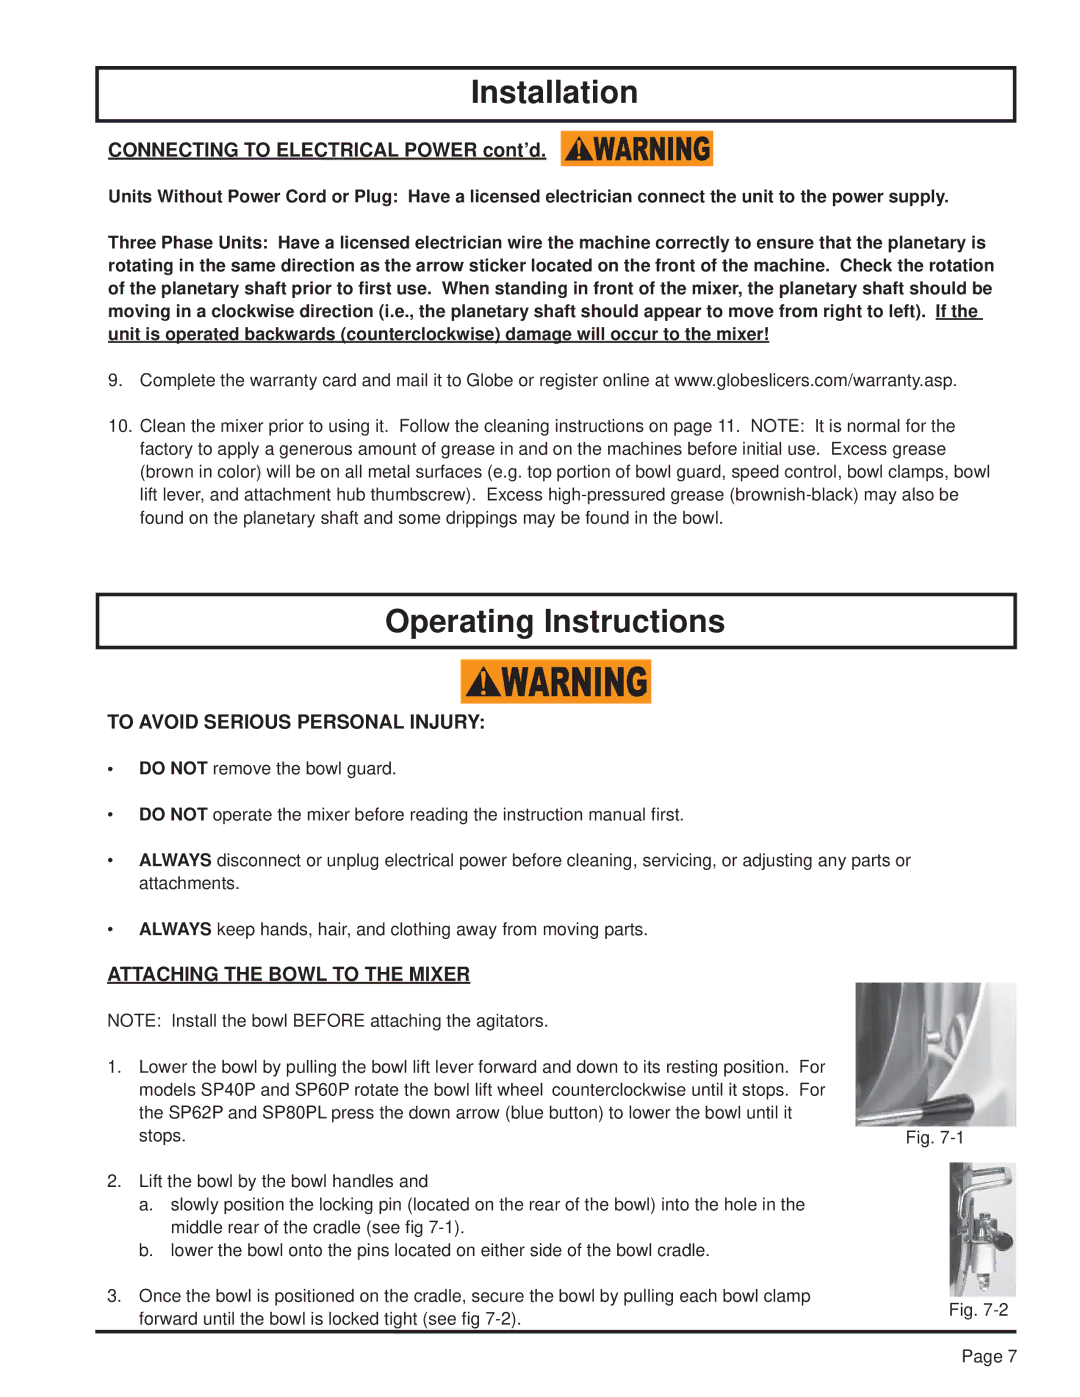
ATTACHING THE BOWL TO THE MIXER
NOTE: Install the bowl BEFORE attaching the agitators.
1.Lower the bowl by pulling the bowl lift lever forward and down to its resting position. For models SP40P and SP60P rotate the bowl lift wheel counterclockwise until it stops. For the SP62P and SP80PL press the down arrow (blue button) to lower the bowl until it
| stops. | Fig. |
2. | Lift the bowl by the bowl handles and |
|
| a. slowly position the locking pin (located on the rear of the bowl) into the hole in the |
|
| middle rear of the cradle (see fig |
|
| b. lower the bowl onto the pins located on either side of the bowl cradle. |
|
3. | Once the bowl is positioned on the cradle, secure the bowl by pulling each bowl clamp | Fig. |
| forward until the bowl is locked tight (see fig | |
|
|
Page 7