650 specifications
Gold's Gym 650 is a premium fitness solution designed to meet the needs of both novice and experienced fitness enthusiasts. Positioned as an essential piece of gym equipment, it combines functionality, durability, and innovative technology to deliver a comprehensive workout experience.One of the standout features of Gold's Gym 650 is its versatile multi-functionality. This piece of equipment supports a wide variety of exercises, including strength training, cardio, and stretching. The adjustable bench allows users to perform exercises like bench presses, squats, and leg curls, ensuring that they can target multiple muscle groups effectively.
The gym is equipped with a robust weight stack, typically around 125 pounds, which can be adjusted according to the user's fitness level. This weighted system is not only designed for smooth lifting but also incorporates a safety mechanism to prevent injuries during workouts. The Gold's Gym 650 also includes resistance bands that can complement strength training exercises, providing additional resistance for a full-bodied workout.
In terms of technology, the Gold's Gym 650 integrates advanced digital interfaces that track performance metrics such as repetitions, time, and calories burned. This data is essential for users looking to monitor their progress over time, set achievable goals, and stay motivated. Some models may also feature built-in Bluetooth capabilities that allow users to sync their workout data with fitness apps, enhancing their overall fitness experience.
The design of Gold's Gym 650 prioritizes comfort and stability. Ergonomically designed grips and cushioned surfaces ensure that users can work out for longer durations without discomfort. The heavy-duty frame construction guarantees stability, enabling users to perform intense workouts without worrying about the equipment wobbling.
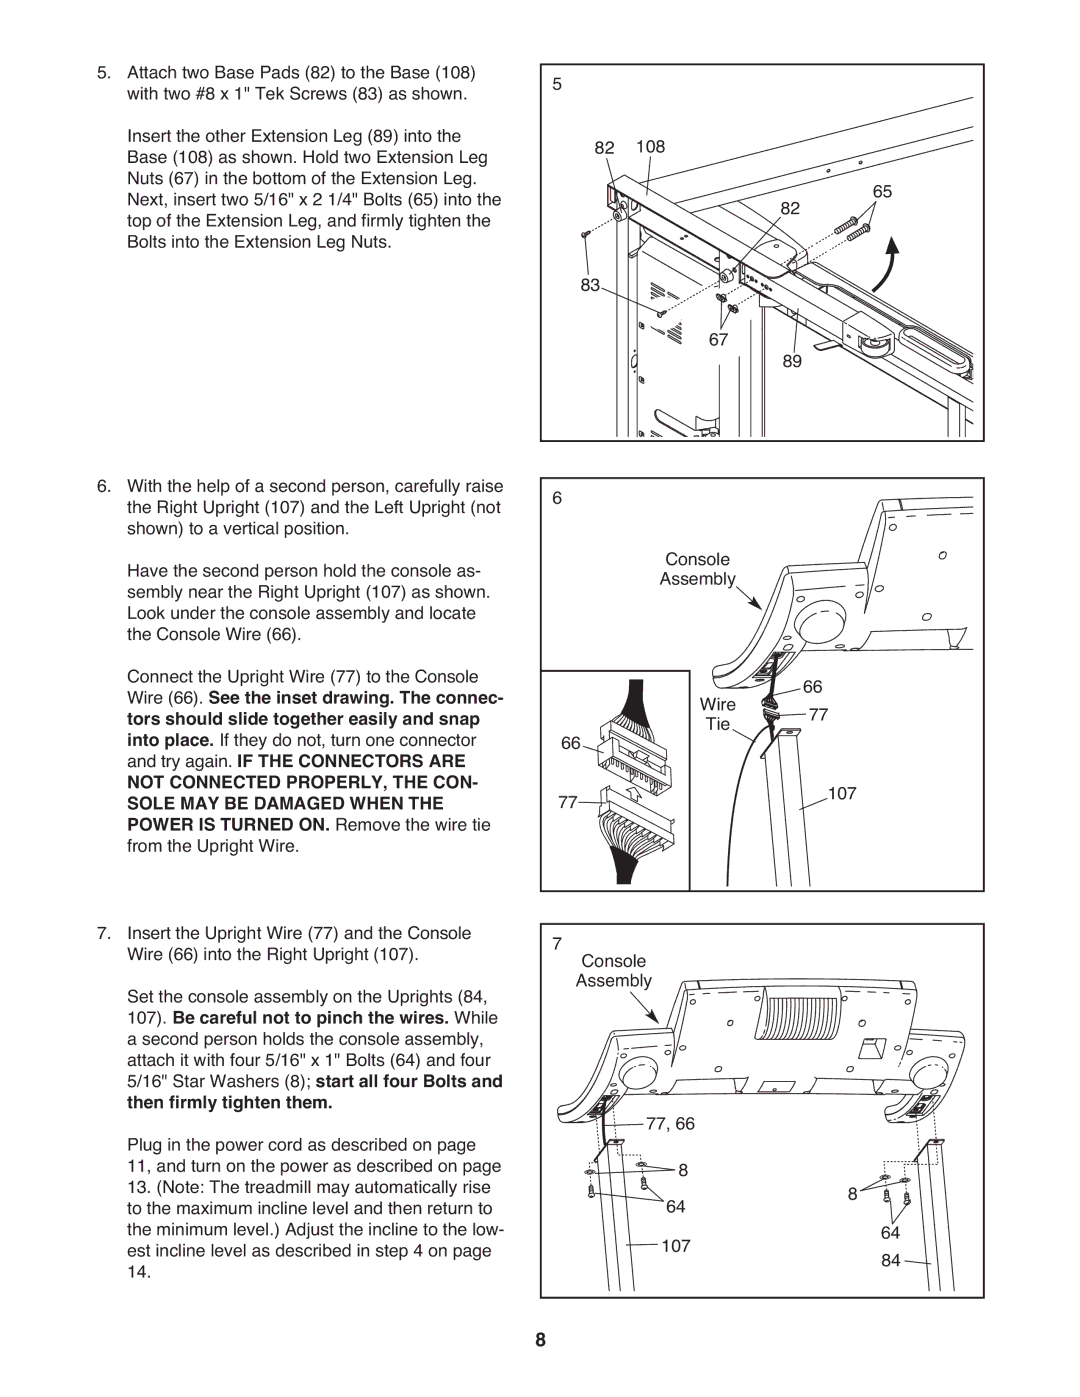
Another notable characteristic is its compact design, making it suitable for home gyms with limited space. The Gold's Gym 650 is designed for easy assembly and storage, ensuring that it can be set up quickly and stored away when not in use.
In conclusion, Gold's Gym 650 is a well-rounded fitness solution that blends versatility, advanced technology, and user comfort. Whether aiming to build strength, improve endurance, or achieve overall fitness, it provides an all-in-one solution that caters to a diverse range of workout needs. With its robust construction and practical design, Gold's Gym 650 is an investment in health that can transform any home workout experience.

