Install Tip/Guard Assembly (if not installed)
Install Tip/Guard Assembly (if not installed)
Reversible Tip Selection Chart
MATERIALS
*Thin | Medium | Heavy |
Thin stains, | Enamels, solid | Heavy latex |
stains, thin latex |
| |
|
|
|
311 | 315, 515 | 517 |
|
|
|
*Install
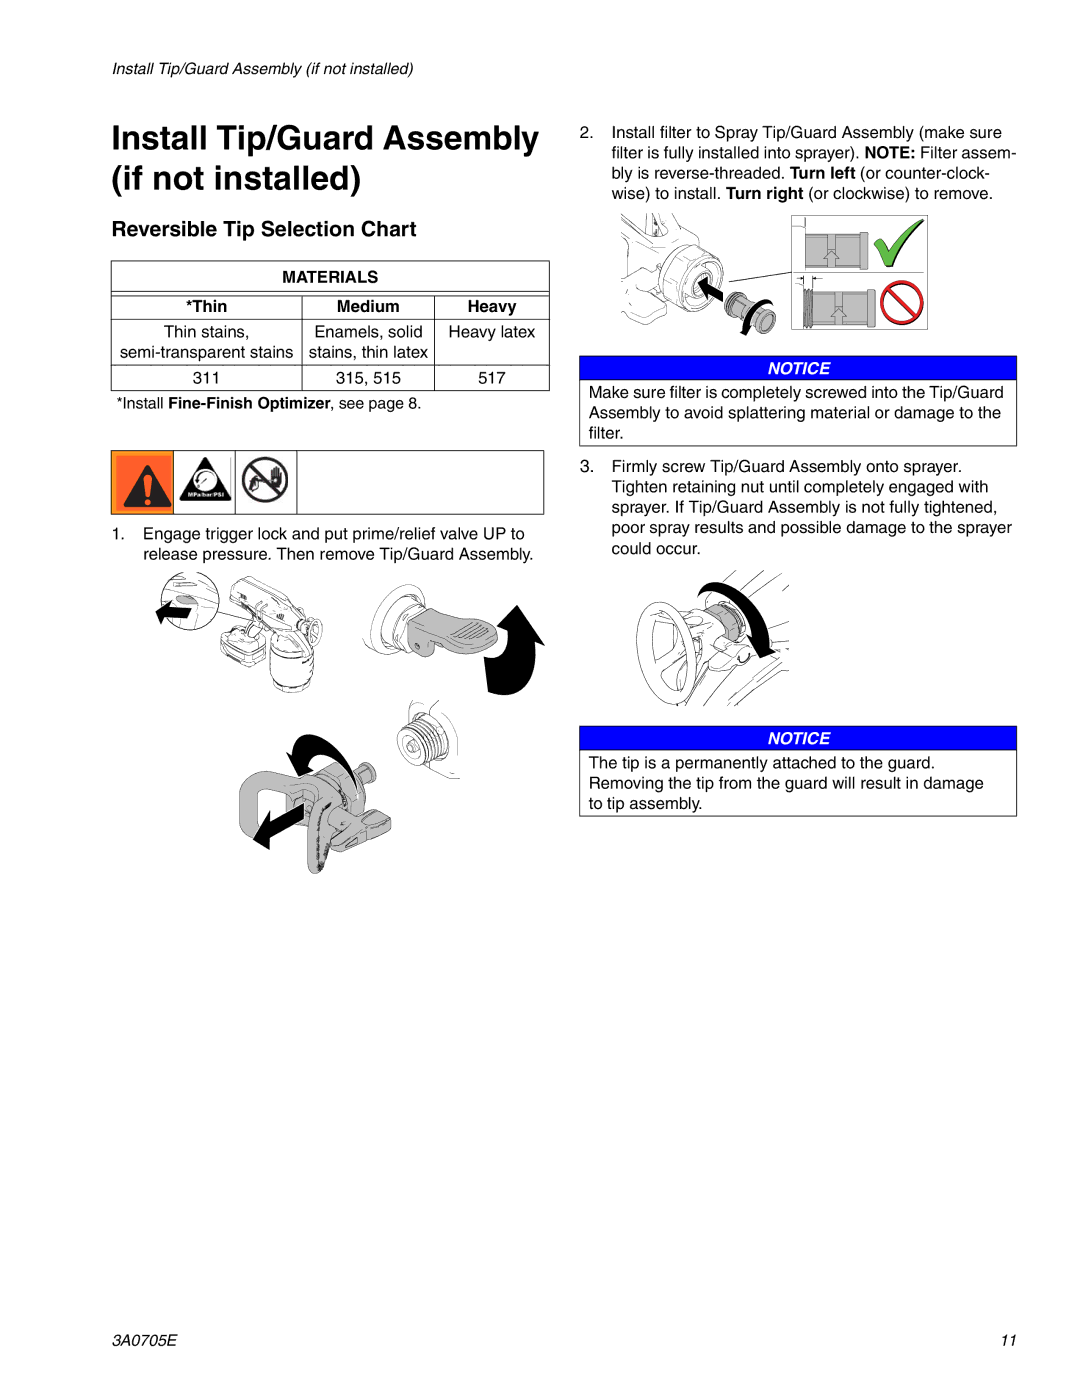
1.Engage trigger lock and put prime/relief valve UP to release pressure. Then remove Tip/Guard Assembly.
2.Install filter to Spray Tip/Guard Assembly (make sure filter is fully installed into sprayer). NOTE: Filter assem- bly is
![]() ti14775a
ti14775a
NOTICE
Make sure filter is completely screwed into the Tip/Guard Assembly to avoid splattering material or damage to the filter.
3.Firmly screw Tip/Guard Assembly onto sprayer. Tighten retaining nut until completely engaged with sprayer. If Tip/Guard Assembly is not fully tightened, poor spray results and possible damage to the sprayer could occur.
ti15490a
ti14994a | ti14999a |
NOTICE
The tip is a permanently attached to the guard. Removing the tip from the guard will result in damage to tip assembly.
3A0705E | 11 |
