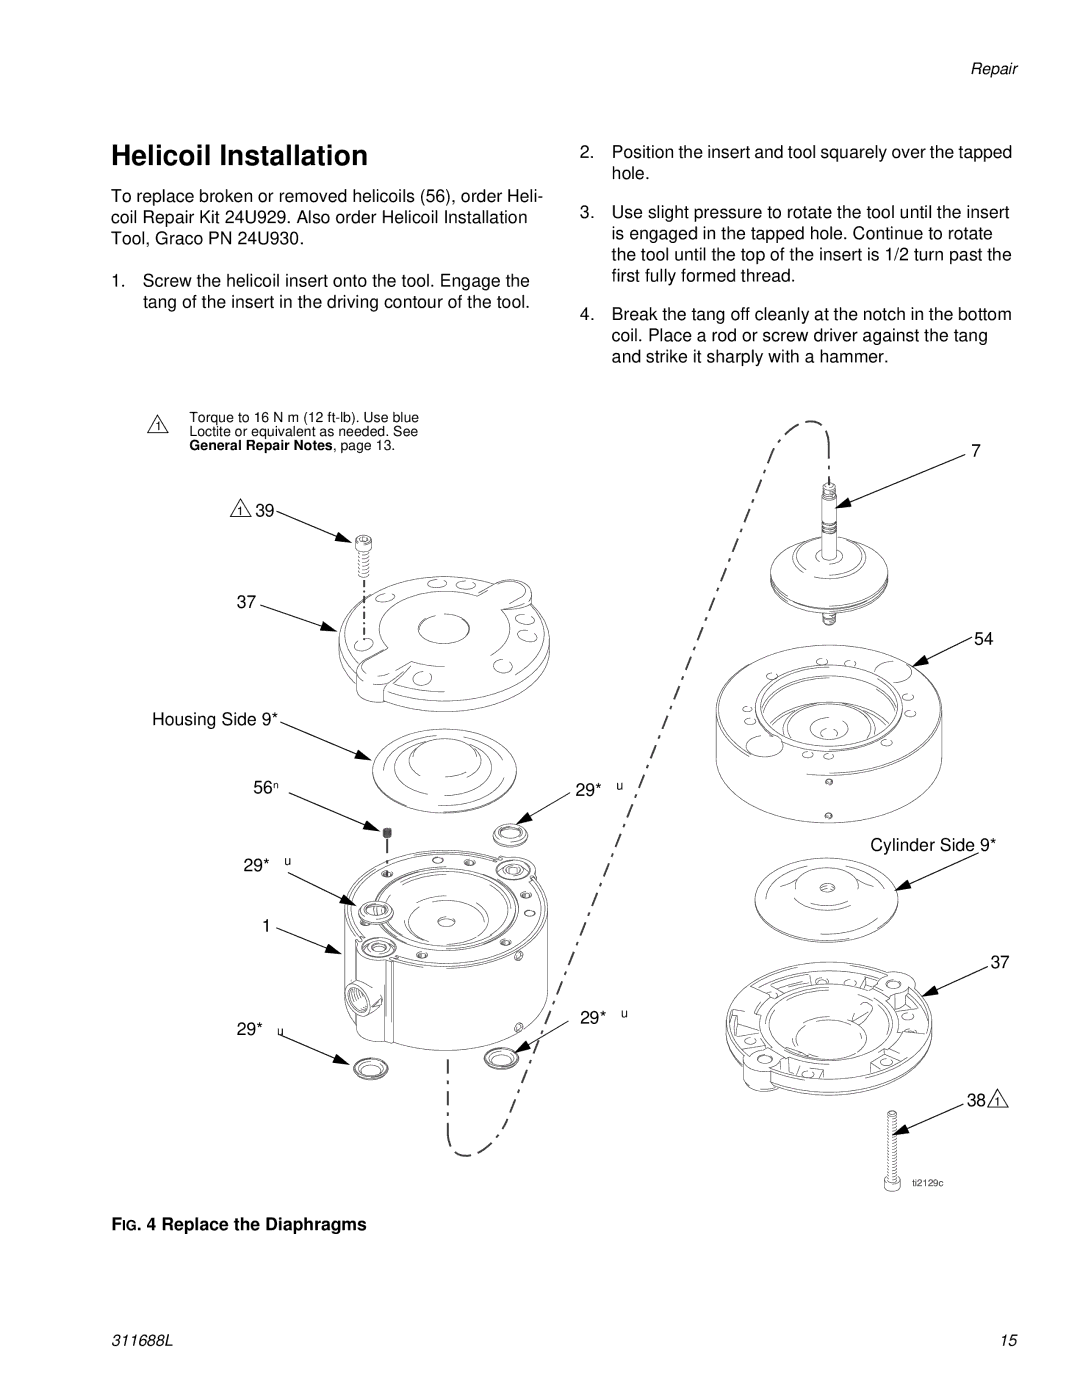
311688L specifications
The Graco 311688L is a high-performance airless paint sprayer, designed for both professional contractors and DIY enthusiasts looking to achieve a flawless finish on their projects. Engineered for reliability and efficiency, the Graco 311688L stands out in the competitive market of paint sprayers, offering a range of features that cater to various painting tasks.One of the key features of the Graco 311688L is its powerful motor, which delivers consistent pressure to ensure an even and smooth application of paint. The unit is designed to handle a variety of coatings, including unthinned paints, stains, and sealers, making it versatile enough for numerous projects, from indoor walls to outdoor fences. The sprayer can cover large areas quickly, reducing the amount of time needed to complete a job.
Equipped with Graco's ProXChange technology, the Graco 311688L allows for easy replacement of the pump without the need for tools, minimizing downtime during projects. This feature is especially beneficial for professionals who need to maintain efficiency on job sites. The sprayer also includes the Graco SmartControl technology, which provides a consistent spray pattern regardless of the selected pressure. This technological advancement aids in achieving optimal results while allowing users to adjust the spray patterns according to their needs.
In terms of ergonomics, the Graco 311688L is designed with user comfort in mind. The lightweight design and integrated handle make it easily portable, while the adjustable spray tip enables users to customize the size and shape of the spray fan for precision work. Additionally, the unit features a built-in suction tube that allows for painting directly from a paint bucket, reducing mess and increasing convenience.
Safety has not been overlooked in the Graco 311688L design. It features a pressure relief valve that ensures safe operation, preventing unwanted discharge of paint when the motor is turned off. The unit also comes with a durable construction that enhances its longevity, making it a worthwhile investment for anyone serious about painting.
To sum it up, the Graco 311688L offers a blend of power, efficiency, and user-friendly features that make it an excellent choice for various painting applications. Whether you're a seasoned professional or a weekend warrior, this airless paint sprayer provides the performance and reliability needed to tackle any paint job with confidence.

