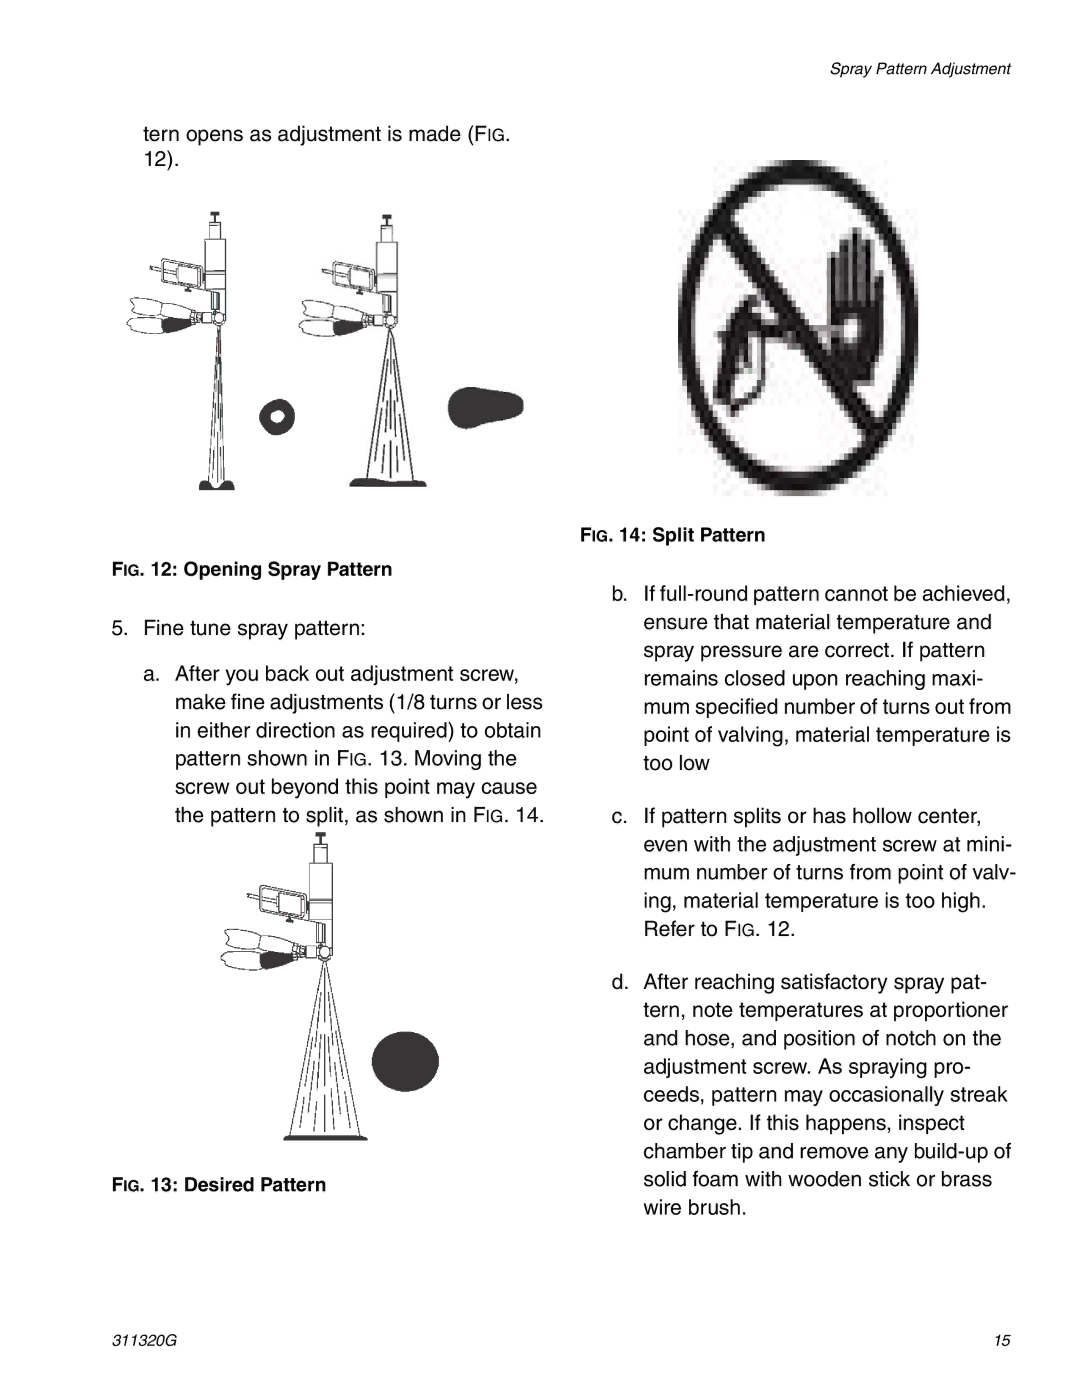
tern opens as adjustment is made (FIG. 12).
FIG. 12: Opening Spray Pattern
5.Fine tune spray pattern:
a.After you back out adjustment screw, make fine adjustments (1/8 turns or less in either direction as required) to obtain pattern shown in FIG. 13. Moving the screw out beyond this point may cause the pattern to split, as shown in FIG. 14.
FIG. 13: Desired Pattern
Spray Pattern Adjustment
FIG. 14: Split Pattern
b.If
c.If pattern splits or has hollow center, even with the adjustment screw at mini- mum number of turns from point of valv- ing, material temperature is too high. Refer to FIG. 12.
d.After reaching satisfactory spray pat- tern, note temperatures at proportioner and hose, and position of notch on the adjustment screw. As spraying pro- ceeds, pattern may occasionally streak or change. If this happens, inspect chamber tip and remove any
311320G | 15 |