BASIC OPERATIONS

Understanding HT70X Voice Prompt

HT70X has a built-in voice prompt menu for simple device configuration. The IVR menu and the LED button work with any of the FXS port. Pick up the handset and dial “***” to use the IVR menu.

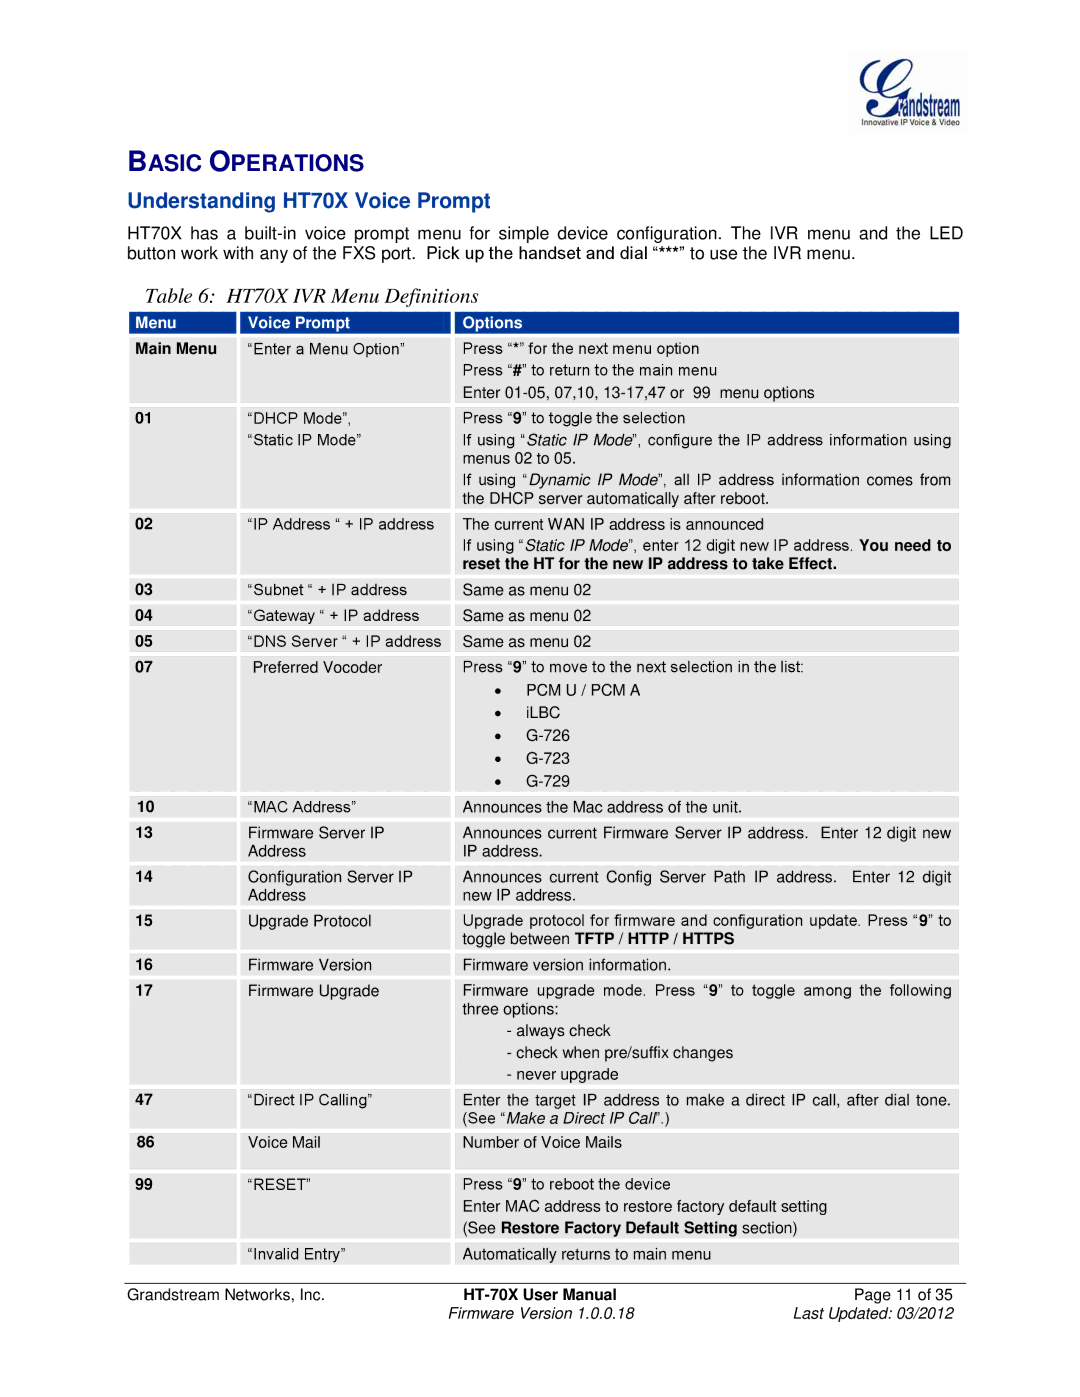
Table 6: HT70X IVR Menu Definitions


Menu


Voice Prompt


Options


Main Menu


“Enter a Menu Option”


Press “*” for the next menu option


Press “#” to return to the main menu


Enter 01-05, 07,10, 13-17,47 or 99

menu options


01


“DHCP Mode”,


Press “9” to toggle the selection


“Static IP Mode”


If using “Static IP Mode”, configure the IP address information using


menus 02 to 05.


If using “Dynamic IP Mode”, all IP address information comes from


the DHCP server automatically after reboot.


02


“IP Address “ + IP address


The current WAN IP address is announced


If using “Static IP Mode”, enter 12 digit new IP address. You need to


reset the HT for the new IP address to take Effect.


03


“Subnet “ + IP address


Same as menu 02


04


“Gateway “ + IP address


Same as menu 02


05


“DNS Server “ + IP address


Same as menu 02


07


Preferred Vocoder


Press “9” to move to the next selection in the list:


PCM U / PCM A


iLBC


G-726


G-723


G-729


10


“MAC Address”


Announces the Mac address of the unit.


13


Firmware Server IP


Announces current Firmware Server IP address. Enter 12 digit new


Address


IP address.


14


Configuration Server IP


Announces current Config Server Path IP address. Enter 12 digit


Address


new IP address.


15


Upgrade Protocol


Upgrade protocol for firmware and configuration update. Press “9” to


toggle between TFTP / HTTP / HTTPS


16


Firmware Version


Firmware version information.


17


Firmware Upgrade


Firmware upgrade mode. Press “9” to toggle among the following


three options:


- always check


- check when pre/suffix changes


- never upgrade


47


“Direct IP Calling”


Enter the target IP address to make a direct IP call, after dial tone.


(See “Make a Direct IP Call”.)


86


Voice Mail


Number of Voice Mails


99


“RESET”


Press “9” to reboot the device


Enter MAC address to restore factory default setting


(See Restore Factory Default Setting section)


“Invalid Entry”


Automatically returns to main menu


Grandstream Networks, Inc.


HT-70X User Manual

Page 11 of 35


Firmware Version 1.0.0.18

Last Updated: 03/2012

Page 11
Image 11
Grandstream Networks HT701, HT704, HT702 Basic Operations, Understanding HT70X Voice Prompt, HT70X IVR Menu Definitions

HT704, HT701, HT702 specifications

Grandstream Networks has established itself as a powerful player in the telecommunications industry, especially through its Analog Telephone Adapters (ATAs) like the HT702 and HT704 models. These devices are designed specifically for converting analog voice signals into digital data for seamless integration with Voice over Internet Protocol (VoIP) systems.

The Grandstream HT702 is a two-port ATA that allows users to connect two analog phones to a high-speed internet connection. This model is particularly useful for small businesses or residential users looking to integrate legacy phone systems with modern VoIP technology. One of the key features of the HT702 is its support for the SIP (Session Initiation Protocol) standard, ensuring compatibility with a wide range of VoIP providers. Additionally, it supports advanced telephony features like call transfer, call waiting, and three-way calling, enhancing communication efficiency.

The HT704, on the other hand, is a four-port ATA, offering greater flexibility for users needing to connect multiple devices. It shares many of the same features as the HT702, including SIP support and telephony functionalities, but with additional ports, it is better suited for larger environments. Both models come equipped with advanced security mechanisms, such as AES encryption, which safeguards voice communications.

With user-friendly web-based configuration, the HT702 and HT704 allow for easy setup and management, making them accessible even for those without extensive technical knowledge. Moreover, both devices feature auto-provisioning capabilities, which simplify deployment across multiple units, making them ideal for businesses looking to scale their operations.

The HT702 and HT704 are built with high-quality materials, ensuring durability and long-term performance. They also boast low power consumption, making them an energy-efficient choice. Support for high-definition voice codecs enhances audio quality during calls, providing users with crystal-clear communication.

In summary, Grandstream's HT702 and HT704 Analog Telephone Adapters are robust solutions for anyone looking to transition from traditional telephony to a modern VoIP setup. Their advanced features, security standards, and ease of use make them a reliable choice for both home and business users seeking efficient and effective communication solutions.