Stand Assembly
The stand for the Model G0477 must be assem- bled before the planer/moulder can be mounted on it. It may be helpful to refer to the Stand Breakdown on Page 36 during this procedure.
Components and Hardware Needed: | Qty |
Notched Legs* | 2 |
Plain Legs | 2 |
Long Frame Pieces | 2 |
Short Frame Pieces | 2 |
Long Braces | 2 |
Short Braces | 2 |
Carriage Bolts | 24 |
Flange Nuts | 24 |
*These stand legs each have a small, semicircu- lar notch towards to top of the leg, as shown in Figure 5.
Leg Notch
Figure 5. Leg notches.
To assemble the stand:
1.Place a plain leg and a notched leg
2.Fasten a short frame piece to the legs using
3.Fasten a short brace piece to the legs, using carriage bolts and flange nuts.
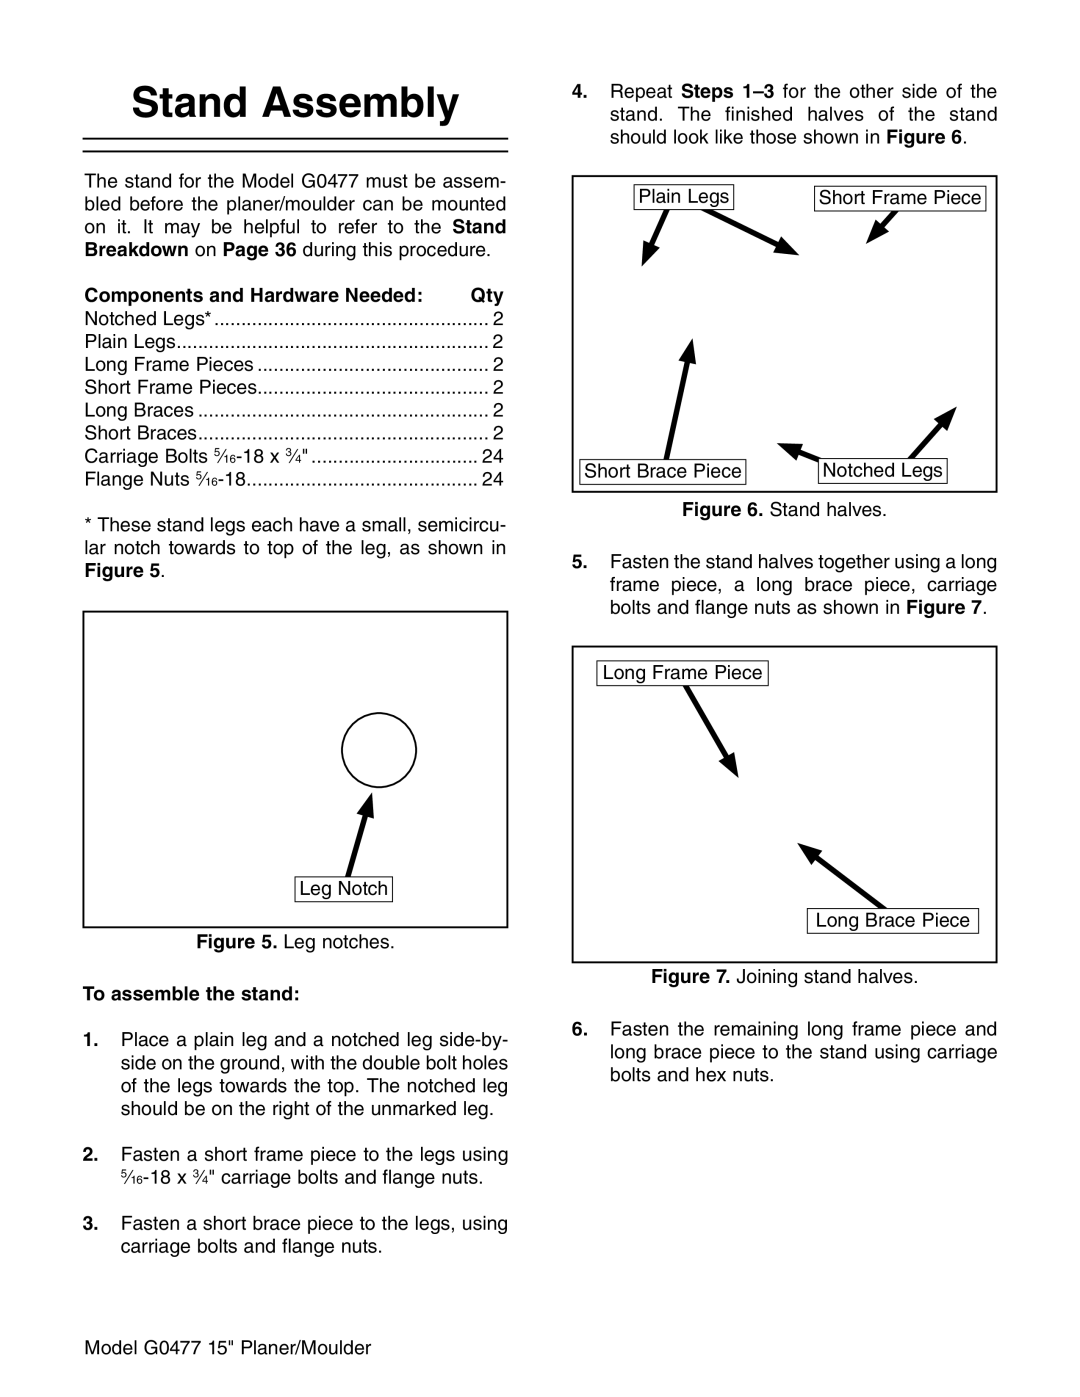
4.Repeat Steps
Plain Legs | Short Frame Piece |
Short Brace Piece | Notched Legs |
Figure 6. Stand halves.
5.Fasten the stand halves together using a long frame piece, a long brace piece, carriage bolts and flange nuts as shown in Figure 7.
Long Frame Piece |
Long Brace Piece |
Figure 7. Joining stand halves.
6.Fasten the remaining long frame piece and long brace piece to the stand using carriage bolts and hex nuts.
Model G0477 15" Planer/Moulder |