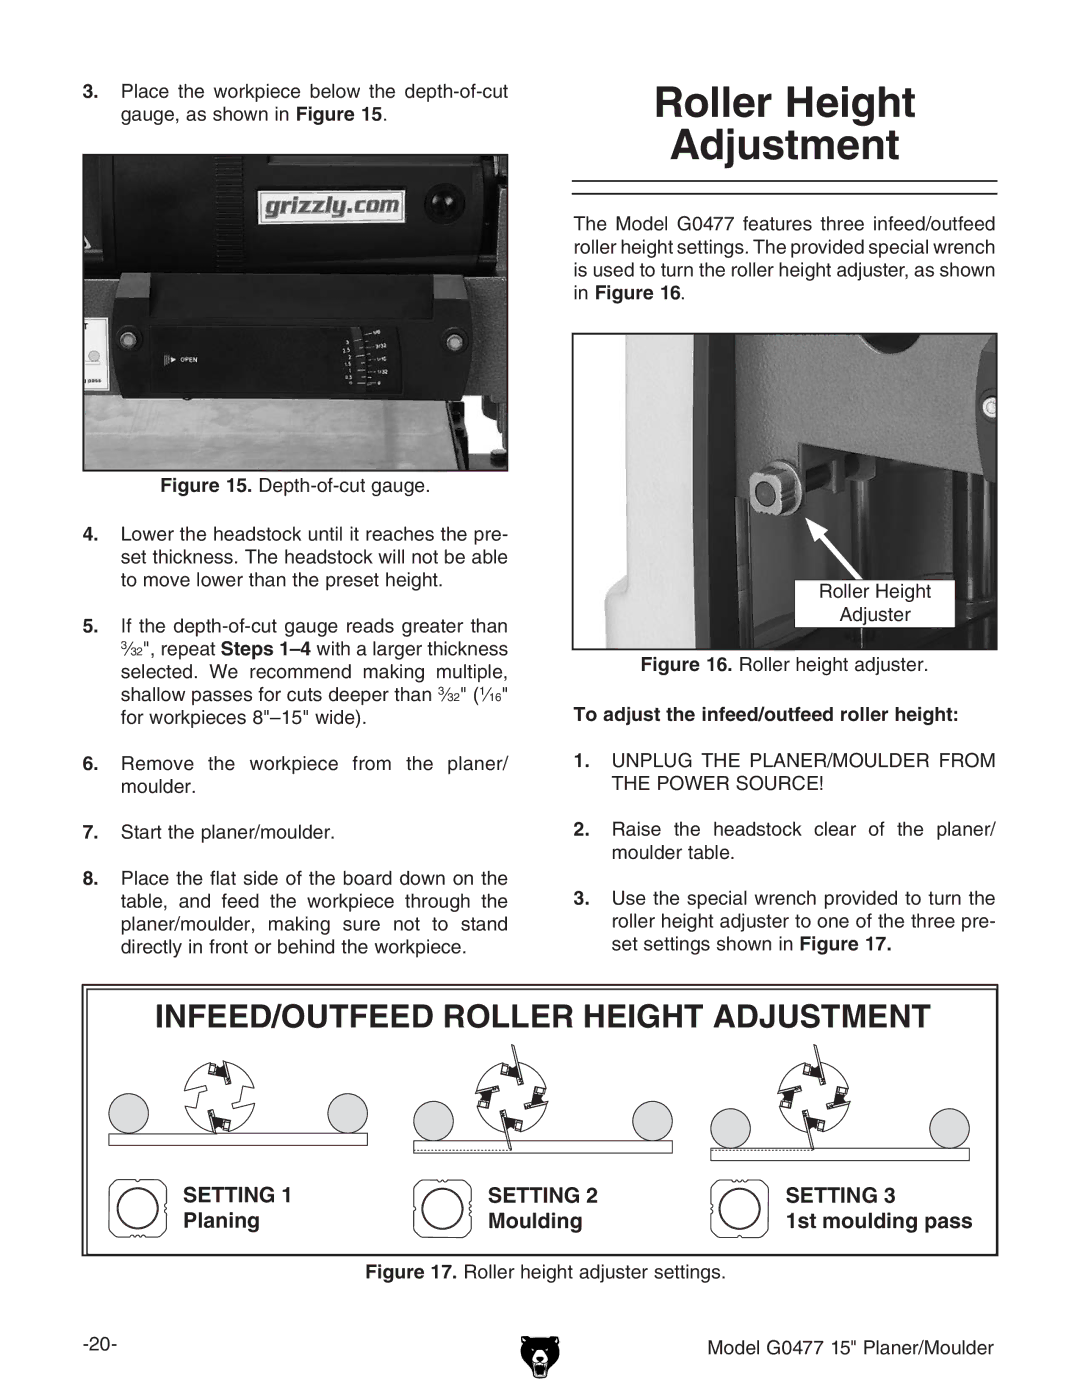
3.Place the workpiece below the
Roller Height
Adjustment
The Model G0477 features three infeed/outfeed roller height settings. The provided special wrench is used to turn the roller height adjuster, as shown in Figure 16.
Figure 15. Depth-of-cut gauge.
4.Lower the headstock until it reaches the pre- set thickness. The headstock will not be able to move lower than the preset height.
5.If the depth-of-cut gauge reads greater than 3⁄32", repeat Steps 1–4 with a larger thickness selected. We recommend making multiple, shallow passes for cuts deeper than 3⁄32" (1⁄16" for workpieces 8"–15" wide).
6.Remove the workpiece from the planer/ moulder.
7.Start the planer/moulder.
8.Place the flat side of the board down on the table, and feed the workpiece through the planer/moulder, making sure not to stand directly in front or behind the workpiece.
Roller Height
Adjuster
Figure 16. Roller height adjuster.
To adjust the infeed/outfeed roller height:
1.UNPLUG THE PLANER/MOULDER FROM THE POWER SOURCE!
2.Raise the headstock clear of the planer/ moulder table.
3.Use the special wrench provided to turn the roller height adjuster to one of the three pre- set settings shown in Figure 17.
INFEED/OUTFEED ROLLER HEIGHT ADJUSTMENT | ||
SETTING 1 | SETTING 2 | SETTING 3 |
Planing | Moulding | 1st moulding pass |
Figure 17. Roller height adjuster settings.
Model G0477 15" Planer/Moulder |