SECTION 7: SERVICE
Table Calibration
NOTICE
The digital thickness gauge has been cali- brated at the factory and should require no further adjustment. However, we recom- mend verifying its accuracy.
Use the first board fed through the sander to test the accuracy of the digital thickness gauge.
To calibrate the digital thickness scale:
1.Using a properly
2.Lower the sander table far enough to place the planed board under the sander roller.
3.Manually raise the table until the board just touches the sanding roller.
4.Remove the board without changing the table height. This ensures the table will be properly adjusted for the first sanding pass.
5.Run the board through the sander several times at the initial height setting. Manually raise the table 0.020" and pass the board through the sander several more times. Monitor the amperage meter and the result- ing load on the sander.
6.Measure the thickness at various points around the board using a precise microm- eter or set of calipers. Continue sanding the board at that height until the average thick- ness measurement is within +⁄- 0.003".
Note: These final passes should be done without adjusting the table height. This ensures the most consistent average thick- ness.
7.Observe the digital display
G0486/G0487 Wide Belt Sander
To recalibrate the digital thickness scale:
1.Without moving the table height, enter the numerical measurement of the average thick- ness of the sanded wood into the digital key pad on the control panel.
Note: The average thickness of the sanded wood should now be flashing on the digital
2.Press and hold the ![]() key until the display stops flashing. The sander is now correctly calibrated.
key until the display stops flashing. The sander is now correctly calibrated.
Platen Service
To replace the platen felt and graphite pad:
1.DISCONNECT THE SANDER FROM THE POWER SOURCE!
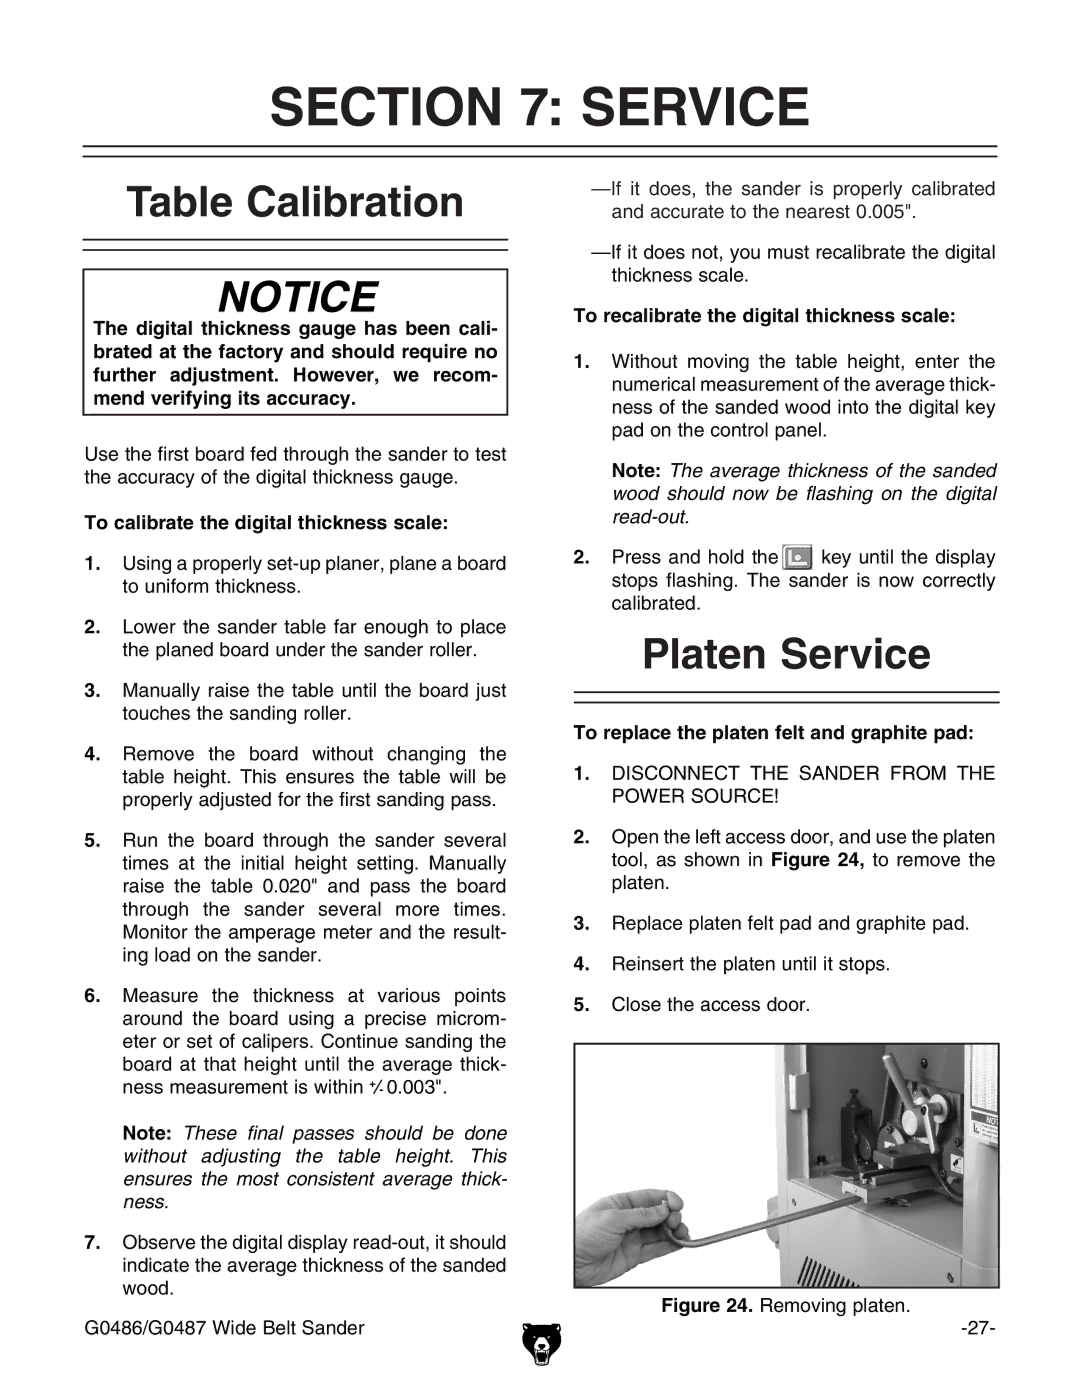
2.Open the left access door, and use the platen tool, as shown in Figure 24, to remove the platen.
3.Replace platen felt pad and graphite pad.
4.Reinsert the platen until it stops.
5.Close the access door.
