Figure 10. Long upper and lower braces
attached to the stand legs.
3.Attach the short upper and lower side braces (2 each) to one of the assembled side pan- els using M8 - 1.25 x 16 carriage bolts, 8MM flat washers and M8-1.25 hex nuts as shown in Figure 11.
Figure 11. Short upper and lower braces attached to one of the stand assemblies.
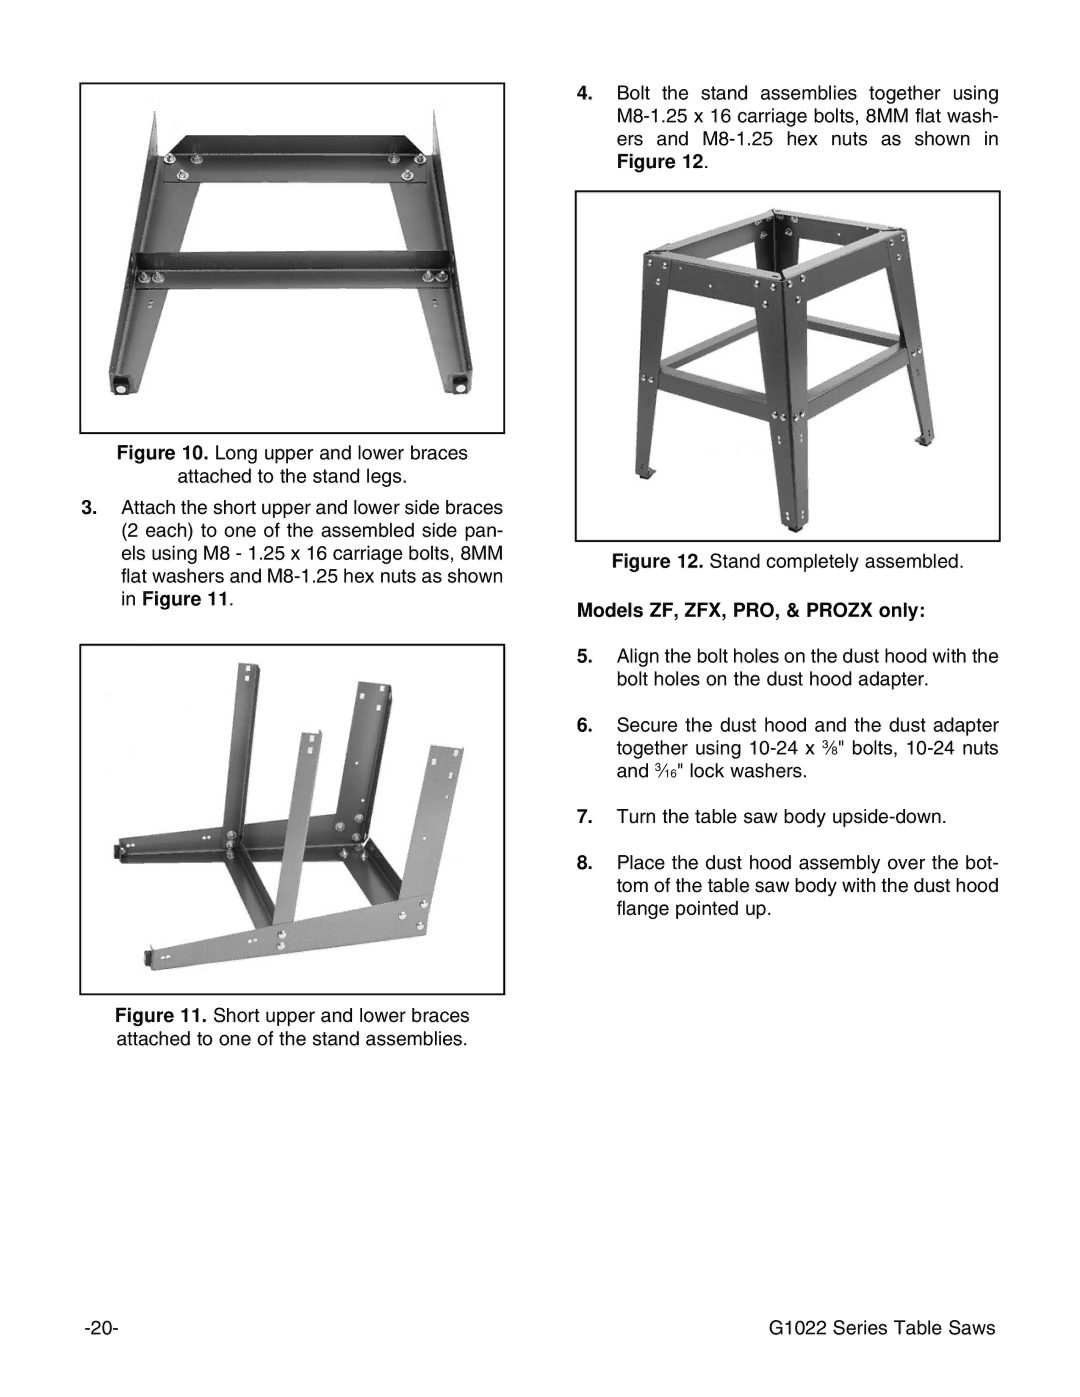
4.Bolt the stand assemblies together using M8-1.25 x 16 carriage bolts, 8MM flat wash- ers and M8-1.25 hex nuts as shown in Figure 12.
Figure 12. Stand completely assembled.
Models ZF, ZFX, PRO, & PROZX only:
5.Align the bolt holes on the dust hood with the bolt holes on the dust hood adapter.
6.Secure the dust hood and the dust adapter together using
7.Turn the table saw body
8.Place the dust hood assembly over the bot- tom of the table saw body with the dust hood flange pointed up.
G1022 Series Table Saws |