Belt Tension |
| Belt Alignment |
|
|
|
|
|
|
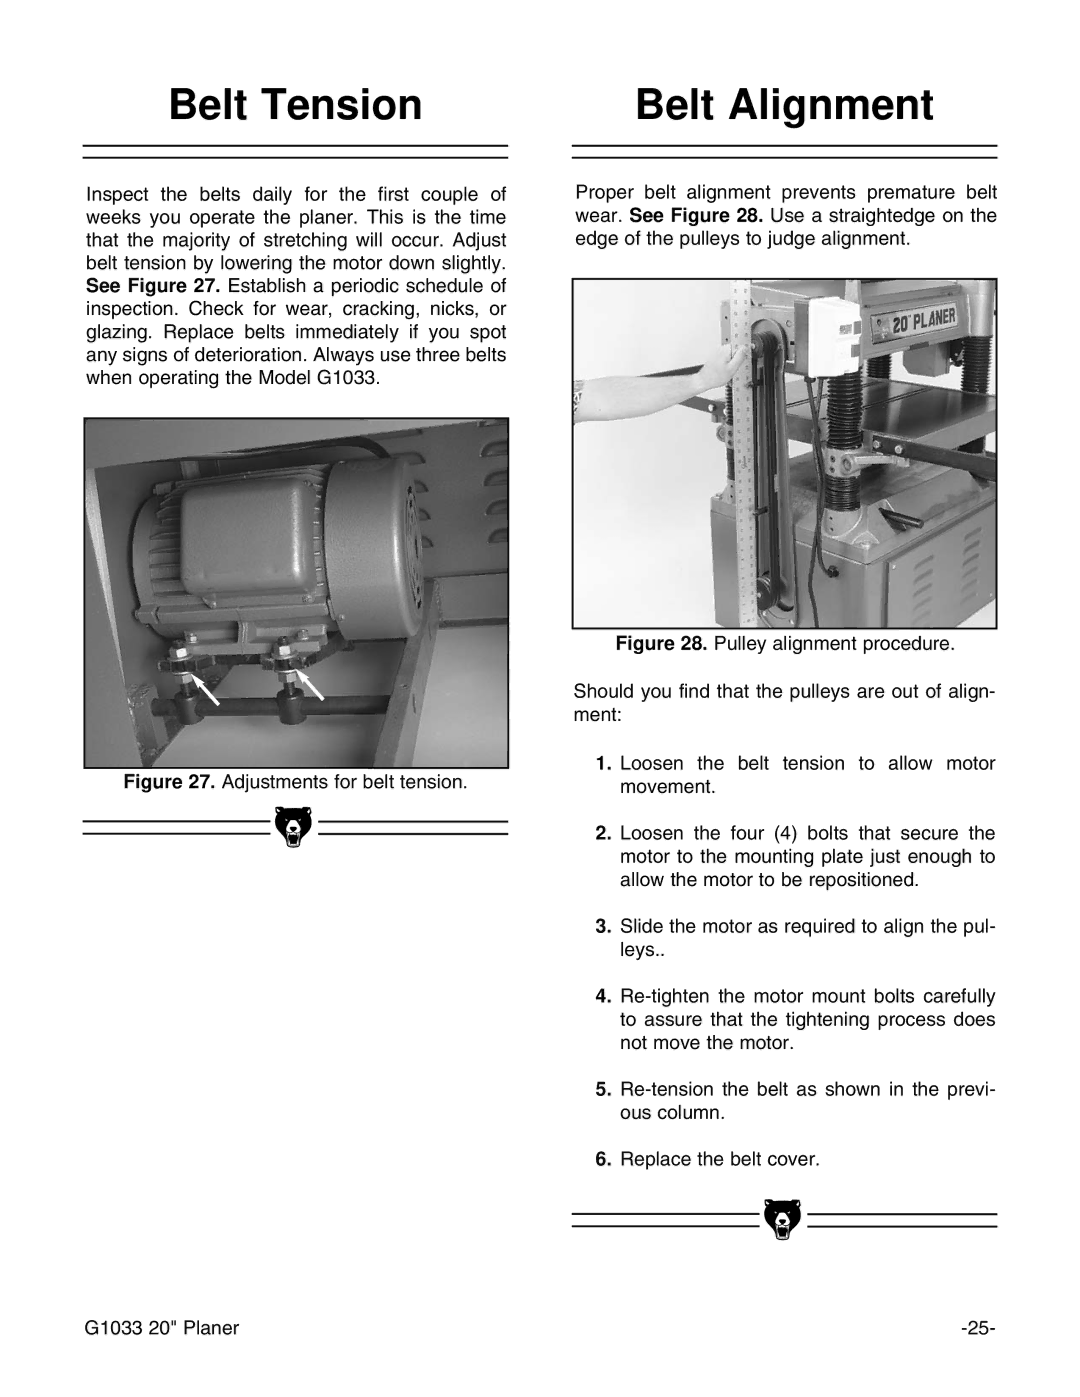
Inspect the belts daily for the first couple of weeks you operate the planer. This is the time that the majority of stretching will occur. Adjust belt tension by lowering the motor down slightly. See Figure 27. Establish a periodic schedule of inspection. Check for wear, cracking, nicks, or glazing. Replace belts immediately if you spot any signs of deterioration. Always use three belts when operating the Model G1033.
Figure 27. Adjustments for belt tension.
Proper belt alignment prevents premature belt wear. See Figure 28. Use a straightedge on the edge of the pulleys to judge alignment.
Figure 28. Pulley alignment procedure.
Should you find that the pulleys are out of align- ment:
1.Loosen the belt tension to allow motor movement.
2.Loosen the four (4) bolts that secure the motor to the mounting plate just enough to allow the motor to be repositioned.
3.Slide the motor as required to align the pul- leys..
4.Re-tighten the motor mount bolts carefully to assure that the tightening process does not move the motor.
5.Re-tension the belt as shown in the previ- ous column.
6.Replace the belt cover.
|
|
|
|
|
|
|
|
|
|
|
|
G1033 20" Planer | |||
